 Kieran and I have had copies of “Hit The Dirt” for sometime (in fact I have had a copy since it was published) and had not made a serious attempt to play any of the scenarios. However we recently decided to work our way through the book and play the scenarios as best we could with our available forces. Deciding to start from the beginning we selected Green Hell, the very first Scenario in the book. In Green Hell a well supported German Company must overcome a larger (but poorer) Soviet Force in a large forest in Poland in 1941. Our troop availability (at the time) dictated a move to 1944 and North-West Europe or Italy (we chose the former) with British and German forces.
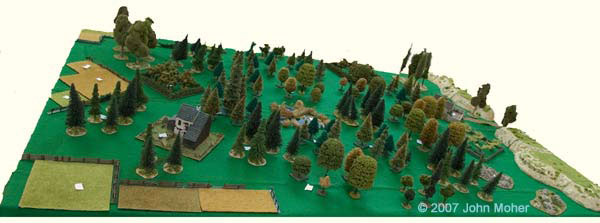
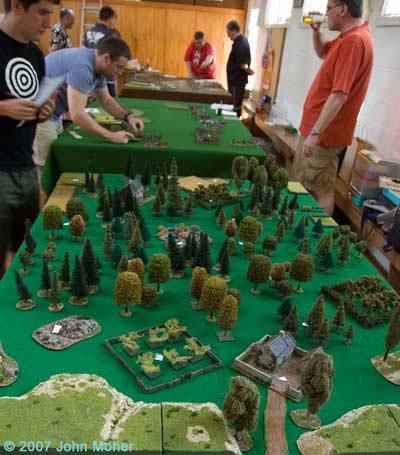
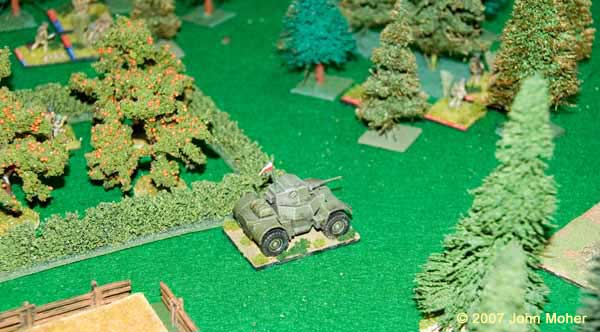
A British Company would be attacking (in place of the Germans in the original), and a German Infantry Company would be defending (in place of the Soviets). As we currently had no MMG Sections based up for the British they would instead receive 2 Daimler Armoured Cars to provide MG support (i.e. 4D), and they had two 3″ Mortar Sections in support. We also used our own Anti-Tank Rules for the German Panzerfausts which meant the Daimler’s were a bit vulnerable if they were too close to the German Squads equipped with these, and our own Sniper rules. The terrain was slightly modified to suit what we had and to provide a more Normandy/French feel (although we still endeavoured to maintain the same ratio and size of terrain features as in the original). Otherwise the scenario was as described in “Hit The Dirt” with the same victory conditions, and such like.
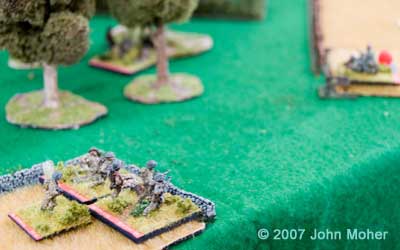
Kieran commanded the German Defenders, and I the British Attackers. The game was played with 1/76th scale figures and models (or 20mm if you prefer). The British began the game with a push up their extreme right, the centre had the look of a killing zone about it (despite all the cover) and a right hook along the table edge was decided as the first step to probing the German positions and strengths.
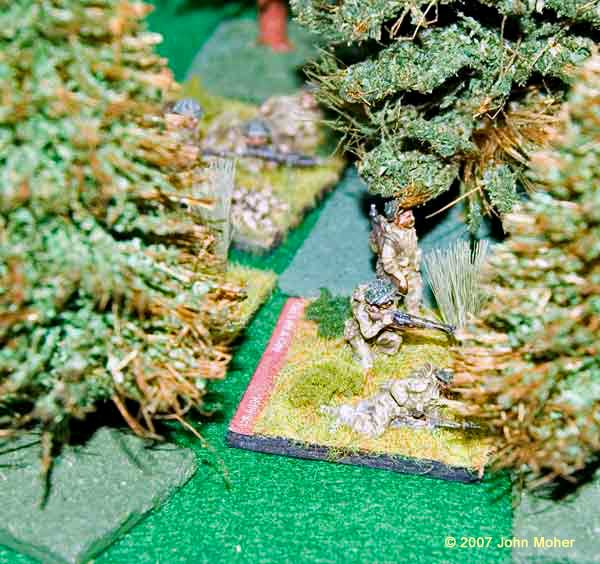
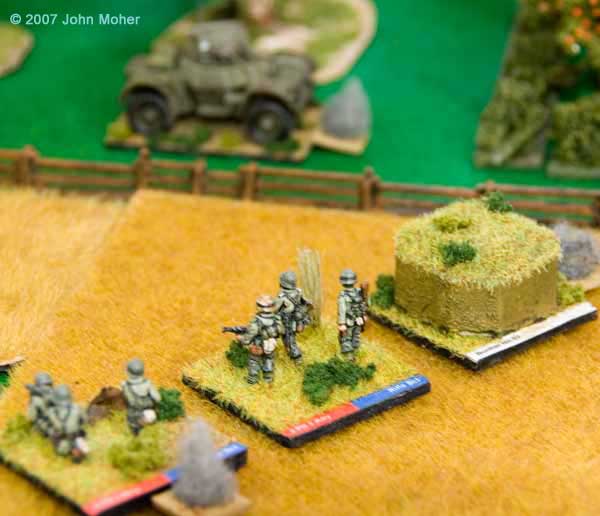
1 Platoon pushed up the right flank (see photo above) and made some initial progress before encountering a German FDL (Forward Defended Locality). The platoon pushed one section (squad) off to the left into the wood to attempt to bypass the defenders, and got lucky initially as their reactive fire failed and causing them to go ‘No Fire’.
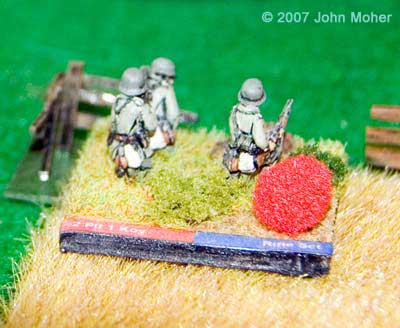
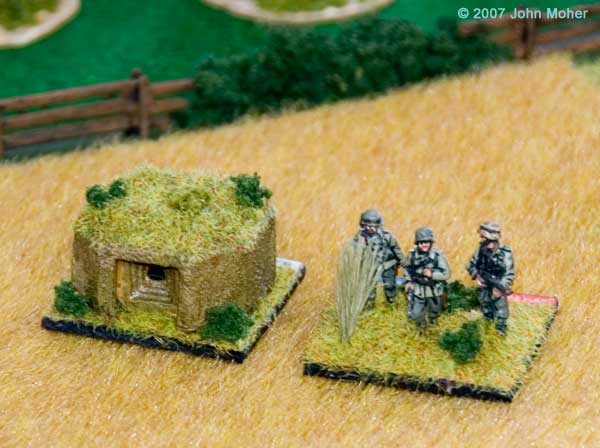
However the probe by the leading Section promptly discovered more German defenders; another Rifle Section and a MMG Section in a bunker – needless to say they were forced to go to ground (suppressed) under the combined fire. The British responded in their next initiative by bringing up a Mortar FO (for one of the 3″ Mortar Sections) and a Daimler Armoured Car – both took fire being pinned as they approached the German positions. The British Company Commander was still keen to push up the right flank – as it was likely the German defence might be relatively brittle here and a penetration could allow movement in behind the remaining defenders in the bulk of the wood (the classic right hook).
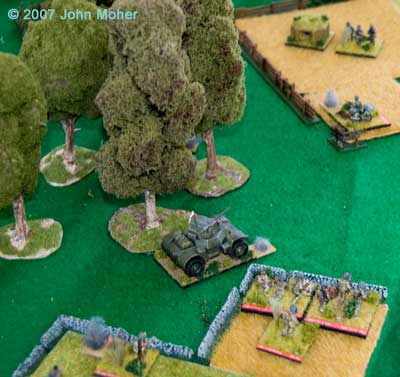
Eventually the British Mortar FO got into position and after a couple of unsuccessful attempts by the Daimler to suppress the German Infantry with MG fire the Mortar Section had a go with HE (which was also a failure). The Mortar Section was therefore then used to smoke the German MMG Bunker and adjacent Rifle Section. This allowed 1 Platoon and the Daimler Armoured Car to attempt to concentrate their fire on the forward (FDL) German Section. However more Germans were revealed in response, from a neighbouring orchard, a Rifle Section and a Sniper who engaged the British when they attempted to advance or otherwise reposition when the forward German Section had been suppressed or gone ‘No Fire’.
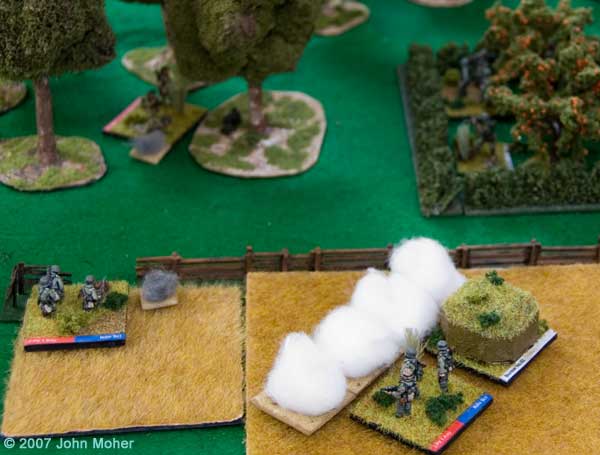
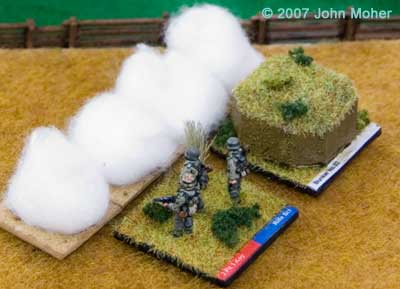
The British therefore continued to smoke the German MMG Bunker while they attempted to deal with the forward German section and the new threat from the orchard. With only 3 Platoons at hand the British CC was reluctant to throw a second one in so early in the battle and resisted the urge to bring more troops in. So far both side’s shooting had been pretty lousy and the Brits were chewing through their Mortar ammo with little tangible result.
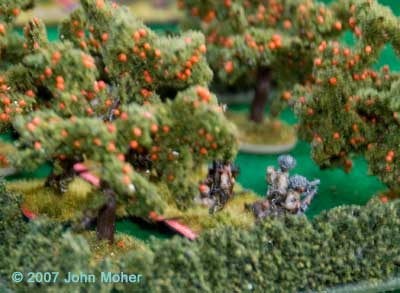
After some more inconclusive fire the British CC relented and brought 2 Platoon up to reinforce the attack and with the smoke keeping half the German troops out of action they successfully pushed up into the orchard and overwhelmed the Rifle Section and Sniper located there. However this did mean two-thirds of the British force was now committed on the extreme right flank!
With the threat of being out flanked caused by the loss of the orchard the German CC promptly withdrew his forward Rifle Section, bringing it back to the line held by the MMG Section and the other surviving Rifle Section of the 2nd platoon. The British followed up by pushing the Daimler Armoured Car hot on their heels, before the smoke lifted at which time the Daimler was pinned (temporarily halted) by enemy MG fire (we had a house rule that allowed the German MMG’s to fire at the Daimlers with 2D – a Pin would end the Daimler’s current action at that point and make it slightly harder for them to do another action).
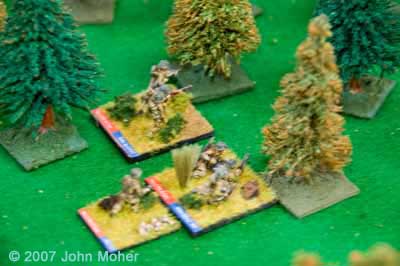
By now the British CC was in a bit of a quandary, the Mortar Section in action was almost out of ammo (and the second Mortar FO wasn’t up yet), the Daimler was having little effect, he then lost a Rifle Section to German fire and the new German line on the extreme right was looking pretty daunting. Attempts by 2 Platoon to push beyond the orchard had encountered fire from a second German Platoon to the left-centre of their position. At this stage loses were 1 Section (Squad) apiece – a ratio the British couldn’t afford to maintain if they were to win the battle…
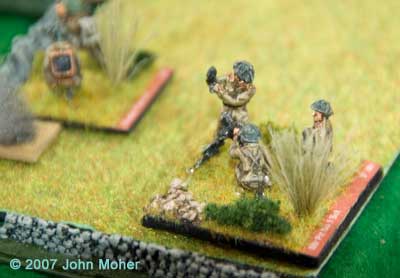
Deciding it was time for more action the British CC had 3 Platoon begin moving on towards the centre of the wood. Their job was to push up the centre then towards the right, hopefully disclosing a gap in the German defences and effectively isolating the already identified troops on the British right. This would allow Nos. 1 and 2 Platoons to concentrate on eliminating the German forces there without threat of flanking fire or counter attack. The second Daimler Armoured Car would also move up in support of 3 Platoon as there was insufficient room for both Cars to operate together on the right flank – which would have been the preferred option to maximise their firepower.
3 Platoon promptly came under long range harassing fire from what appeared to be another German FDL (a Rifle Section and MMG Bunker) which pinned elements of the Platoon. In response the second Daimler gingerly edged forward to attempt to suppress them, but was promptly taken out by a Panzerfaust shot from a German Section that had not been detected! 2-1 to the Germans – not a good start for the Brits at all! The second Mortar FO moved up with 3 Platoon and they moved further forward, only to be caught in a CrossFire that resulted in the loss of a Rifle Section and the Mortar FO! 3-1 Germans and the Brits lost half their indirect fire support! There is a lesson here about not moving your FO’s around in exposed unsecured positions…
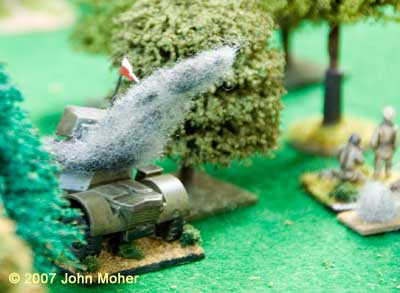
Consequently focus then switched back to the right flank and a concerted effort by 2 Platoon finally managed to draw some unsuccessful enemy fire, causing ‘No Fire’ status and allowing the Platoon to complete the encirclement of the original German position on the extreme right. As the 3″ Mortar Section fired off the last of it’s ammo 2 Platoon swooped in and assaulted the German MMG Bunker from behind, destroying the MMG Section occupying it and exposing the remaining German Rifle Sections.
With 1 Platoon attempting to close in from the front as well this German Rifle Platoon’s days were numbered. The 1-3 score line was 2-3 then soon 4-3 as the Brits rolled up all 3 Sections in the position!
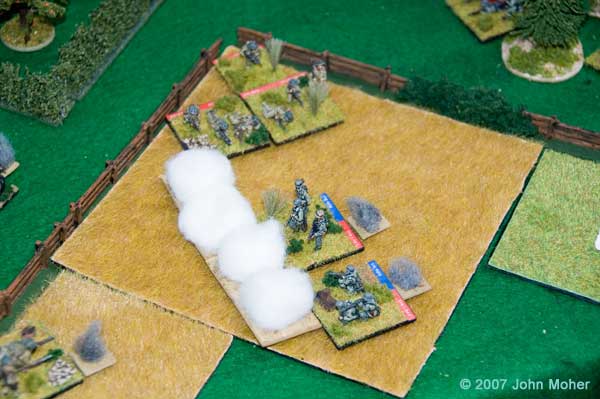
This action was soon successfully concluded although the surprise loss of a British Rifle Section afterwards (to fire from neighbouring German troops to the rear) left the advantage back with the Germans 4-4 as they had less to achieve to win the battle.
The British were then however able to successfully subdue the balance of the German forces on the right after that (2 more Rifle Sections to the rear and centre of the position they had assaulted) which finally put them in the lead 6-4. However the British still needed 4 more enemy squads and the Germans only 3 to win the scenario.
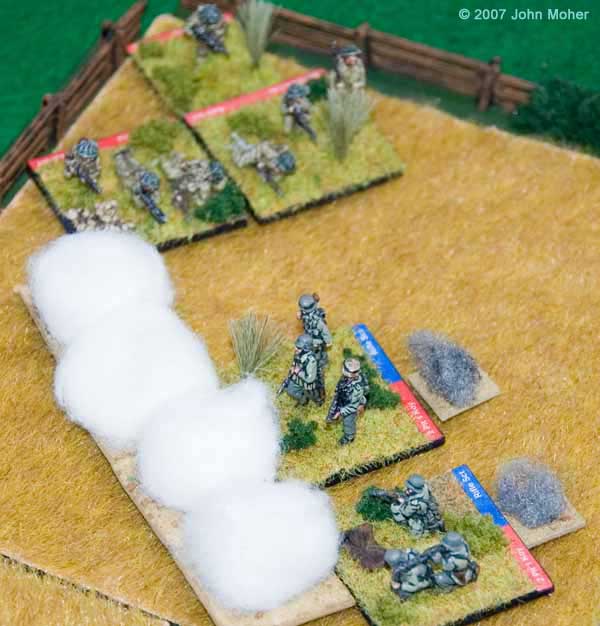
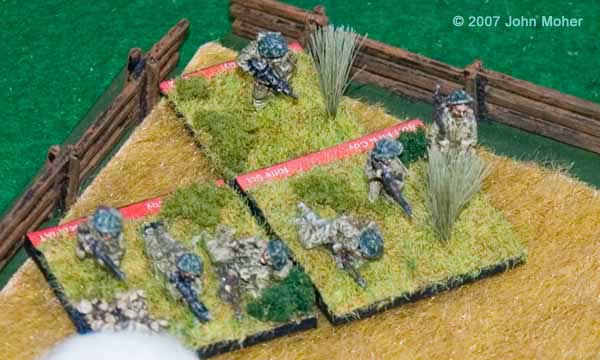
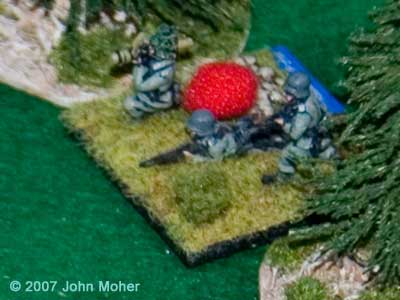
The British re-orientated and began their push towards the central-rear parts of the wood. By now all 3 Rifle Platoons were reduced to 2 Sections each and the second 3″ Mortar Section had been effectively rendered useless with the earlier loss of the FO (this was a significant loss in the grand scheme of things). The Daimler was also being a bit more circumspect after the fate of it’s compatriot.
As British troops pushed forward they successfully destroyed another German Rifle Section making the score 7-4. However then, as victory looked possible 2 Platoon (who were out in front) got caught in a CrossFire and wiped out to a man (2 Rifle Sections and the PC) suddenly it was 7-6 and the Brits were on the verge of defeat!
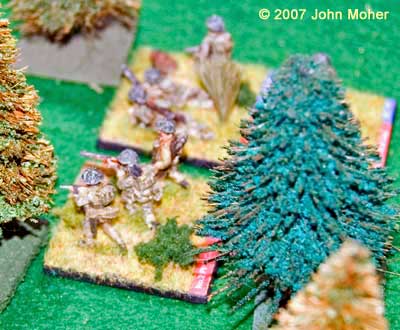
Without the second FO (and the lack of ammo for the first Mortar Section), and only 1 operational Daimler, the Brits were lacking grunt – it was going to be hard for 2 weak platoons to achieve the objective. With insufficient firepower the only real option was to attempt to manoeuvre into a position to close assault with numerical superiority from a covered position (i.e. The whole of a surviving Platoon – 2 Squads and a PC versus a single German Squad). However finding a gap was difficult, and an approach not covered by fire harder, and it was only a matter of time before the Brits made a wrong move and the Germans scored a kill on another Rifle Section – 7-7 and a German Victory!
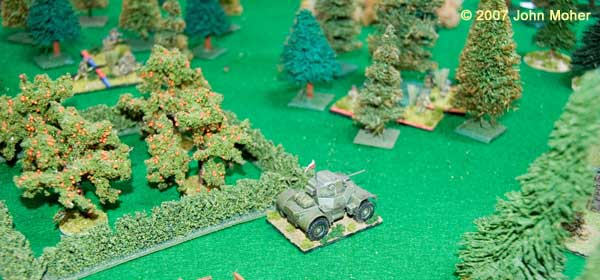
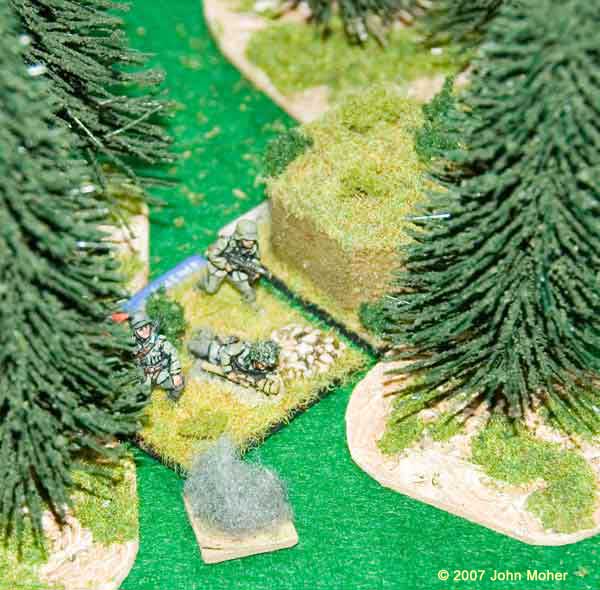
Kieran and I enjoyed the game and even with our tweaks found the scenario to be pretty well balanced. The use of Armoured Cars instead of MMG Sections for the British may have just slightly weakened their ability but on the whole there was sufficient opportunity for them to have been more successful. The presence of 12 Rifle Squads (instead of the Soviets 6 Rifle & 8 SMG in the original) may have made the German Defenders marginally stronger also (improving their longer range firepower slightly). Kieran successfully kept some German forces in a partial second line behind his main one so even when the Brits appeared to break through there was always at least 1 enemy Squad nearby to harass them with reactive fire.
