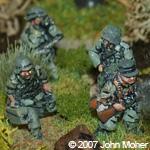
 Kieran and I decided to play yet another “Hit The Dirt” scenario, so we selected ‘Scottish Corridor’, as a suitable medium-sized scenario that matched our available forces on the day. Before going further please note that all hedge lines and such in the scenario are Bocage, however in the photos we have only used normal Hedges and Lichen to represent these, so bear that in mind when viewing. Note we also got the map slightly wrong in the North-East corner (top right), we misread the contour as a further elevation rather than the reclining slope on the back of the ridge it should be – however this was to have no impact on the game.
In the scenario a Company of the 2nd Argyle Highlanders is holding an exposed bridgehead during Operation Epsom, and is subjected to repeated but poorly managed counter attacks from the 10th SS Panzer Division who have just arrived in Normandy.
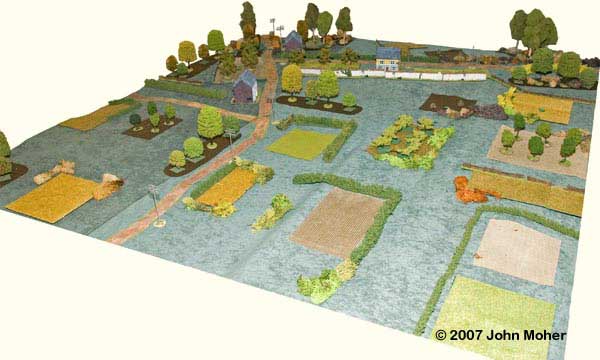
Once again we slightly tweaked the Order of Battle, the British did not get their 6pdr ATG (with APDS), their MMG stand, or their 3 Snipers, instead they got 1 M4A1 Sherman (from 11th Armoured Division) and an Armoured Car Troop of 2 x Daimler Mk.II’s (one with a Little-John Squeeze Bore adapter) and 2 Daimler Dingo Scout Cars. We also gave the Germans a JagdPanzer IV (L/48) and a StuG IV in place of the two Panzer IVH’s and consolidated the 2 MMG stands into a platoon with a PC attached to the first Panzer Grenadier Kompanie (a more historical deployment). As always we used our own house rules which include our Anti-Tank Rules (now up to version 5), and some modifications to HE fire and Cover effects. Also as we use 1/72nd scale figures on 40mm bases we enlarged the map 125% (i.e. to 5′ x 5′). Otherwise the balance of the scenario and forces were as described in “Hit The Dirt” along with the published victory conditions.
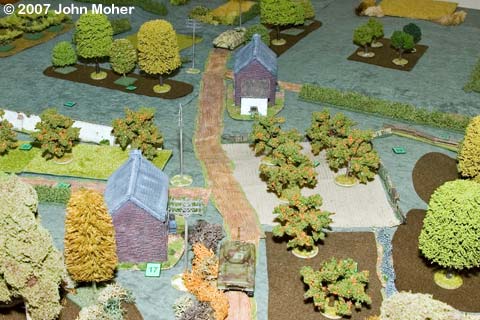
Kieran commanded the German attackers (quite a change for him), and I the Scots. As mentioned the game was played with my 1/72nd scale figures, which are mostly ‘AB Figures’ and we got underway with Kieran rolling for the initial German forces arriving… These turned out to be the 1st Panzer Grenadier Kompanie, and the SP Panzerjäger Platoon. The game commenced with the JagdPanzer IV rolling up the main road, only to be confronted by the British Sherman deployed on the ridge, as it neared the Sunken Road.
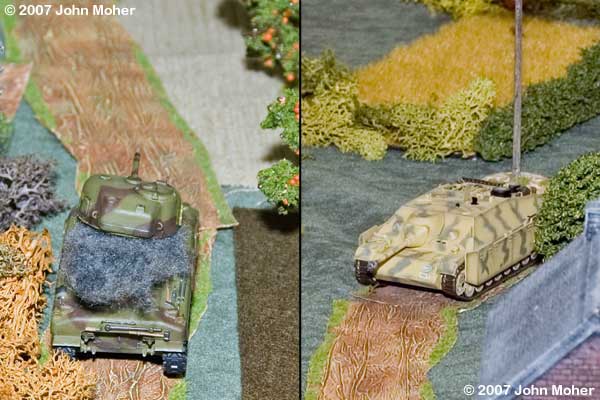
Although the Sherman got the jump, its fire was ineffective (the 75mm having only minimal chance of seriously harming the front armour of even an early model Jgdpz IV) – and the JagdPanzer replied by then drilling the Sherman immediately with it’s first shot! Following the exchange of fire the StuG IV moved on, to the JagdPanzer’s left advancing across the high ground in the South-West parallel to the latter’s position. This was then followed by the appearance of Platoon 2 from the 1st Panzer Grenadier Kompanie, who advanced to the right of the JagdPanzer, essentially up the central part of the valley which had some extensive cover for some of the way along it.
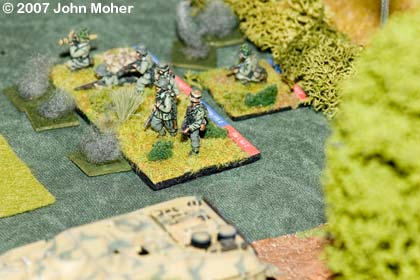
However, once they reached a point roughly half-way to where the JagdPanzer was deployed they were caught in the open by British fire. Having to rush an open gap between two bocage lined fields they came under accurate Rifle & Bren Gun fire which killed one Section, suppressed another and the PC, and pinned the third Section – not bad work for 2 British Rifle Sections! The fire had come from the first building, further up the road, and the wooded area across from it that was directly in the German’s line of advance. This was then followed up by 3″ Mortar fire, from the MOP (Mortar Observation Post) located in the same building, which promptly ‘double-suppressed’ the suppressed stand… A second burst of fire from the 2 Rifle Sections (controlled by the PC also in the building) suppressed the remaining (pinned) German Section, and a repeat burst finished it off – scratch one platoon, not an auspicious start.
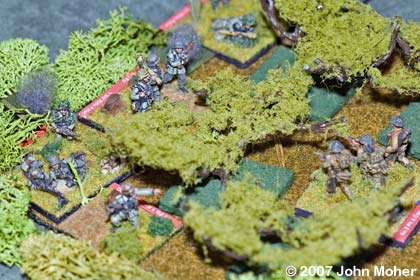
The next German plan was a move up the right flank, with Platoon 1 of the 1st Kompanie moving along the edge of the ridgeline towards a centrally located orchard, where they inadvertently stumbled on a Scottish FDL (Forward Defended Locality), a lone Rifle Section. The British fire was effective, at least pinning 2 German stands, but they promptly rallied and subsequent reactive fire was ineffective.
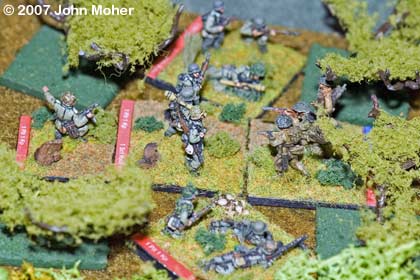
As can be seen from the previous photo the Germans had quickly rallied and pressed in to close assault, relying on their sheer numbers to decide the fate of the lone Scottish Section. Overwhelmed by numbers they succumbed (more of their loss below) and the Germans confidently advanced onwards, making a group dash across the next patch of open ground. But their confidence would be their undoing, the rest of the Scottish Platoon was nearby and caught the Germans in the open in a CrossFire, the fire of the 2 Rifle Sections, suppressing and pinning the Germans.
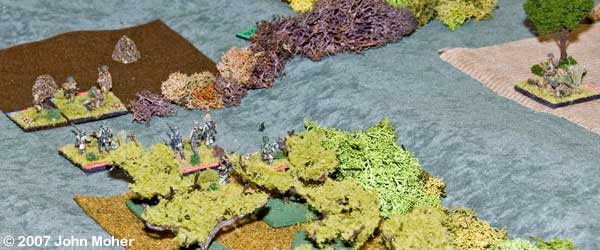
Once the British had initiative, No.2 Section (right hand side of above picture) helped out by using the platoon 2″ Mortar to drop some HE on the suppressed Germans. More staunch rifle fire followed and the German platoon was decimated… With nothing to lose the PC and last Rifle Section charged the Scots in front of them, the Rifle Section being gunned down by more Rifle & Bren Gun fire, leaving the SS PC alone and within a base width of the Highlanders, with no option but to walk up to the Highlander’s and hand himself in, “vor me zee wor ez uver” he was thought to remark. The Germans followed up with some 75mm HE fire from the JagdPanzer against the first house (with the PC, MOP, & Rifle Section in) but with it’s bunker status this proved pretty ineffective…
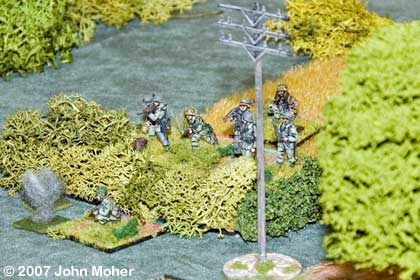
Following up from the disaster above, the next German Platoon moved on, the third from the 1st Panzer Grenadier Kompanie. However it followed the route of Platoon 2 but stopped short of the open ground where the latter had been caught out, being a bit more circumspect. By now the balance of the German forces had arrived, and the Panther came rolling on along the Eastern Ridge, heading for the Scots Platoon that had decimated Platoon 1 of the 1st SS Kompanie. The Scots were unfortunately at a disadvantage, having lost their PIAT with No.1 Section in the forward orchard earlier in the German attack!
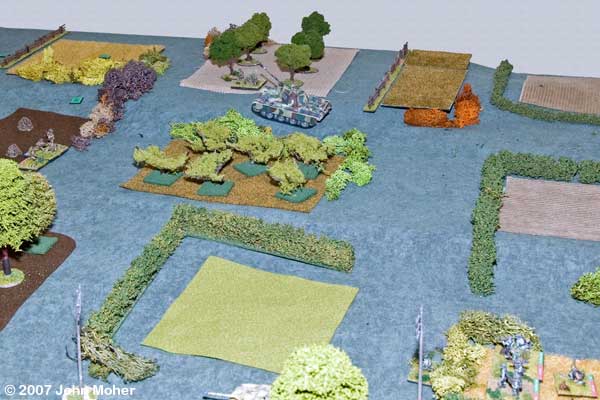
The Panther made a bee-line for No.2 Section, exposed on the top of the ridge in another orchard, but it’s first round of 75mm HE flew very wide, and the section quickly fired their 2″ Mortar to try and lay smoke in front of the Panther and cover a fast retreat! Alas the smoke failed to materialise, and then the British lost the initiative. The failure to conduct a retreat move at the first opportunity would prove costly.
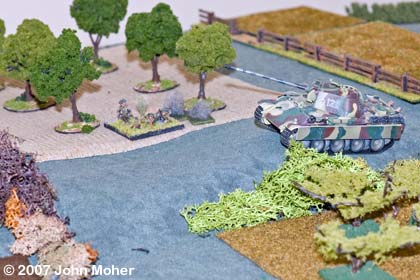
The Panther kept the Rifle Section suppressed, although was unable to finish them off. Meanwhile more German forces moved onto the battlefield, including the 8cm Mortar Sections supporting each of the PzGr Kompanies and the first elements of the 2nd PzGr Kompanie. The 1st Kompanie MOP moved up under fire (getting pinned in the process), but managed to bring some (quite ineffective) fire down on the first house (near the sunken road) and deterred Kieran from bothering to shell the building for some time! At this time the moving clock finally activated and 1430 rolled over!
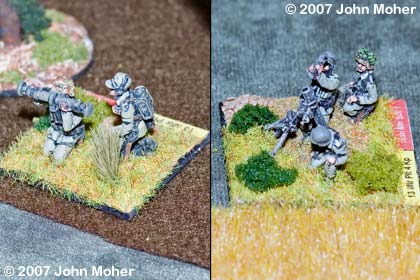
By now the lead elements of the second Kompanie were advancing into action, Platoon 5 moving along the edge of the Eastern Ridge following in the wake of Platoon 1.
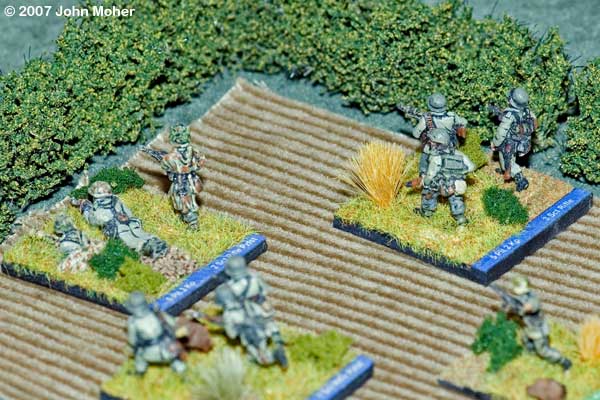
This advance by 2nd Kompanie was reinforced by Platoon 6 moving parallel along the top of the Eastern Ridge, and soon they had outflanked the suppressed No.2 Section in the orchard. With the Panther keeping them suppressed, the SS Infantry promptly manoeuvred around behind No.2 Section, although one Rifle Section was suppressed by some lucky rifle fire from the remaining Scottish Rifle Section lower down the slope. The remainder of the platoon (1 Rifle Section and the PC) then close assaulted and eliminated the Rifle Section – off to the POW camp for them!
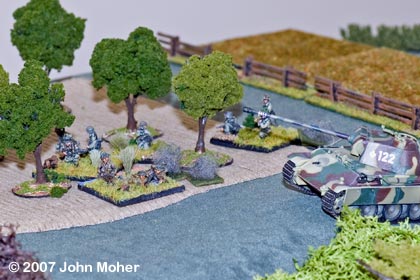
The British response was for the remains of No.2 Platoon (i.e. the PC and Section No.3) to rapidly vacate their now exposed central position, and using the cover of the bocage, move up onto the top of the Eastern Ridge and try to block the further advance of the SS infantry.
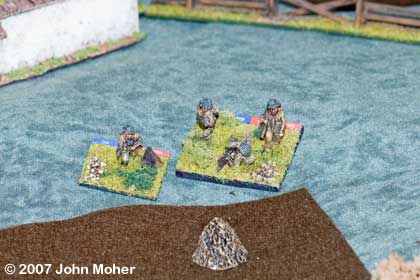
Meanwhile on the lower slopes, the withdrawal of the above allowed SS PzGr Platoon 5 to move up in support of Platoon 6, and soon they occupied the central orchard parallel with the latter and the Panther’s current position. Ironically they were to end up remaining here for the balance of the battle taking little more active part, until the dying stages when they performed the final act.
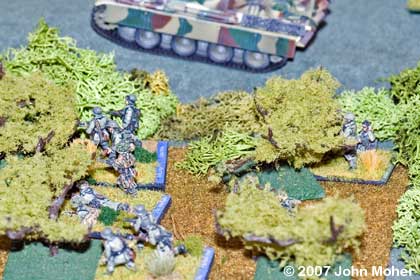
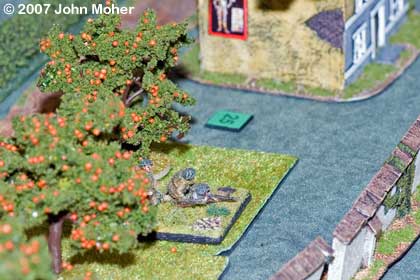
However the Germans did not have it all their own way, two Sections from No.3 Platoon disclosed themselves on the top of the main ridge (one in the house, one in the neighbouring orchard) and brought some spirited, if largely ineffectual fire, on the SS troops as they entered the orchard. The German response to that however was a limited advance by the Panther who’s fire soon suppressed the Section in the orchard (below).
Meanwhile back on the Eastern Ridge the SS infantry continued to advance, and soon bumped into the remnants of No.2 Platoon that had redeployed in their path. What’s more an Armoured Car section was also present in the vicinity, and while of some support to the infantry were also decidedly vulnerable to the enemy infantry should they break through!
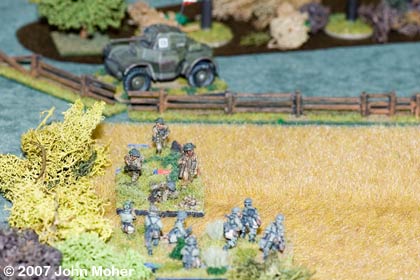
Unfortunately the remnants of No.2 Platoon did not put up much of a fight and were promptly dispatched by the SS. The Daimler Armoured Car PC and accompanying Scout Car attempted to drive them off with MG and LMG fire with little success, and began to receive back Panzerfaust fire for their troubles.
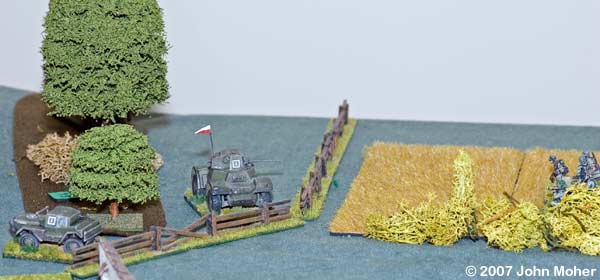
While the Daimler and Panzer Grenadiers exchanged MG and Panzerfaust fire respectively, back on the fairly quiet left flank (the Western side of the valley) some action took place, with the StuG IV moving up in support of the JgdPz IV so the two could jointly (Group Fire) bombard the first house. However a couple of attempts at this were unsuccessful and discouraged Kieran from further attempts (remember the buildings are classed as bunkers in this scenario). The second MOP also moved forward and joined Platoon 5 in the central orchard on the Eastern Ridge’s lower slopes.
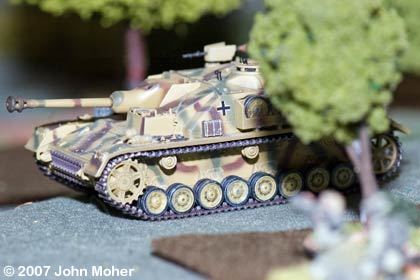
Kieran now came up with a cunning plan – Platoon 3 retired from their position back towards their start line. Once out of view the swung West, and headed to the extreme left flank, where they ran up to and into the sunken road. Rifle fire from the house was ineffectual and they quickly used the sunken road as a covered approach to the house.
A brave assault followed 2 SS Rifle Sections and a PC versus 1 British Rifle Section and a PC (and MOP). However the British proved victorious and in a brutal house-to-house type fight the SS Platoon was rendered combat ineffective for the rest of the battle. Around this time the moving clock activated again and 1500 hours came up (i.e. the battle had been raging for 1 hour).
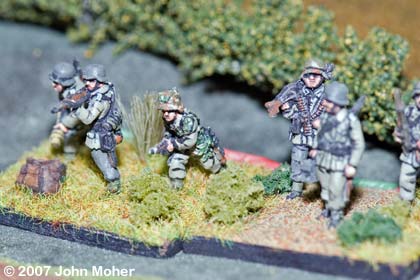
Reverting to the Eastern flank Kieran again advanced the Panther, killing the Rifle section in the orchard on the main ridge with an HE shot, then moving into position to shoot up the Daimler Armoured Car. The Daimler fired it’s Smoke Dischargers, and again the British smoke failed to materialise! Still the 3″ Mortar Section came to the aid as the MOP could see what was transpiring from his vantage point in the house across the valley and he dropped smoke to screen off the British light AFVs from the Panther. Not to be out done the Panther driver gunned the engines and roared up the last part of the ridge smashing his way through the wall along the crest! Meanwhile the Germans’ MMG Platoon had also moved on, and were advancing along the top of the Eastern Ridge, and were now following up behind Platoon 6 close in support.
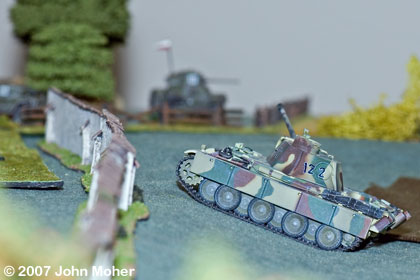
With some care the Panther manoeuvred it’s way through the wall and onto the top of the ridge, driving out onto the road!
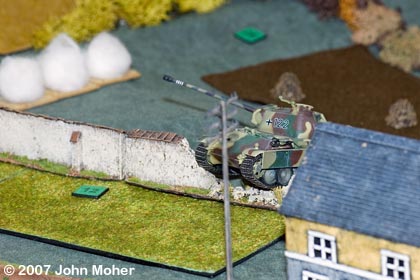
Obsessed with destroying the British AFVs the Panther rushed out onto the road to obtain a shot at the Daimler Dingo Scout Car, only to be ambushed by the second Daimler Armoured Car, who promptly put a 2pdr round into the side of the Panther, suppressing it! If only it had been the one with the Little-John adapter fitted – which would have significantly improved the 2pdr’s performance against the Panther’s flank armour! However the Daimler crew failed to activate for a second shot and initiative was lost, the Panther promptly rallying the suppression.
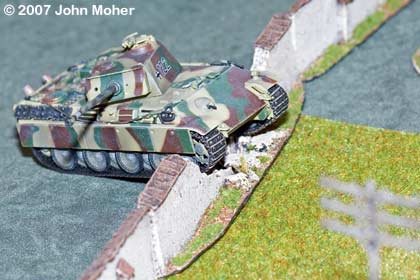
So at this point the German infantry were trying to take out the first Daimler Armoured Car with their Panzerfausts, the Daimler & Dingo were trying to machine-gun them in self defence, the Panther was trying to put a 75mm round through the Dingo Scout Car, while the second Daimler was putting 2pdr round’s into the Panther’s flank as fast as it could. Obviously it was all going to end in tears eventually for someone! The moving clock kicked into action about now and the time rolled over to 1530.
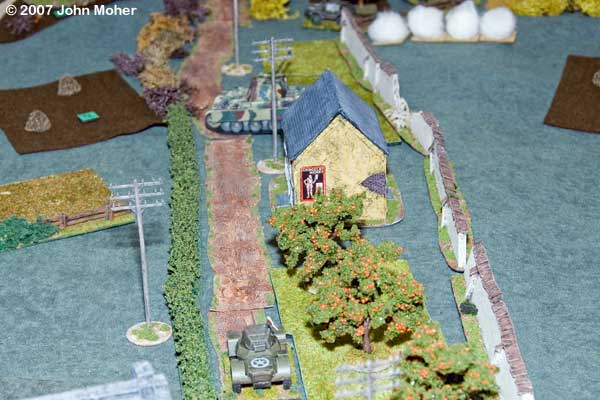
One of the great features of Crossfire is how this action became the focus of all the activity in the game – and elsewhere impetus was lost by this lack of focus. In reality the armoured shoot-out may have only occupied 5 minutes of actual time, but Crossfire’s flexible game turns and time scale allows it to be resolved in detail (multiple initiatives) while in effect no action occurs elsewhere on the battlefield.
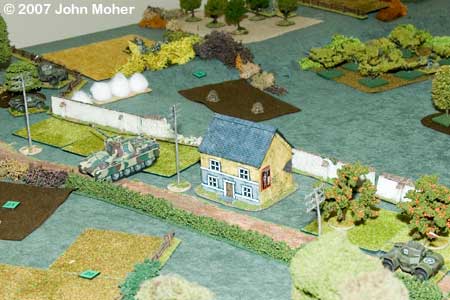
Although the second Daimler managed to suppress the Panther again, the SS infantry also suppressed the first Daimler, and with initiative they moved in and close assaulted the Armoured Car, the result being pretty predictable.
The infantry followed on that success by promptly suppressing and close assaulting the Dingo Scout Car, with an even more predictable result.
The SS MMG Platoon was also moved up at this time, into Platoon 6’s former position in the wheat field near the knocked out Daimler Armoured Car, and they were ready to come to the Platoon’s support if they needed it.
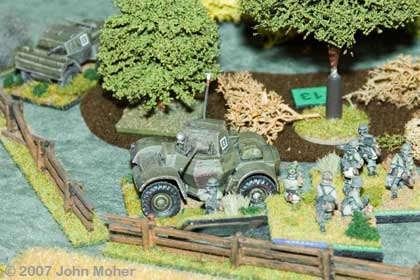
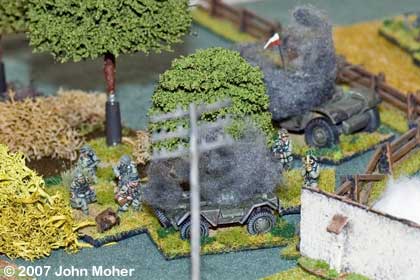
However this all came at a cost, the Panther had been left suppressed and exposed, and the British Rifle Section in the nearby house quickly moved out and close assaulted it, destroying the beast, before safely retiring back into the house!
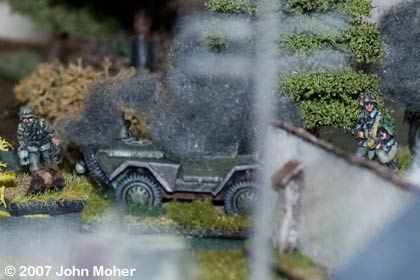
With the loss of the Panther, Platoon 6 rushed forward through the fields and into the open to assault the house, successfully surviving the reactive fire. However once again a building assault went bad for the Germans (despite having 2 Rifle Sections & a PC versus 1 Rifle Section & PC) and they suffered heavily as the building remained in Scottish hands. With this defeat the Germans were reduced to just 2 Platoons remaining (No.4 and No.5 totalling 6 Sections), and with the perceived ineffectiveness of the SPGs and Mortars against the buildings, Kieran conceded that he had no better plan to achieve a victory. A final desperate charge was attempted, mostly out of frustration, across the open slope Northwards by Platoon 5 and only resulted in further casualties… And with that the German attack wilted away… The clock had rolled over on the last British initiative but the time was only 1600 and only 2 hours had passed since the German attacks commenced – it had been action at a furious pace.
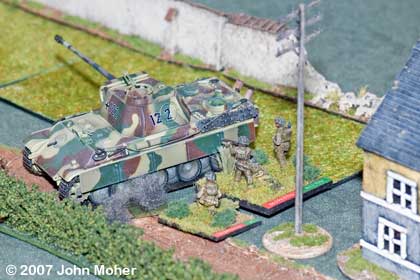
Unintentionally Kieran had perhaps successfully created the piecemeal nature of the real German counter attacks on this day, with the focus on one attack at a time, and the issue accentuated by the restrictions imposed by the terrain. I quite like this scenario and hopefully we may give it a second go sometime soon with the roles reversed.
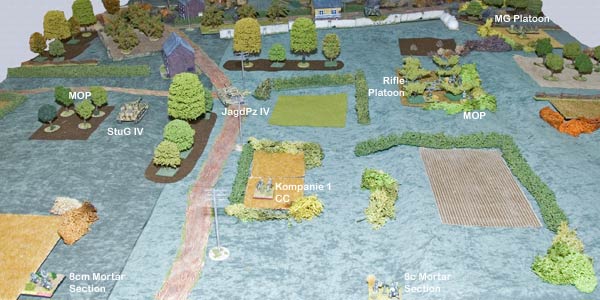
One final observation – I did find the random arrival of the German forces somewhat ineffective – the result tending to mean all forces did arrive fairly quickly before anything too significant had happened in the game. The random arrival effect needs to possibly be a bit more strung out, perhaps the Germans only getting one of the additional units on each initiative phase after the moving clock advances or such like.