 Kieran and I had arranged to play a “Hit The Dirt” scenario with Errol Hooker (who was coming down from Whangarei for the day), so we selected ‘Scottish Corridor’, as we had played it previously and knew it was a suitable medium-sized scenario that had a little of everything (Tanks, Infantry, Indirect Fire, etc). I had also recently started work on some new terrain (3D fields and Bocage style hedges) so we had slightly better terrain for it than the previous occasion. I also got the ridge right this time with the reclining slope on the back of the ridge, and we endeavoured to get the table to even more closely match the map. Unfortunately Errol couldn’t make it at short notice, but Kieran and I continued on, and we had another Auckland Wargamer (Grant Brown) present as an observer interested in Crossfire.
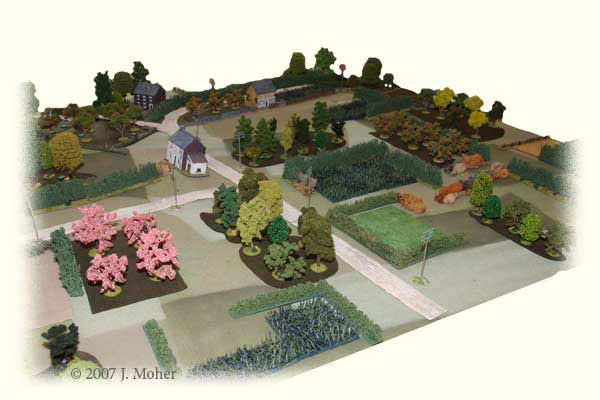
As previously reported, B Company of the 2nd Argyle Highlanders is holding an exposed bridgehead during Operation Epsom, and is subjected to repeated but poorly managed counter attacks from the 10th (Dutch) SS Panzer Division who have just arrived in Normandy from the Eastern Front. As before we slightly tweaked the Order of Battle, the British did not get their 6pdr ATG (with APDS), their Vickers MG stand, or their 3 Snipers; instead they again got 1 M4A1 Sherman (from 11th Armoured Division) and an Armoured Car Troop of 2 x Daimler Mk.II’s (one with a Little-John Squeeze Bore adapter) and 2 Daimler Dingo Scout Cars. The Germans also had a modified OOB, getting a captured T-34/76 (brought with them from Poland) and a StuG IV in place of the two Panzer IVH; although they did again get their Panther (even though historically 10th SS was without their Panther Battalion at the time – this was back in Germany refitting – so that’s an error in the original scenario OOB). As before we consolidated the 2 MMG stands into a platoon with a PC attached to PanzerGrenadier Kompanie 1 (a more historical deployment for the MGs in my opinion).
Also as usual we used our own house rules which include our Anti-Tank Rules (now up to version 5.3), and some basic modifications to HE fire and Cover effects. Also as we use 1/76th scale figures on 40mm bases we enlarged the map 125% (i.e. to 5′ x 5′). Otherwise the balance of the scenario and forces were as described in “Hit The Dirt” along with the published victory conditions.
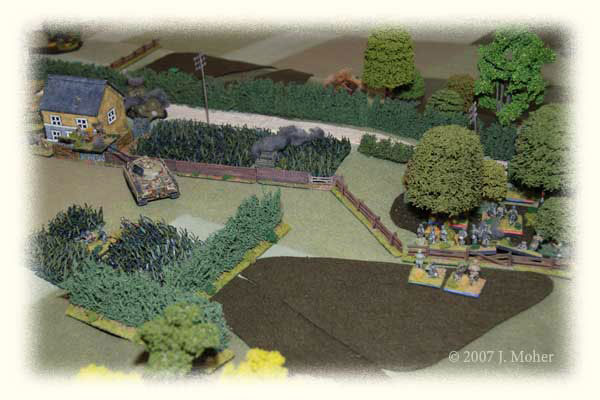
I commanded the German attackers, and Kieran the Scots. As mentioned the game was played with my 1/76th scale figures, which are mostly ‘AB’ and we got underway (again) by rolling for the initial German forces arriving… These turned out to be the 1st PanzerGrenadier Kompanie (again – although the scenario has a 50% chance of this happening), but no-one else. The battle commenced with a rapid advance by PzGr Platoon 2 (a weak platoon in Kompanie 1 with just 2 squads) up the right flank. Kieran’s defence was well back and Platoon 1 was able to occupy the central orchard on the flank quickly without suffering any fire from the defenders (Kieran was holding back from disclosing his positions until he had to). Platoon 1 quickly advanced on (being the strongest Platoon in the Kompanie with a full complement of 3 squads), moving up the right-centre through a long field and into the second orchard adjacent (or rather over the Bocage Hedge from) Platoon 2. At this point Platoon 2 then sent a single squad forward to cross the small open gap in the hedgerows into the next field, where they were bounced by a Scots Rifle Squad and pinned in the open. At this point the German Kompanie Commander and Mortar Section FO were brought on, the Mortar FO moving up to join Platoon 2, and coping some reaction fire from the Scots Squad (who however failed and they went No Fire). The German Rifle Squad then returned fire and pinned the Scots, but then failed to rally (see photo below).
The Scots then fired again unsuccessfully and lost the initiative, and the moving clock also failed to roll on.
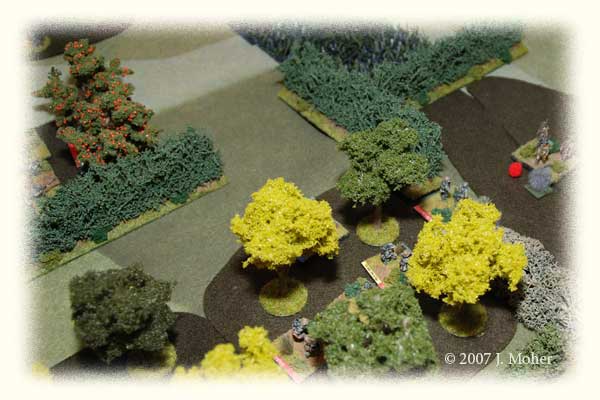
Rolling for German forces it was found the T-34 & StuG had arrived but they weren’t initially moved onto the table, and after some ineffective mortar firing by the Germans initiative was again lost by some failed rifle fire at the Scots (who were No.1 Section of 6 Platoon, and as fate would have it had the platoon PIAT with them). Fire from the Scots was again ineffective, initiative passed, and the moving clock still didn’t want to move!
Some more ineffectual mortar fire from the German 81mm Mortar stand and the Germans took a punt and attempted to storm through the gap with their 2nd Squad & PC from Platoon 2. Reaction fire from the Scots was initially successful and pinned both, but they rallied, resumed the close assault attempt and the Scots went No Fire! A well rolled die, the 10th SS assault was successful, and the British suffered their first casualties (see photo below).
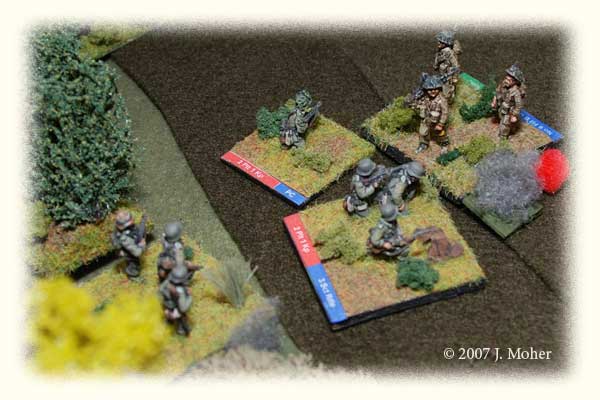
Meanwhile the successful assault had disclosed the presence of a British Daimler Armoured Car, and when the other Squad of Platoon 2 quickly rallied and followed up into the field heading for the northern edge and the ridge beyond that Armoured Car and it’s previously concealed (in a field) accompanying Daimler Dingo Scout Car opened up on the SS Squad, suppressing them with MG fire on the Northern edge of the field (see photo below). However the SS Platoon had almost infiltrated all the way onto the ridge with its first advance.
Initiative was lost, and the Armoured Car & Scout Car fired again on the suppressed Squad scoring another suppression and eliminating them (unfortunately for the German’s they had all Platoon 2’s Panzerfausts). Further firing at the balance of Platoon 2 was only partially effective, and initiative was lost. However the moving clock finally moved and time advanced to 1430 (the Germans had until 1900 to achieve their objectives).
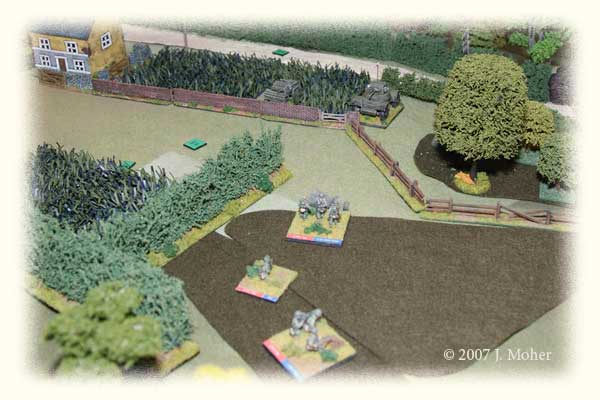
The next German reinforcement to arrive was the other Panzer Platoon, the lone Panther. And this promptly advanced up the right flank in the narrow alley between the bocage hedges and orchards. On reaching the area where Platoons 1 & 2 were in action the Panther halted, concealed by the hedgerows.
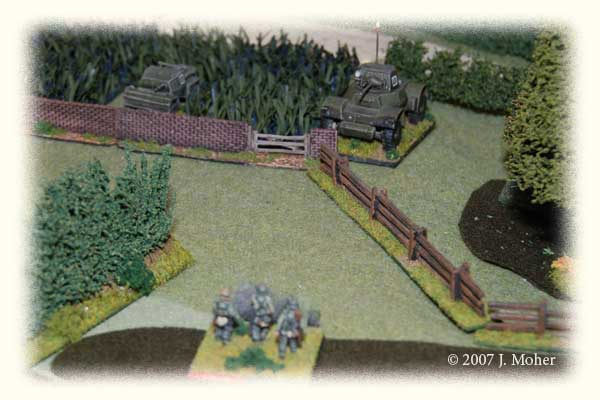
However with no better plan an action roll* was made by the Germans to activate the Panther for additional movement and it edged up beyond the edge of the Hedgerow – only to promptly have a PIAT bomb sailing at them from a previously concealed Scots Squad! The bomb hit causing a Pin (which has no effect in our house rules other than to halt the AFV’s current move activity), and the Panther promptly returned fire with it’s 75mm main gun, causing a Pin in turn on the Scots (see photo below).
Part of our house rules for armour & AT fire, and primarily inspired by an idea of Tim Marshall’s.

Initiative had been lost so the Scots promptly responded by firing the Armoured Car Section at the remaining squad of Platoon 2 in the field near the ridge and scored a double suppression, eliminating the squad, and as a result Platoon 2! This was a pretty effective performance as although the Daimler Armoured Car’s co-ax Besa MG got 4D (less 1D for cover) the little Dingo with just a Bren Gun was firing into the field with only 2D (i.e. 3D -1D for cover), so did a stirling job of backing up the Armoured Car’s accurate fire. The Scots then tried lobbing another PIAT bomb at the Panther, unsuccessfully. The turn ended and the moving clock moved again ticking on to 1500.
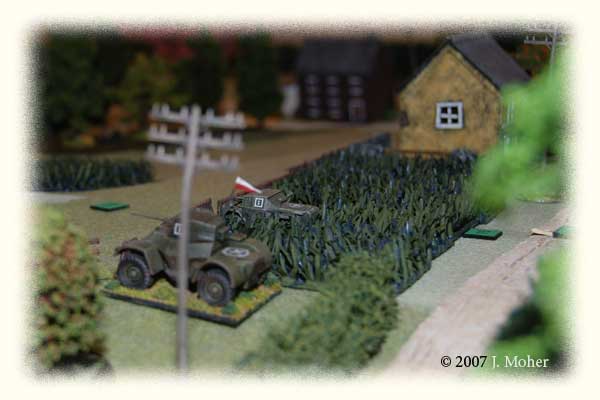
The 10th SS then brought the balance of their armour on, an ex-Soviet T-34/76 and a StuG IV (who had arrived 2 initiatives earlier and were waiting near the attack’s start line), they advanced up the main road to the vicinity of the Crossroads. They had wanted to advance further (to assist the Panther & Kompanie 1) but didn’t dare advance along the road between the uncleared Western Farm House & Central Wood, or through the close country South of the Wood! So a round of desultory firing then ensued, with the Panther unable to do more than a Pin against the Rifle Squad in the field, losing the initiative, and then the Scots erratically lobbing another PIAT Bomb in the Panther’s general vicinity. However the moving clock chose not to move and it was back to the German’s initiative again.
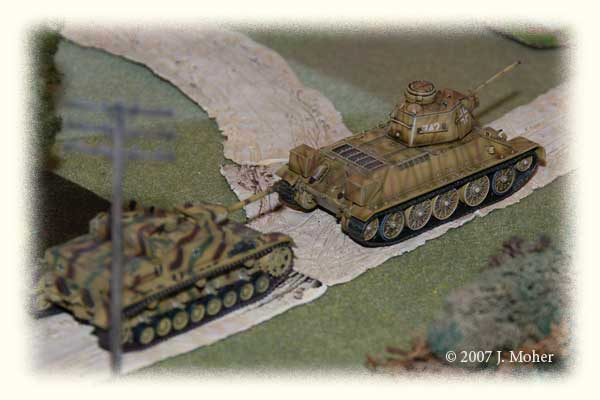
Another shot from the Panther and finally a Suppression! Platoon 3 of Kompanie 1 (only 2 Squads strong) was immediately brought up, leap-frogging Platoon 1 in the centre-right orchard and then making a dash for the hapless Scots, with MP-40’s and Potato Mashers at the ready… But they weren’t to get there! Another Rifle Squad of Scots appeared in the central wood and enfiladed the German Platoon, Scoring two Suppressions and a Pin, catching them in the open (see photo below).
The Scots now had initiative and the Squad in the central wood continued firing, but was unable to get the second suppression they needed to eliminate the closest German Rifle Squad. The moving clock didn’t move again so the time remained 1500 something…
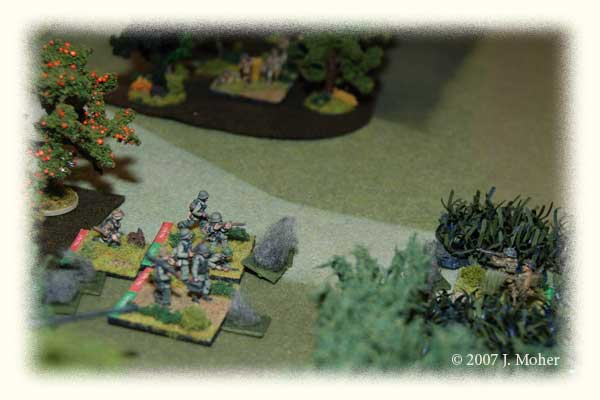
The Germans responded by having Platoon 1 in the orchard engage the Scots Squad in the Central Wood, and by a bit of luck they achieved a Suppression with a CrossFire. They then launched an assault by one Squad across the open ground into the wood, to eliminate the Scots, however once again the Germans were caught out, and another Scots Rifle Squad opened up, this time from the Orchard at the West end of the Ridgeline (one of the German Objectives), getting a Kill and eliminating the German Squad in the open. Kieran had laid out (whether intentionally or unintentionally) some good overlapping & enfilading fields of fire in the central part of the ridge – and whenever the Germans tried to finish off a suppressed squad, they exposed themselves to fire from a new direction.
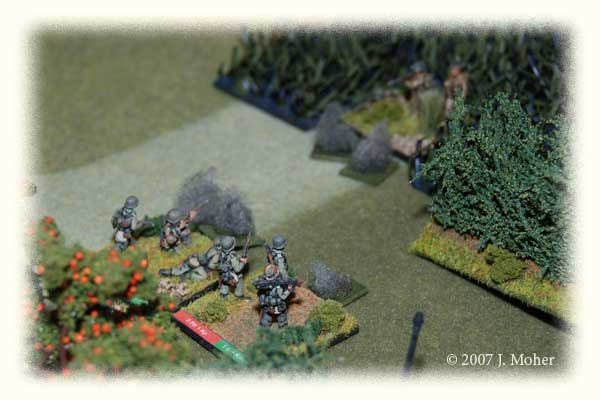
The Scots were managing to effectively cover each other’s positions with overlapping fields of fire, however a failed rally attempt lost the initiative and worse, the clock failed to move. The German Panther then fired on the Scots’ squad in the central wood and scored a second suppression, eliminating the squad and leaving that platoon’s PC isolated on his own. Meanwhile Platoon 3 rallied all members (2 Squads & PC) who had been pinned or suppressed in the open, and resumed it’s assault on the field with the Scots’ squad in. They were immediately successful, despite unsuccessful reactionary fire from the armoured cars on the ridge above, and eliminated the suppressed Scots’ squad before moving through the field to the far side (where they could observe & bring fire onto the ridgeline). The Panther then advanced up behind the Platoon, ready to advance around the field to the North.
A dash by the balance of Platoon 1 (2 squads and the PC) avoided any reaction fire and occupied the central wood, taking the Scots’ PC there prisoner. This is the position shown in the photo below – note that although the Panther’s turret is facing the armoured cars and they are uphill of the Panther’s position, the Panther does not have LOS due to the intervening field, and so must wait until in passes beyond the field to view the ridgeline beyond.
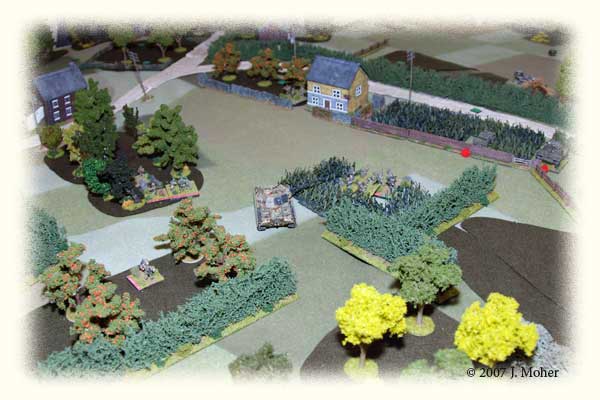
The German forces now faced a dilemma – rush out onto the upper slopes of the ridge and suffer an unknown amount of defensive fire, or despatch the Panther up there knowing it’s at risk of Infantry AT assaults (PIAT fire) and not knowing what heavier AT weapons are present, or try to bring up the balance of the armour – however this would be even riskier so the T-34 & StuG remained stranded on the main road… Otherwise the other option was to resort to some recon by fire and bring the mortar FO’s up – the flaw with this was the British Armoured Cars – any movement, or loss of initiative was just gonna incur retaliatory MG fire from them (4D & 3D) and odds on they would eventually inflict suppressions or worse.
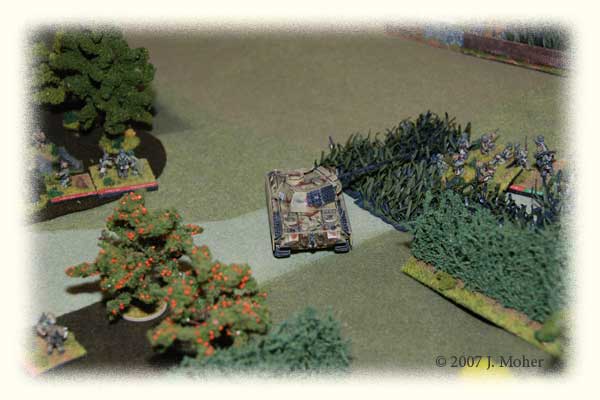
Following this there was a minor impasse, a Mexican Stand-Off, with some desultory fire from either side at their visible targets as no one really wanted to commit to making the next major move – but when the moving clock moved again the Germans had to get on with it!
So the Panther edged up the slope towards the crest of the ridge, as soon as it breasted the edge of the field it spotted the Daimler Dingo in the field and immediately sent a 75mm round it’s way, getting a near miss and suppressing the scout car. Meanwhile the Daimler A/car has already attempted to move from it’s position and reverse down the reverse slope of the ridge, but alas it is cornered and needs to move into the field with the Dingo to get away – it’s reversing in the wrong direction!
Attempting to activate for an extra* action the Panther succeeds and a second round is sent after and demolishes the Dingo, the scout car disappearing in a pall of oily smoke. One wonders just what the Daimler A/car crew are thinking right now – and are they still in their vehicle?
Again part of our (at the time) house rules for armour & AT fire, inspired by an idea of Tim Marshal’s and some discussion on the CF Group.
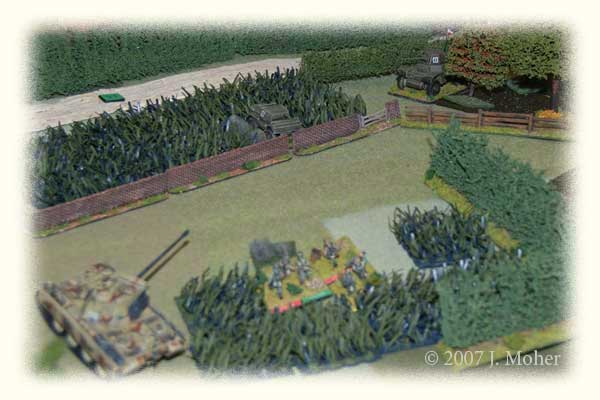
But even while that is happening the new initiative has allowed the Germans to bring on the balance of their forces. The rest of the infantry move up the right flank, now fully uncovered and make it all the way up onto the wooded area at the end of the ridgeline – too worried about the Panther the Daimler A/car doesn’t notice all the SS Infantry approaching through the woody copse next to their position. The Scots position is now at danger of being turned, as the A/car is the last troops left on the Scots left flank – the next closest being at the Yellow Farmhouse in the centre of the ridge.
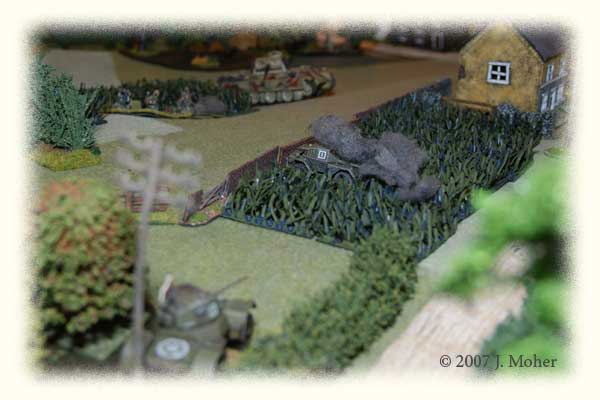
Massing for the attack the SS Infantry assault the isolated Daimler A/car – it has little hope as it’s position is swarmed – even before the Panther can get the killing shot off. The North-East end of the ridge is in SS hands!
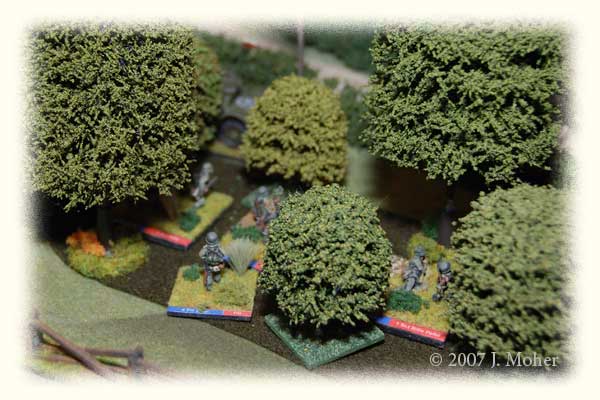
With the Daimler gone the German Infantry down on the central slopes rush up the ridge into the field. Although they make the field safely they then cop some heavy HE fire – from a Sherman that’s been lurking behind the Yellow Farmhouse. The Panther, not aware of the Sherman’s presence, has already begun to advance towards the same part of the ridge. The Scots fail to do anything significant and the moving clock fails to move.
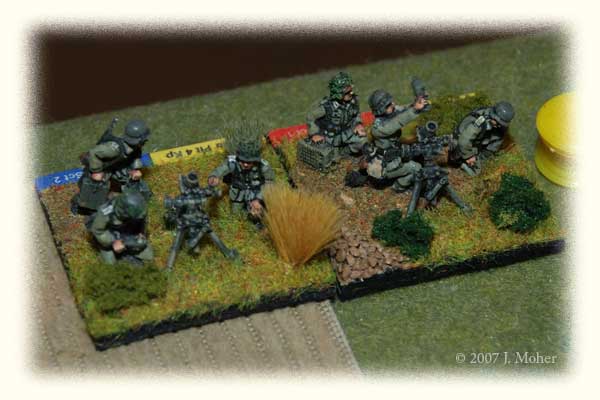
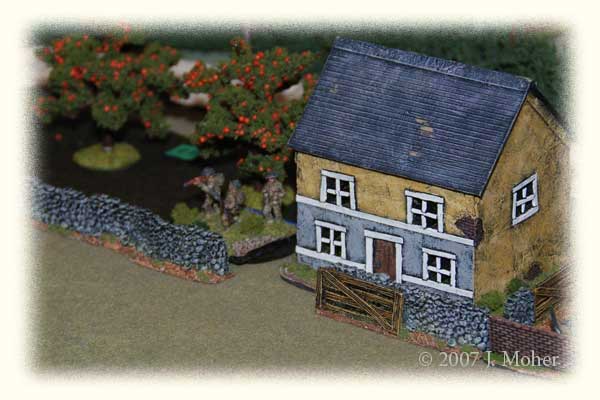
The Panther impetuously advances onto the crest of the ridge, right next to the farmhouse – not only does it find itself blundering into a Sherman at near point blank range, but the appearance of Scots infantry in the Yellow Farmhouse, who have kept themselves hidden all this time, with a PIAT, isn’t anything to be thankful for!
Meanwhile the German Infantry finishes massing in the woody copse, by the disabled Daimler, ready to advance along the main ridge once the Panther takes care of that pesky Sherman!
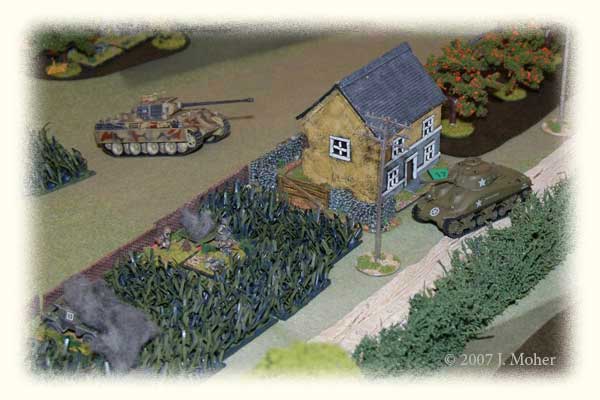
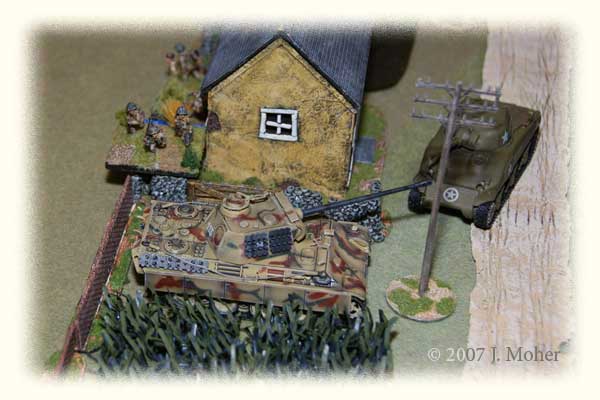
And sure as eggs the Panther strikes, the Sherman ‘Ronsons’, but not before a couple of PIAT bombs have bounced off the Panther! Not to mention the steady small arms fire at the German Infantry pinned in the field beyond the Panther…
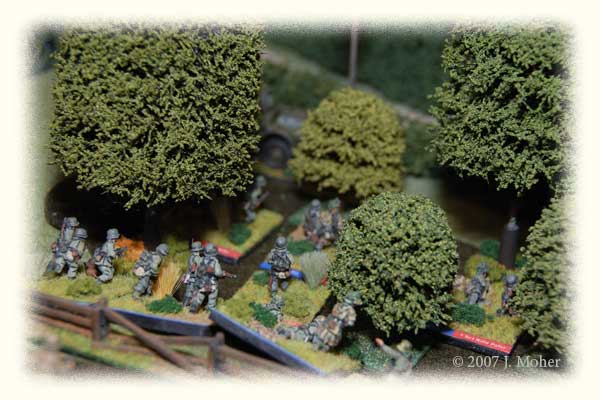
With the Sherman in flames the Panther reverses back down the slope temporarily, it’s way to close to the Farmhouse for comfort, especially without any active infantry escort… Meanwhile the Infantry in the field manage to become unpinned and they too follow the Panther and immediately retire back down the ridge a short way to their start position in the lower field. The Panther positions itself to bombard the Farmhouse from a fairly close range, but hopefully far enough away to avoid receiving PIAT Bombs back! Initiative passes to the Scots, who again only achieve some desultory fire to no effect, and the moving clock fails to move… It’s the German’s initiative again…
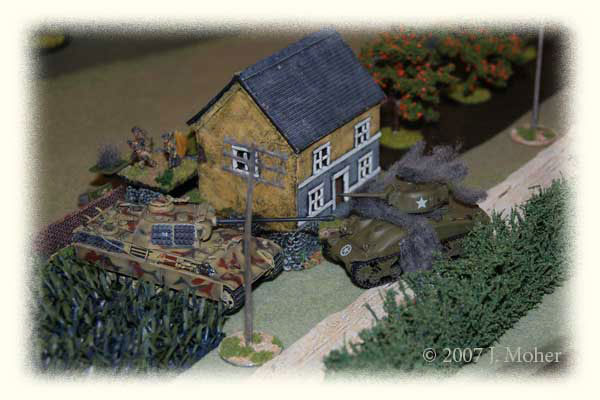
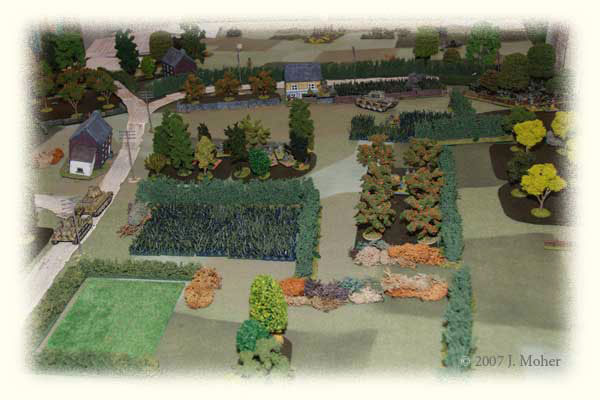
And that’s where we left it (due to time constraints) – the German forces were in a fairly strong position – they had the Panther virtually on top of a primary objective, which was only being defended by a single Squad of Infantry, and had a sizeable Infantry force ready to advance from a reasonably covered position on that locale or around behind the Scottish positions. Meanwhile the moving clock still had a way to go so there was a reasonable amount of time, and on the whole there was not much more the Scots could do to stop a German Victory but get lucky with the dice. So that’s where we left it – with a good probability the Germans were about to get behind the Scottish positions and overrun the ridgeline, and change history…
