Date Played: 04 April 2009 10.30am NZDT (03 April 9.30pm GMT); 0600 WCFD Game Time.
It is 1944 and the Germans are on the retreat. Allied forces are pressing forwards and hoping to encircle pockets of the enemy and force surrenders on a large scale. The Germans, though being forced back, are still resisting well, and have not collapsed. Every game of the WCFD campaign will have some knock-on consequence for later games. Both sides must conserve forces and resources, and yet both are pressed for time. The allies must advance quickly if they are to catch large numbers of Germans before they can retreat and regroup. The Germans must react to the changing situation rapidly to ensure that they are not encircled.
Achieving objectives quickly can never hurt, and can make a great difference to either side’s chances of success in later games. Commanders will not be told in advance what the knock-on consequences of their game(s) will be. You will find out what good you did in after-action reports. – Overall Situation Briefing for WCFD Players.
British Defenders
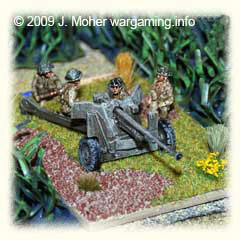
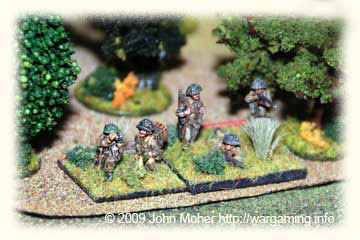
Kieran’s Briefing: Troops from another Battalion of your Brigade have taken your current position from the enemy in a surprise dawn attack yesterday. They suffered casualties in the action, and have missed a night’s sleep so have now been withdrawn and the men of your Rifle Company (3 Full Strength Platoons) have come forward to replace them and prepare for the inevitable German counter-attack. You have not had time to dig in and annoyingly, all the Divisional MG Battalion’s Vickers MMGs have been assigned to other areas, so your only significant MG support will come from an under-strength Section of the Carrier Platoon (2 Carriers; the first with the PC & a PIAT, the second a 2″ Mortar). You will also be supported by a Section from the Battalion ATG Platoon (2 x 6pdrs with Lloyd Carriers), a Section from the Battalion Mortar Platoon (1 x 3″ Mortar Stand in Carrier with FO), and one of the Battalion’s Snipers. Its not known exactly what to expect from the Germans.
Further reinforcements may be available if required, but should only be requested unless absolutely necessary, at your discretion. These include, from your Battalion, the reserve Rifle Company (3 full-strength Platoons), another AT Section (2 x 6pdr), another Mortar Section (3″ Mortar & FO), and the Battalion Assault Pioneer Section (1 Squad Pioneers). Also available are an attached Medium Tank Troop (2 x M4 Shermans) and a Divisional Reconnaissance Detachment (1 x Daimler Mk.II A/car).
German Attackers
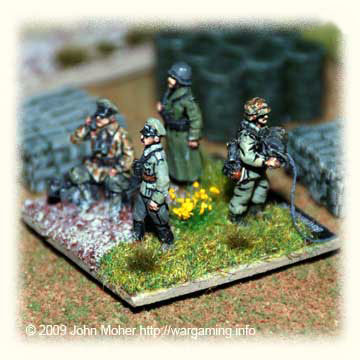
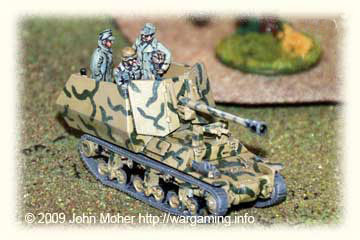
John’s Briefing: An Allied attack has thrown your Battalion out of its position and as with standard German doctrine the Battalion is launching an immediate counter attack to retake some of the lost ground. However recovering ground is not the main objective of the attack which is actually the recovery of an abandoned Tiger in front of the Allied positions. All available resources not involved in the prior fighting have been committed to this attack and it will be personally led by the highly competent, respected, and energetic Battalion Commander (BC +2). The available force includes 2 full strength Rifle Companies, 1 MG Platoon from the MG Company (2 HMGs & PC), and 1 Section from the Mortar Platoon of the Weapons Company (1 x 8cm Mortar Stand and FO). Further support is to be provided from the Divisional Panzerjäger Battalion in the form of a Platoon from the 1st (SPAT) Company (2 x ‘Marder I’ 7.5cm PaK40 GW Lorraine Schlepper), and a detachment from the 3rd (Bicycle) Panzerjäger Company (2 Infantry Tank Hunting Teams with 8.8cm Panzerschrecks).
Also accompanying the Battalion’s attack will be a Bergepanzer Tiger E ARV and a replacement Tiger Crew with spare fuel in a truck (from the local Heavy Panzer Battalion). Tiger engines are very noisy, especially when starting up, and there is no chance that they will be able to get either the Bergepanzer Tiger E to the abandoned Tiger E, or have the crew attempt to fuel and start up the Tiger without all troops in the area being able to hear the engine noises. The Bergepanzer Tiger E will need to actually assist the Tiger up and out of the Depression (where it had become stuck and had to be abandoned during the previous British attack due to transmission problems), and then assist by towing it to the rear.
Once the Tiger has been recovered behind the original Start Line, then the BC is free to withdraw the remaining forces if desired. If the attack can inflict casualties on the enemy, this would be a bonus, but the primary mission of recovering the Tiger is not to be put in jeopardy by risky attempts to try and inflict casualties on the British or pursue the counter attack too deeply.
The Battle
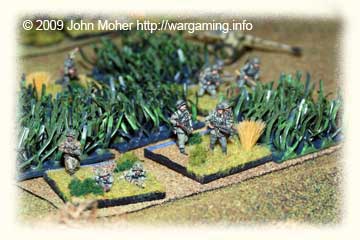
The action started with a broad advance by the German forces, it being the German plan to advance across the full width of the front, while offsetting the weight of the attack to the right, so if the opportunity was suitable a deeper penetration could be made on that flank. On that basis Rifle Kompanie 1 advanced on the left and in the centre covering half the frontage of the attack with all 3 of it’s Platoons up in the line, and with the Infantry Panzerjäger Detachment in support in case enemy armour was encountered. Next to Kp 1 on it’s right would be the MG Platoon, tasked to deploy in the centre-right of the line and cover the disabled Tiger and all the surrounding terrain, accompanied by the Mortar FO. On the right Kompanie 2 would only need to cover one third of the attack frontage, so could advance with two Platoons up and one back, providing the reserve for the deeper penetration if all went well or for emergencies elsewhere if they did not! The Marder I SPAT’s would advance in support of the centre, their primary objective to cover the recovery operation once the Infantry had eliminated any known enemy Anti-Tank Guns where possible. The BC planned to personally lead from the front and would advance in the centre immediately behind Kp 1’s Platoon 3.
The German forces quickly advanced from their Start Lines to the main assault positions – they reached these with little interference by the British due to the closeness of the terrain. Once there the main attack began with Platoon 3 and the MG Platoon deploying along a central hedgerow, with the 3 Infantry Squads then proceeding to conduct Recon By Fire (RBF) to identify the British positions (none of which had yet disclosed themselves), periodically assisted by Platoons 4 & 5 (from Kp 2) on the right…
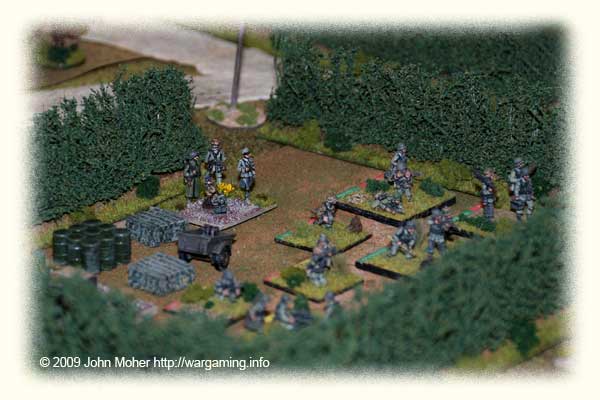
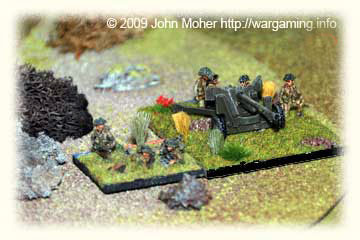
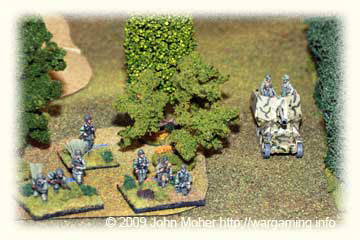
These RBF operations were hugely successful (rolling at least one 6 in the three dice on 5 of the first 8 attempts when RBF was conducted in the first two and one later initiative), disclosing the positions of two 6pdr ATGs as well as 3 Rifle Squads. With the bulk of the British Forward Defences now disclosed the MG Platoon went into action and proceeded to single-handedly decimate the entire British defence! Very quickly over the next 3 German initiatives both 6pdrs and the 3 Rifle Squads were eliminated (the dice were running so hot the 2 HMG Stands, despite only getting 3D, were getting at least 1 suppression between them virtually every time they fired). The British attempted to respond by dropping 3″ Mortar HE on the MGs (and getting their full 4D to boot as a Bocage Hedge provides no cover from indirect fire) but they just could not get any significant result (i.e. mostly scoring only Pins or no effect), and when a Suppression was achieved the BC immediately moved up and helped the affected MG rally and continue firing… A surviving Rifle Squad attempted to assist with it’s Platoon 2″ Mortar (to little effect) and the first Universal Carrier broke cover and moved up to also try and help deal with the deadly MG Platoon.
The Carrier unsuccessfully attempted to add its fire to the Mortars against the German MGs and was actually suppressed by their return fire quickly ending its contribution for the moment. Meanwhile the two Marder’s had moved up into covered positions, and were close at hand waiting to move out in support of the infantry.
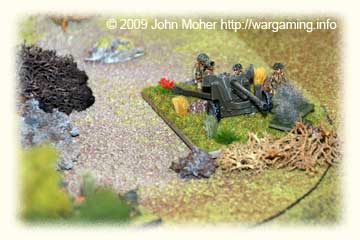
With the Carrier neutralised the Germans continued to eliminate the identified British troops. Continued attempts by the British to silence the MG Platoon with Mortar fire failed and soon the second 6pdr was suppressed, once it’s accompanying Rifle Squad had been eliminated first (the first 6pdr having been eliminated already along with two other Rifle Squads). Things were actually looking a little grim for the British, they had lost 33% of their Infantry, 100% of their ATGs, already fired off over 33% of their Mortar ammo, and as yet the Company Commander had shown no inclination to come forward to assess the situation to call on reinforcements or even to initiate any counter attack with his current forces… In fact he was a little mystified as to what the German Objective may be, and as a result was reluctant to risk crying wolf or disclosing his remaining positions too soon! However the British Sniper now also began sniping each initiative at the German MG Crews (our snipers play differently to those in the standard rules), but again along with the 3″ mortar it could not seriously affect the German HMGs (the British Dice had been shocking for the first 8 or so initiatives, while the German Dice were running hot).
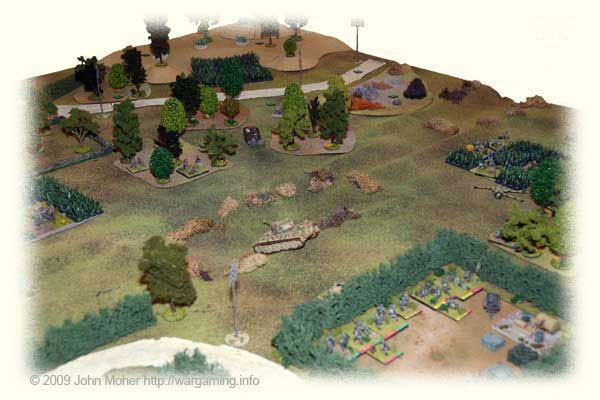
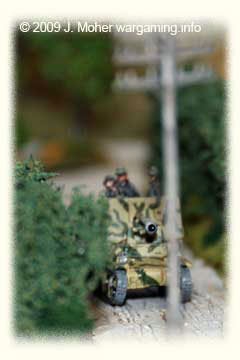
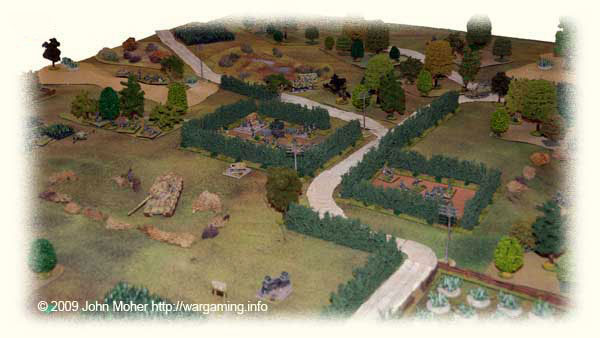
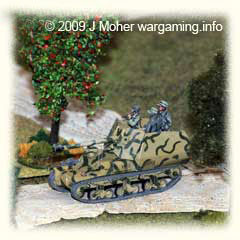
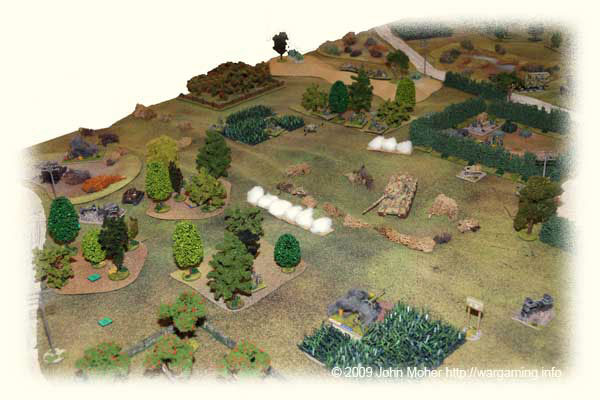
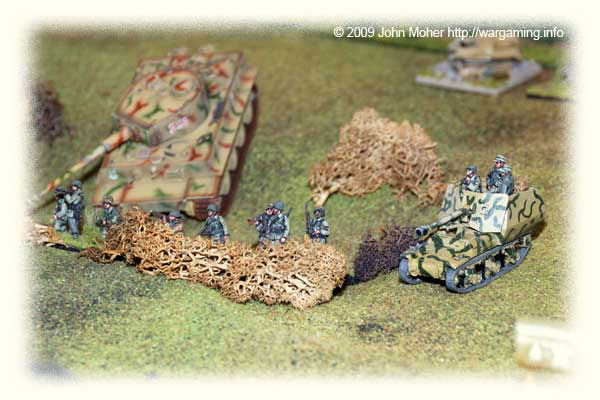
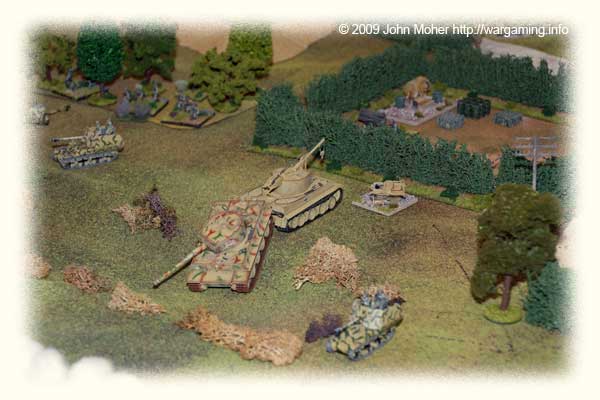
With the elimination of the second 6pdr the British frontline was basically gone, barring their Sniper and Mortar FO. At this stage the Marders now moved out of cover and approached the depression containing the Tiger. The Carrier was taken by surprise (well basically it had been suppressed for a couple of initiatives so couldn’t react) and a 75mm shell whistled over it’s head – it was time to bug out! The British then quickly launched two smoke screens to cover both Marders, one from an Infantry 2″ Mortar (from a previously concealed Rifle Squad in the centre deployed back from the frontline) and the other from the 3″ Mortars – under cover of this the Carrier rallied and immediately re-positioned to the left flank away from the concentrated fire of the two Marders (see photo below).
By now it was 0610 (it took about 8 pairs of initiatives before the moving clock finally advanced the first 10 minutes – an awful lot had happened in quite a small space of time) and the Germans were already looking to be in a fairly dominant position – but the worm would turn, at least in a small way, for a little while shortly!
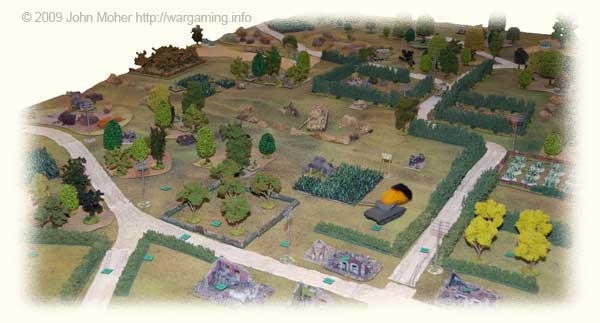
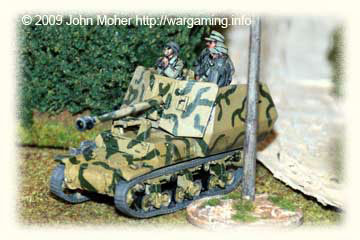
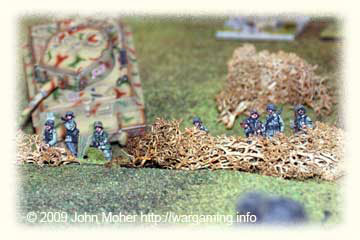
In the centre the Germans decided to utilise the British Smoke Screen (covering the Carrier’s movement) to partially cover an advance by Platoon 3 from it’s position in the bocage hedge into the depression containing the disabled Tiger. However once they emerged on the opposite side of the bocage they were targeted with reactive fire by the one remaining British Rifle Squad in the area, and the Sniper, resulting in all 3 Squads and the PC being pinned or suppressed in the open ground between the hedge and the depression. So the German’s own 8cm Mortars finally came into action, laying smoke adjacent to the main British Screen to obscure the British Rifle Squad (the one with the 2″ Mortar) in the central orchard (centre bottom of large picture above) that was firing on Platoon 3 in the open. This left just the Sniper trying to interdict the Germans as they did successfully rally one by one and dashed into the depression (helped by the Sniper going No Fire) – ultimately leaving their poor PC stranded in the open however (as he failed to Rally himself from being pinned)! The British had lifted their smoke screen meanwhile but it didn’t assist them blocking this activity although among other things it did take about 4 initiatives, the German Mortars using up 4 of their 9 precious Smoke Fire Missions (they also had 9 HE Fire Missions – 18 in total). The depression however appeared to put Platoon 3 in a blind spot, that while safe from enemy fire, prevented them from firing out.*
This is a playability feature of the rules where you are either in or out of a Depression and nothing in between – so being inside the ‘lip’ in a covered or hull down position isn’t specifically covered. We apply a simple ‘house rule’ interpretation to allow troops at the upper lip (rather than in the bottom of the depression) to see out and be seen from outside, and to gain cover if Infantry, or hull down if an AFV, from direct fire. For this game however we just played it as per the rule book.
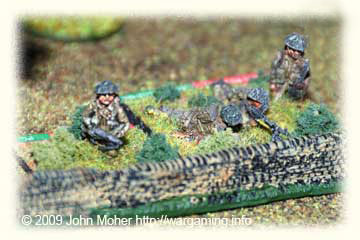
With the centre clear of troops the first of the Marders (the one on the German left) moved up further to enfilade the British left, so as to restrict the activities of the Universal Carrier that had moved there. It’s seen in the picture above near the pinned PC of Platoon 3. By this stage it was 0620 (and the moving clock had reasonably rapidly – in comparison – moved on another 10 minutes). To the rear the noise of a large tank (or tanks) was heard, and the Recovery Team moved on led by the Bergepanzer Tiger, and followed by an Armoured Opel Blitz Truck containing the Tiger Crew & Mechanics with spare fuel and parts. The Germans believed they almost had the area around the disabled Tiger secured and safe for the recovery team to approach, and the BC had summoned them.
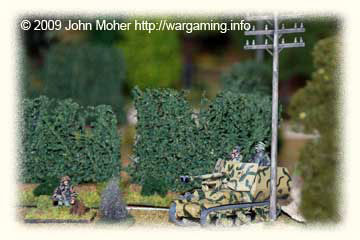
However now was the time the worm turned (at least for a short while) – the Carrier and Sniper began to successfully shoot up Platoons 4 and 5 on the German right, despite the latter being in the cover of a field and wood, and the 3″ Mortars had returned to shooting at the MGs, scoring repeated Suppressions and keeping the BC busy rallying them to avoid their destruction. Periodically the Sniper would also take a pot shot at the stranded PC of Platoon 3. On the German right, half of Platoons 4 and 5 (i.e. 3 Rifle Squads) ended up suppressed from the sporadic British fire (mostly from the Carrier) and eventually one Squad from Platoon 5 was eliminated by this fire (a double suppression). Meanwhile the 3″ mortars suddenly got it together and over a couple of initiatives eliminated the 2 MG stands with indirect HE – a minor victory but far too late, the MGs had already done their damage.
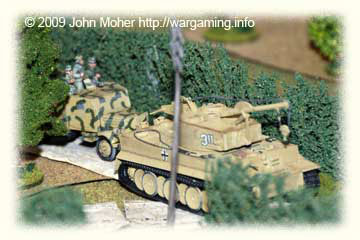
In anticipation of the Recovery Team’s arrival both the Marders moved, the one on the German left moved up alongside the depression to support Platoon 3 in there, and cover the recovery, the one on the right also moved up on the other side of the depression to threaten the Carrier should it move from its covered position (see large picture further below). Meanwhile the German Mortars dropped HE on the Sniper’s position and finally eliminated that menace.
On the German left Platoons 1 and 2 now advanced from their holding positions, their job was to secure the main road and ensure no one came up it to intercept the approaching recovery team. In moving forward they discovered the location of the second British Carrier, which had been hidden by the hedgerows in a position blocking the main road – it fired on Platoon 1 with it’s MGs and it’s 2″ Mortar and suppressed one Rifle Squad. Back in the centre the German Mortars started laying smoke again, this to cover the arrival of the recovery team – while the Truck loaded with the crew and fuel took cover behind the bocage in a side road, the Bergepanzer Tiger had moved up the road under cover, and once the smoke appeared moved to join the Tiger and successfully attached it’s towing ropes & chains.
In response the appearance of the second Carrier above the Infantry Panzerjäger Detachment (Tank Hunters) moved forward, and while one team established itself in a blind bend in the road to block any attempted advance by the Carrier the second team advanced ahead of the Infantry to attempt to actively stalk the Carrier in the bocage. However as they moved through a field their movement was spotted by some previously undisclosed British infantry – the bulk of a Platoon (2 Rifle Squads & PC) who opened up on the tank hunting team and pinned them in the field. However as this did disclose the bulk of the surviving British defence which appeared to be on the German left and poorly placed to directly interfere with the recovery operation the German BC was reasonably happy with it. By this stage it was 0630 Game Time (the moving clock finally advancing another 10 minutes).
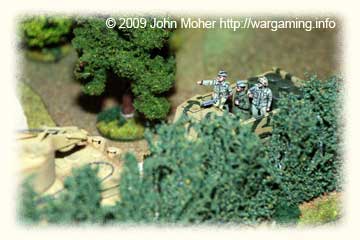
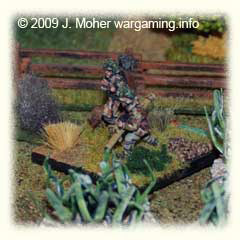
The Bergepanzer Tiger had moved up under cover of smoke and begun attempting to winch or tow the Tiger out of it’s position stuck in the depression. Initially it was not successful! Meanwhile Platoon 3 sent one Squad forward out of the depression and through the smoke to eliminate the expose British Mortar FO – although they incurred some reactive fire from a nearby British Rifle Squad and a Squad was lost a second Squad did successfully overrun the observer and take him prisoner, silencing the British 3″ Mortars, and after which the German survivors promptly withdrew back into the depression. Now recovery operations were well underway and the Marder’s were covering the two Tigers while Platoon 3 vacated the depression and retired back into the bocage field they had started from (even the PC rallied too and did likewise), and all now waited on the Bergepanzer to extract the Tiger and start towing it to safety. Meanwhile on the German left the British Carrier kept banging away and eventually eliminated a Rifle Squad from Platoon 1 (the third Rifle Squad lost by the Germans).
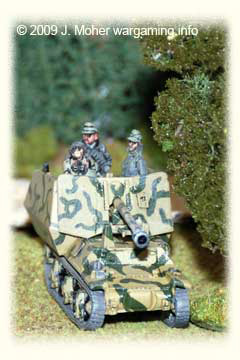
In the final major act the right hand Marder then reversed up and moved off around to the German far right behind the wood and field into a better position to engage the pesky Carrier causing most of the trouble… While the initial shot was wide, the Carrier endeavoured to silence the Marder with MG fire unsuccessfully, and a subsequent stationary shot from the Marder in the following initiative drilled the Carrier and turned it into a flaming mess! By this stage the Germans were seriously contemplating renewing the advance – the British defence was pretty much in tatters and had proven very inert. There was no sign of reinforcements arriving and all the lost ground could probably be recaptured easily… However everything hinged on getting the disabled Tiger out first and being prepared to retire quickly in case anything went wrong. By now the German Mortars were out of Smoke and had ceased firing for lack of targets… They had maintained the smoke screen for 5 initiatives, and still the Bergepanzer hadn’t extracted the abandoned Tiger (and it had attempted to tow it out for all 4 of those initiatives – the first having been used to hook up the tow ropes)!
By this stage the British defence had subsided to desultory pot-shots from the surviving Carrier & 2 Rifle Squads on the German left and a Rifle Squad in the centre. The Bergepanzer tried two or three more times without Smoke cover to extract the Tiger (unsuccessfully) as the Marders’ continued to watch over them. As the time neared 0640 (the moving clock did not roll over again, so the game time had never actually reached 40 minutes duration) the Germans were found repeatedly unsuccessful in extracting the Tiger, and despite a huge amount of time on their side and the possibility of renewing the attack they simply could not get the Tiger out of the Depression (i.e. successfully rolled 4-6 on 1 die to attach tow ropes okay on first initiative, but then failed to roll a 5-6 on 1 die on the six or seven subsequent initiatives to tow it up out of the depression)! In light of the success of the attack the struggle and delay with the recovering operation was a singularly frustrating process!
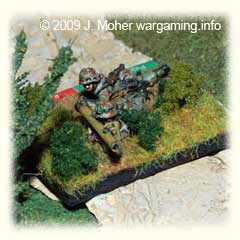
WCFD Campaign Result
While a resounding success in terms of speed of action (time) and success of the attack and casualties inflicted on the enemy, the main objective was not achieved and the Germans failed to score a Decisive Victory:
+50 for achieving part of objective.
+34 for inflicted losses
(British lost 33% of Infantry & 80% of Support Weapons).
-22 for sustained losses
(Germans lost 25% of Infantry & MGs).
-28 for British conserving troops
(i.e. can go to other games as not committed) .
-09 for time used (30 minutes).
= 25 points – a Minor Victory to the Germans.


