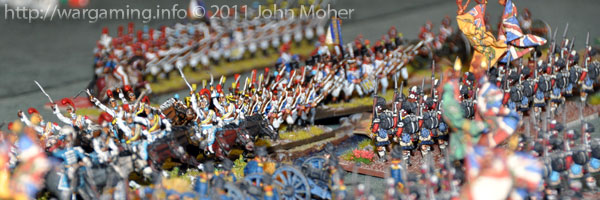
Okay – it’s got nothing to do with Star Trek & Tribbles – but I thought it sounded a cool title for a blog post (and AAR)! Anyway back at the end of July (2011) Cam and I played another Lasalle game – we reverted to the basic Army Builder List of a core force and 1 support option with standard troop values (1815 Hundred Days French & British) – the idea was to try out a proposed alternate scenario that was going to be used in the Lasalle Tournament at “Call To Arms” a convention in Wellington (New Zealand) in the second half of August. The proposed scenario in simple terms made both sides the ‘attacker’ (so Core Force + Attack Bonus + 1 Support Option) and placed 3 objectives instead of 1 on the table – all 3 having to be on the centre line, with one in the table’s dead centre, and one placed by each player not within 4BW or so of either of the others or the table edge. The following is a brief summary of the game with photo gallery…
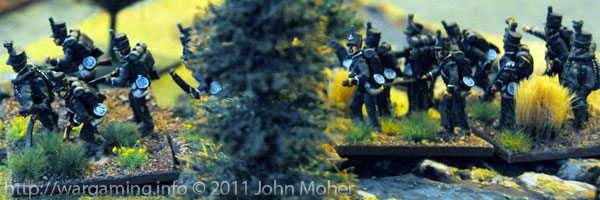
The game began with the deployment and objective assignment. You can see from the photos which table layout we got – and as the large forest in the centre at one end, that I’ve dubbed the forêt de Tribble (Tribble Forest), basically made a mess of the terrain on one flank, and the British got lumbered with the less desirable side of the table, I opted to cram more rough terrain in that area on the British right to close-up the battlefield. I added a Marsh (Tribble des marais) and some broken ground (Tribble les dents – The Tribble Teeth). Cam consequently opted not to add any further terrain. Apologies for the quality of some of the images – I was mucking around with the camera settings and combined with my external flash unit’s batteries being almost flat it resulted in some erratic and poorly exposed images! Hopefully they are still good enough to give a decent idea of the game…?
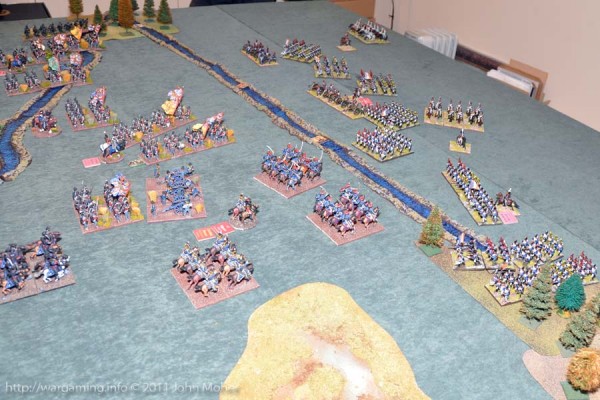
Scenario Objective Markers
The flux de Tribble ran roughly along the centreline of the table, so the first objective was automatically placed in the dead centre of it just beyond where it emerges from the the forêt de Tribble (Tribble Forest). For the British I placed the second objective at the far left of the British positions, as close to the table edge as possible in the bois de Tribble (Tribble Wood) where I planned to send a battalion (the 95th Rifles) operating as an irregular formation to hopefully render it unachievable for Cam’s French (as Cam’s shown no predilection to use irregular units in previous games). Finally for the French Cam placed the third and last objective marker near the centre of the battlefield to the French Right/British Left of the central objective – just far enough so one unit could not control both but not too close to my objective in the bois de Tribble. This meant all the objectives were in half the width of the battlefield (on the British left).
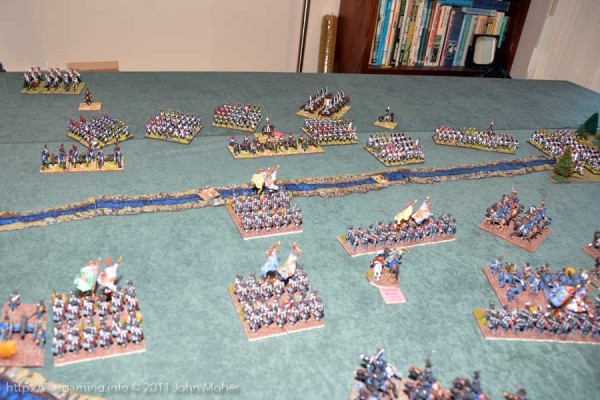
Deployment
As a consequence I deployed with my two Infantry Brigades (8th & 9th) side by side in the centre and centre-left, with the 95th Rifles on the far left to occupy the bois de Tribble which held one objective marker in it’s centre where the flux de Tribble passed through. The 5th Cavalry Brigade deployed in the right-centre, it’s intent to advance 2 Regiments quickly to threaten the flux de Tribble and delay the French left, while the other 2 remained as a reserve and right-flank guard. Cam meanwhile did almost the same – he also offset most of his Infantry to the left of centre, in fact well beyond the objectives, with Marbais’ 1st Brigade close to the forêt de Tribble while Jamin’s 2nd Brigade and Artillery were in the centre. The much dreaded (and vaunted) French heavy cavalry of Blancard (Blindée attaque en force Millar) were out on the French right, eyeing up Kempt’s 8th Infantry Brigade for dinner. Cam was clearly planning a large sweeping attempt on his left to turn the British right, sacrificing the objectives initially for a stronger tactical position – meanwhile I was a bit more conservative and planned on grabbing the two on the British left as fast as possible and contesting the third one (closest to the forêt de Tribble) for as long as possible – gradually refusing my right flank as necessary while I held the two left-most objectives ( I had hoped to to do the latter with my light cavalry but Cam’s obvious flanking movement undermined that almost immediately).
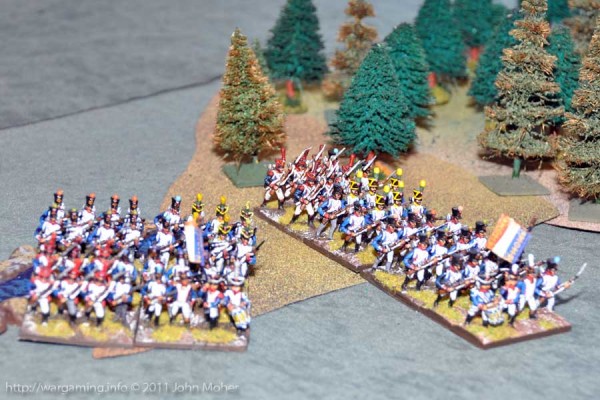
The Game
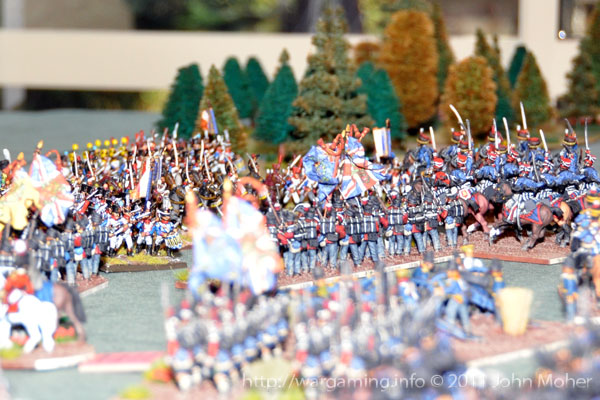
Things began with a pretty general advance by both sides, there was a bit of jostling around of units in the French centre as Cam redeployed Jamin’s Infantry to cover more of his right – while on the other flank some of the French Infantry of Marbais’ Brigade headed straight for the forêt de Tribble, ploughing through it and over the flux de Tribble to be emerging on the other side by Turn 5 (see the photo below), turning the British right. For my part the British advanced fairly steadily and as planned, although the cavalry were a bit too hasty and had to promptly start to back pedal as soon as they had neared the flux de Tribble. Picton however took personal control of the Brunswick Hussars and these were taken over to support Kempt’s 8th Brigade against the dreaded French Heavy Cavalry… By Turns 5 & 6 both sides had troops on, over, or in contact with, the flux de Tribble (see photos below).
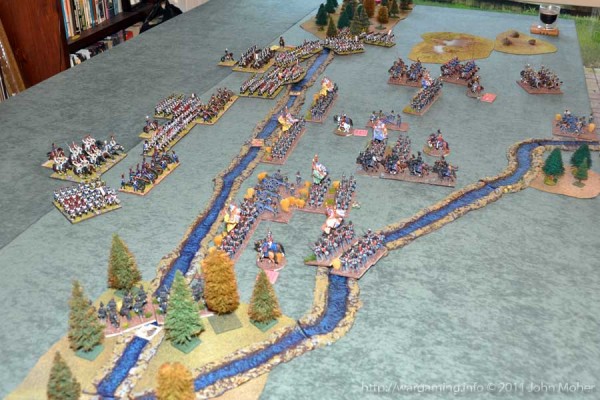
In the meantime the 2nd Cuirassiers had ridden off to the French left, to support the crossing of the flux de Tribble and to help turn the British right. Meanwhile the French Infantry from Marbais’ Brigade now ploughed on into the Tribble des marais, fighting their way through the marsh – where on earth were they going? In the centre during Turns 6 & 7 everything was lining up for a good old fashioned Western Gun Fight – things were about to get pretty heated across the calm waters of the flux de Tribble! Over the following couple of turns more French troops poured over the Tribble on the British right, and it was struggle for the British there to avoid being prematurely overwhelmed, some of the Light Cavalry almost getting themselves trapped. On the British left however things were more secure – the 95th Rifles had secured the objective in the bois de Tribble, and the French right showed little inclination to try and cross the flux de Tribble – at least until the 1st Carabiniers began their advance on Turn 11. Something this battle was already becoming renown for was absolutely dreadful shooting – no one could the side of a barn door in many cases – and one British Battalion (the 92nd Gordon Highlanders who were in the centre at the second objective) fired continuously the whole game from Turn 5 to the end and only scored about 2 hits in total on it’s opponents. By Turn 13 the British were back peddling furiously on their right, and it was there the first British Battalion had been rendered hors de combat. On the other flank meanwhile, the Carabiniers charged the flux de Tribble with the object of riding down Roger’s 9pdr Foot Company on the other bank!
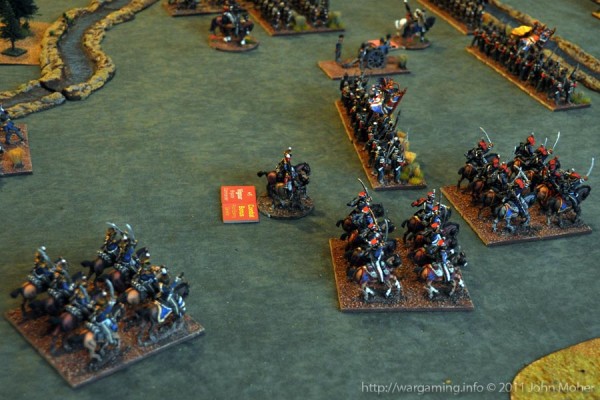
Rogers’ stood to his guns, and was promptly run down, the Carabiniers, now across the Tribble, continuing on to subsequently crash into the 79th Cameron Highlanders! Back on the British right desperate charges by the Light Cavalry were slowing the French, but not by much. In fact Cam had Marbais’ entire brigade across the flux de Tribble and engaging the British, with the 2nd Cuirassiers close behind in support. In addition Jamin had one battalion across as well, and it had found a hole in the British line and was bearing down on Mercer’s 9pdr RHA Troop! To try and help take pressure off the right on Turn 14 the 28th North Gloucestershire’s on the left were sent across the Tribble to try threaten the French right. On Turn 15 more disaster for the British as the 15th (King’s) Hussars disintegrated after a couple of failed charges and much French musketry, a final fusillade finishing them off! Turn 16 saw ferocious fire fights and mêlée as the British counter attacked wherever they could – but in key places their musketry was letting them down – and Mercer’s 9pdr RHA Troop, who had stood to their guns like Rogers, were overrun and lost – the whole British line was in danger of collapsing (as was their Morale)…
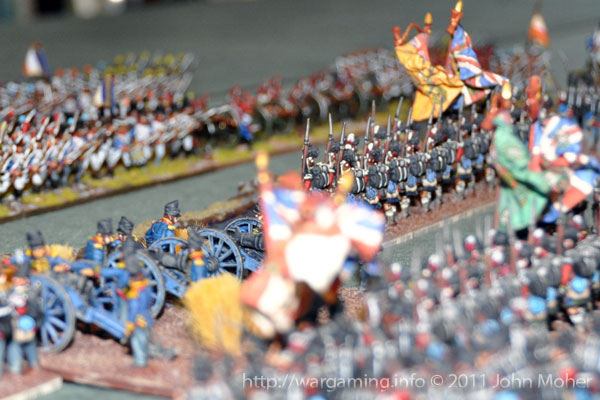
Turn 17 was decisive for the French – the British force literally blew to pieces with 3 Infantry Battalions all being destroyed in rapid succession! British casualties now totalled 4 Infantry Battalions, 1 Cavalry Regiment, and both Artillery Batteries – so 12 points out of 26. However the French finally had some casualties and lost a Battalion, a key one in the centre of their line that had been contesting the middle objective. There was little semblance of a British line now, the forces left went on the offensive (the object being to secure 2 objectives safely enough in the hope the game would end this turn or next before the British Morale collapsed), and they had some success on the left destroying a second French Infantry Battalion from Jamin’s Brigade – in fact they were in a pretty good position to dominate two of the objectives (at least for a turn or two) if their morale held out, as the left most one was well secured by the 95th Rifles (for the moment at least – it was still vulnerable to French Horse Artillery pulling a nefarious manoeuvre), the second object was currently held by the Brunswick Hussars (although the French Carabiniers were just about close enough to contest), and the 3rd Objective in the table’s centre was still actively being contested by the 42nd Royal Highlanders (the Black Watch) who were surrounded and fending off 2 French Infantry Battalions, the 2nd Cuirassiers, and an 8-gun Artillery Battery! But alas the mighty Red Coats couldn’t quite hold on and their morale then collapsed, before the opportunity to see if the game had ended had occurred – so it was a French victory (albeit via attrition rather than seizing the objectives)…
The Forces
All units on both sides are Small (4 bases) in Lasalle except where specifically noted as large (6 bases) which is the French Heavy Cavalry.
The French 9th Division
- Général de Division Comte Maximilien Sebastien Foy (Napoleon*)
- 1st Infantry Brigade – Maréchal de Camp Marbais (-1/+1 Ney*)
- 1/92nd Regiment d’infanterie de ligne Bataillon
- 3 Bataillons 93rd Regiment d’infanterie de ligne
- 2nd Infantry Brigade – Maréchal de Camp Baron Jamin (+1/-1 Eugene*)
- 2/92nd Regiment d’infanterie de ligne Bataillon
- 3 Bataillons 100th Regiment d’infanterie de ligne
- Tacon’s 1st Battery, 6th Foot Artillery Regiment (6pdr – Medium/4)
- Part 12th Cavalry Div (III Cav Corps) – Maréchal de Camp Baron Blancard (0/0 Murat*)
- 1st Carabiniers â Cheval Regiment (large)
- 2nd Cuirassier Regiment (large)
- Lebau’s 2nd Battery, 2nd Horse Artillery Regiment (6pdr – Medium/3)
All the French Infantry were Reliable/Experienced/SK2 and the Heavy Cavalry Valiant/Experienced/Shock.
* Identity of figure representing this Brigade Commander on table (i.e. in the photos).
The British 5th Division
- Lieutenant-General Sir Thomas Picton
- 8th British Infantry Brigade – Major-General Sir James Kempt (0/+1)
- 1/28th (North Gloucestershire) Regiment of Foot
- 1/32nd (Cornwall) Regiment of Foot
- 1/79th (Cameron Highlanders) Regiment of Foot
- 1/95th (Rifles) Regiment of Foot
- Rogers’ Foot Company, RA (9pdr – Medium/3)
- 9th British Infantry Brigade – Major-General Sir Dennis Pack (0/+1)
- 3/1st (The Royal Scots) Regiment of Foot
- 42nd (Royal Highland) Regiment of Foot – the Black Watch
- 92nd (Gordon Highlanders) Regiment of Foot
- 2/44th (East Essex) Regiment of Foot
- 5th British (Cavalry) Brigade – Major General Sir Colquhoun Grant (+1/0)
- 7th (Queen’s Own) Hussars
- 15th (King’s) Hussars
- 13th Light Dragoons
- 2nd Brunswick Hussars (attached)
- Mercer’s RHA Troop (9pdr – Medium/3)
The British Infantry were all rated Reliable/Experienced/SK2 and the Light Cavalry Reliable/Experienced/Pursuit (including the Brunswick Hussars).


Hi
This is a very interesting scenario. Thanks for sharing all your Lasalle information!
Regards
Rafa
Thanks Rafa – if its of use you can still download the Call To Arms tournament document from the Wellington Warlords Website – it features the “Take By Force” scenario played in the game above: http://www.warlords.org.nz/cta2011/Call%20To%20Arms%202011%20Players%20Pack%20LaSalle.pdf
Thanks! I got it!
Rafa
No problem Rafa – I hope you enjoy and find of use. As you know the guys from Wellington are on the Lasalle Forum (http://www.sammustafa.com/honour/forum/) so easily contactable if you have any queries…