Continuing our Dux Bellorum saga from previously back in July the Carolingians had some intense activity for the next week or so – and several outings – this included a 3rd rematch against Roundie’s dreaded Vikings, two battles against Nick’s Picts at the next AWC Meeting, par proeliorumque (a pair of battles) against Mark’s Late Romans, and then the following Thursday a 4th rematch against the Vikings – 6 engagements in 8 days! Anglo-Saxon King Harold Godwinson would have been be impressed! Here’s a brief summary & photos of some of those engagements…

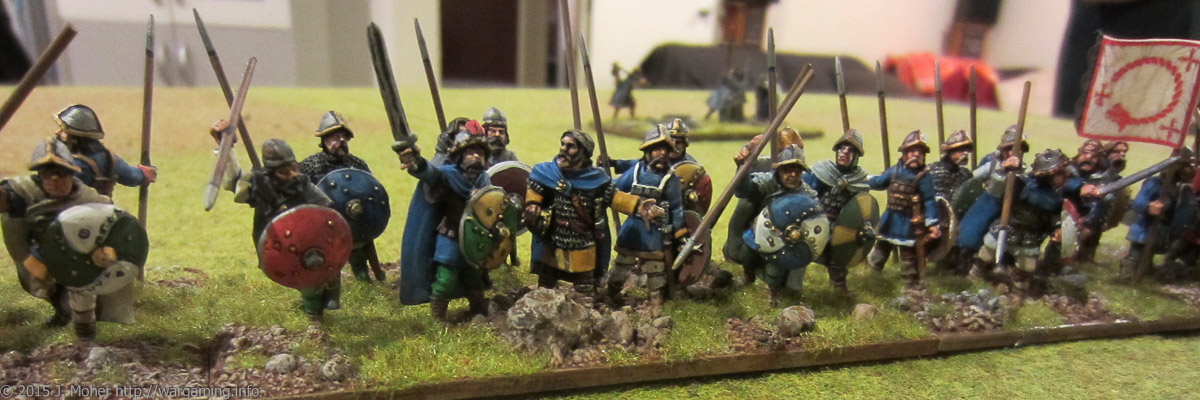
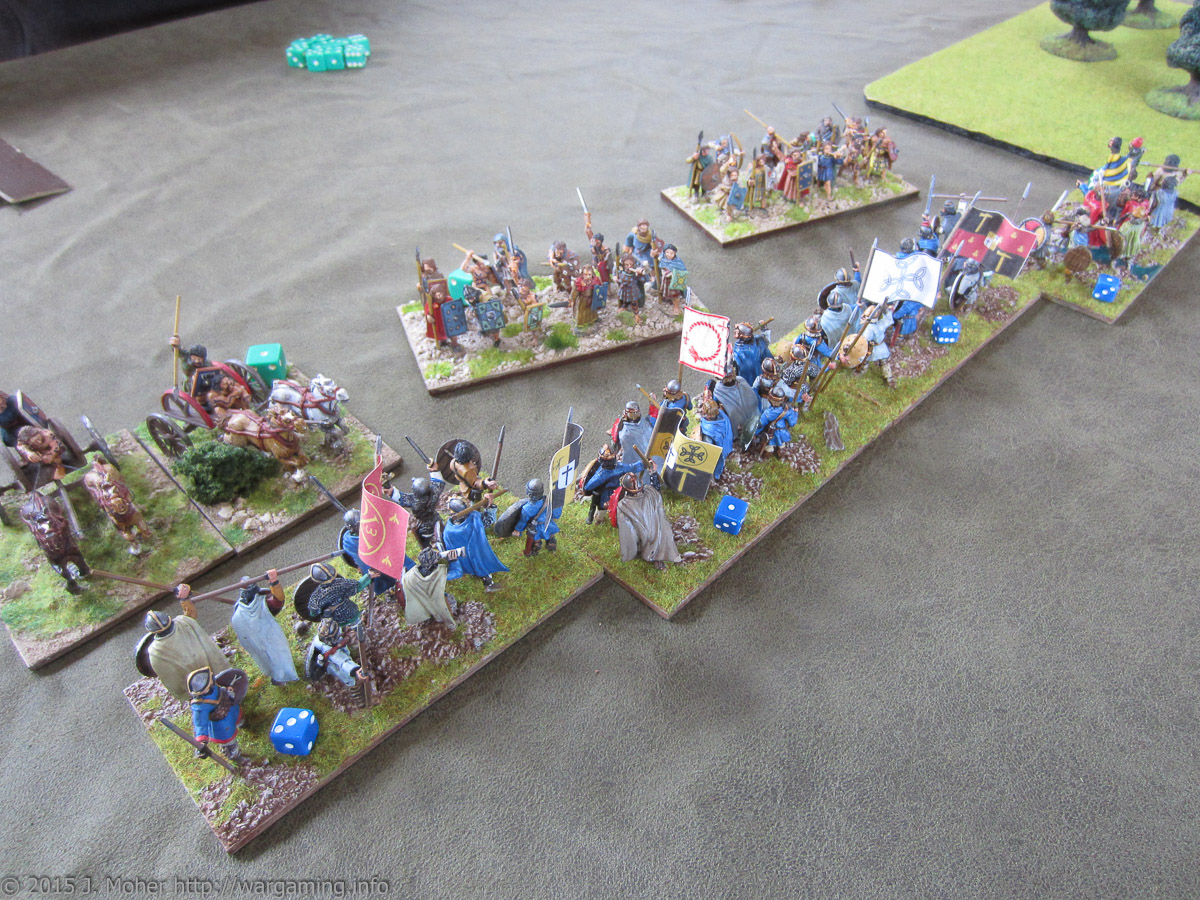
Throughout all of these engagements Charlemagne’s Carolingian Frank (& German) forces stayed consistently the same – as reminder they were thus:
— 1 Mounted Companions & Leader (Charlemagne & Household Caballari) with 7 LP
— 1 Ordinary Rider (Carolingian Caballari)
— 6 Ordinary Shieldwall Infantry
— 1 Foot Skirmisher (Crossbows & Slings / Bows)
— 1 Monks (+2 LP)

Viking Rematch No.3
As Charlemagne must once again face the Norsemen, this time he was the aggressor striking a punitive raid to disrupt Viking raiding plans on his Northern borders of Saxony! As a reminder, Roundie’s staunch Vikings were organised for Dux Bellorum thus:
— 1 Foot Companions & Leader (Warrior) with 7 LP
— 3 Noble Warrior Infantry
— 3 Ordinary Warrior Infantry
— 1 Foot Skirmisher (Javelins)
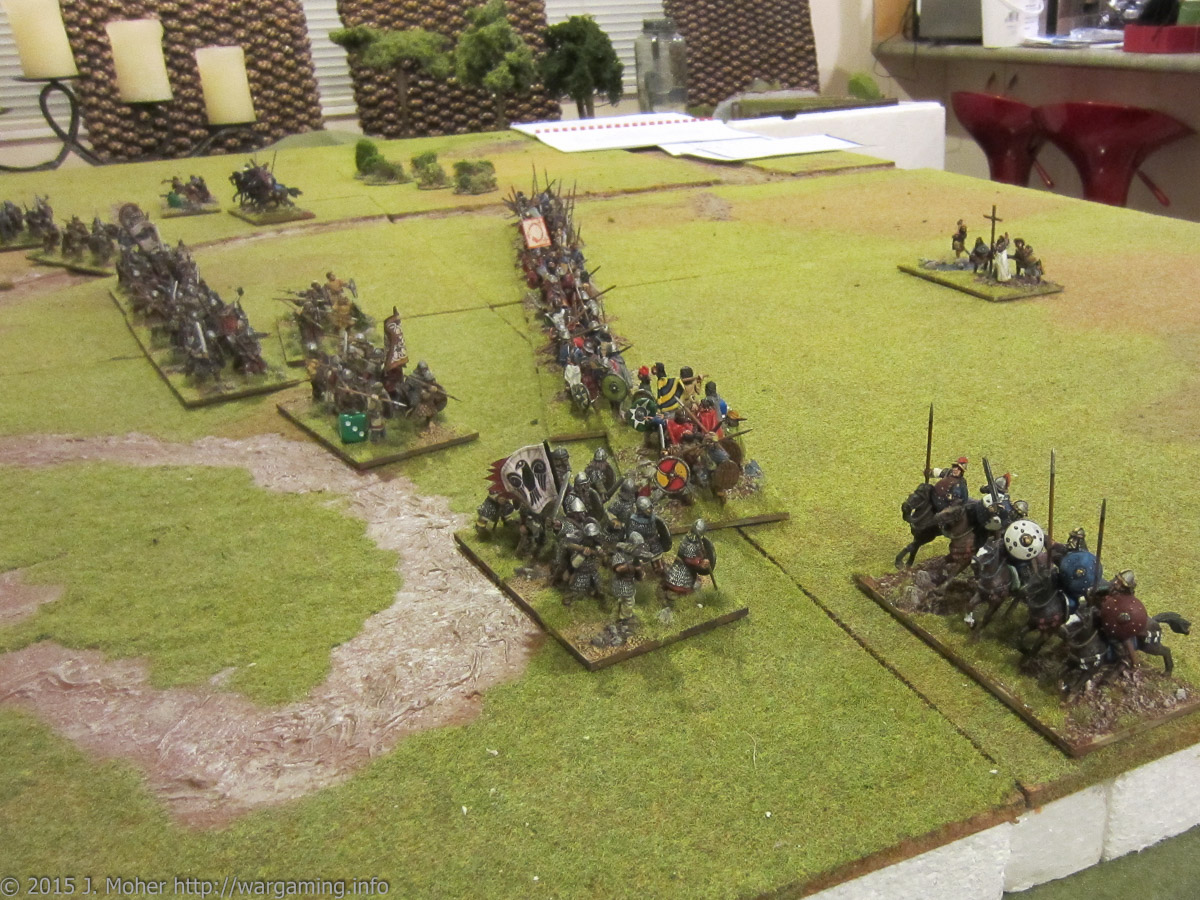
The Carolingians fourth engagement with the Vikings was a tense struggle – this time around the Carolingians successfully used their numbers to turn one of the Viking flanks, and partially isolate/draw off one (later two) unit(s) of Warriors. However the battle came down once again to a staunch grinding battle of attrition and wits in the centre – where the 2 battlelines clashed and the initiative flowed back and forth as they wore each other down.
Unfortunately the flanking movement failed for Charlemagne, and he found himself backed up to a bog, alone, facing two Viking Warrior units (see above – top right) – with his supporting skirmishers struggling to stay involved! However the shieldwall were toughing it out and eventually one unit was freed from the end of the line to help – once again this developed into a tense exciting struggle, with both sides slowly getting whittled down. However the Carolingians again couldn’t quite finish the job and the Vikings clawed out a victory despite having nearly every surviving unit on death’s door! Vikings 4 Carolingians 0! Ouch!

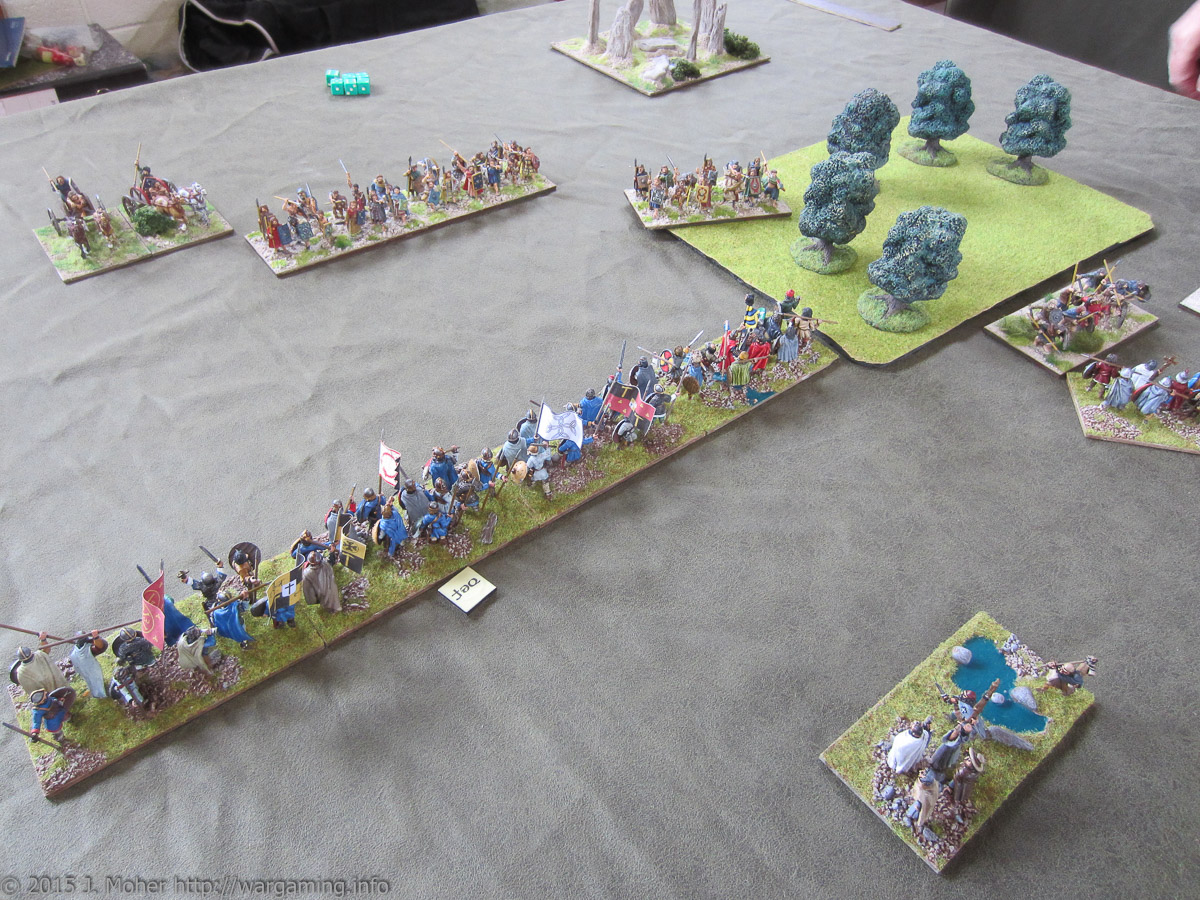
A Horde Of Picts
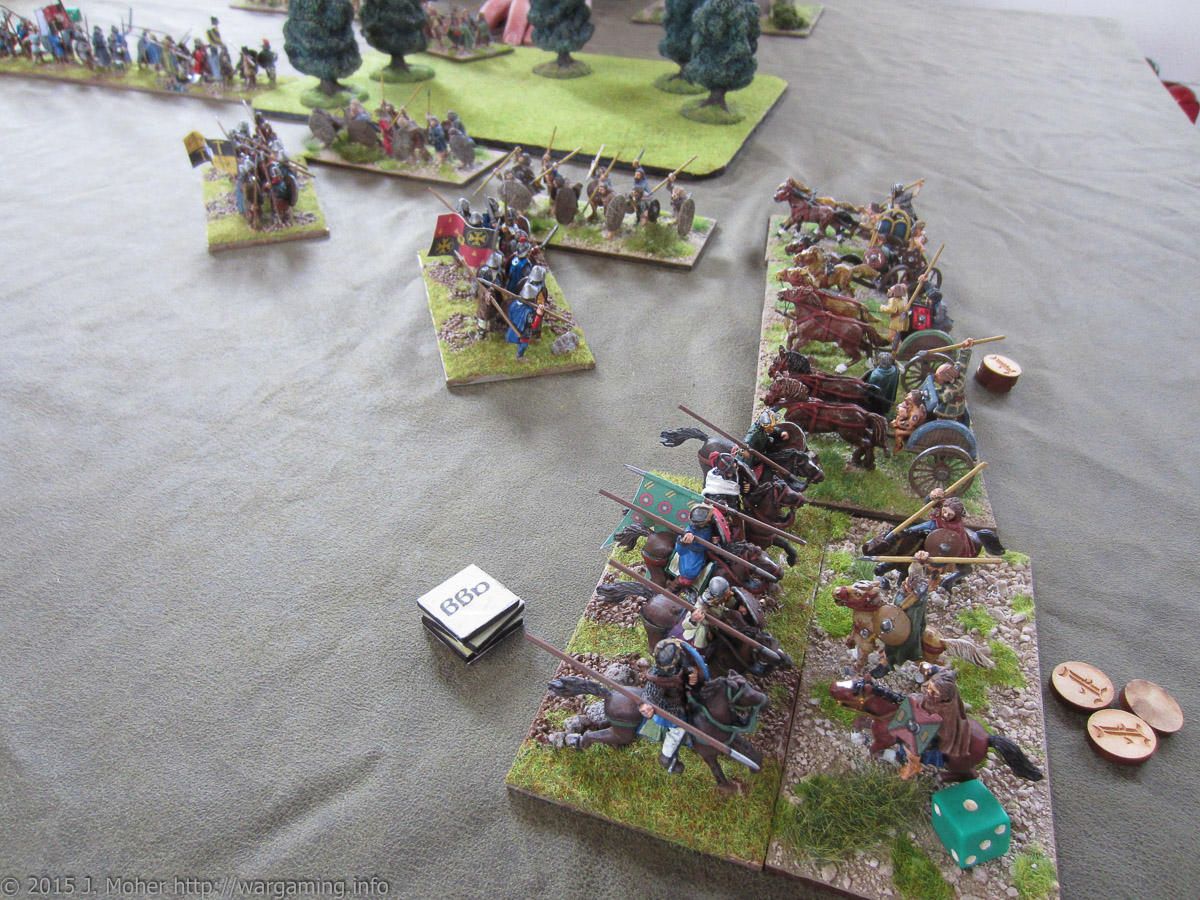
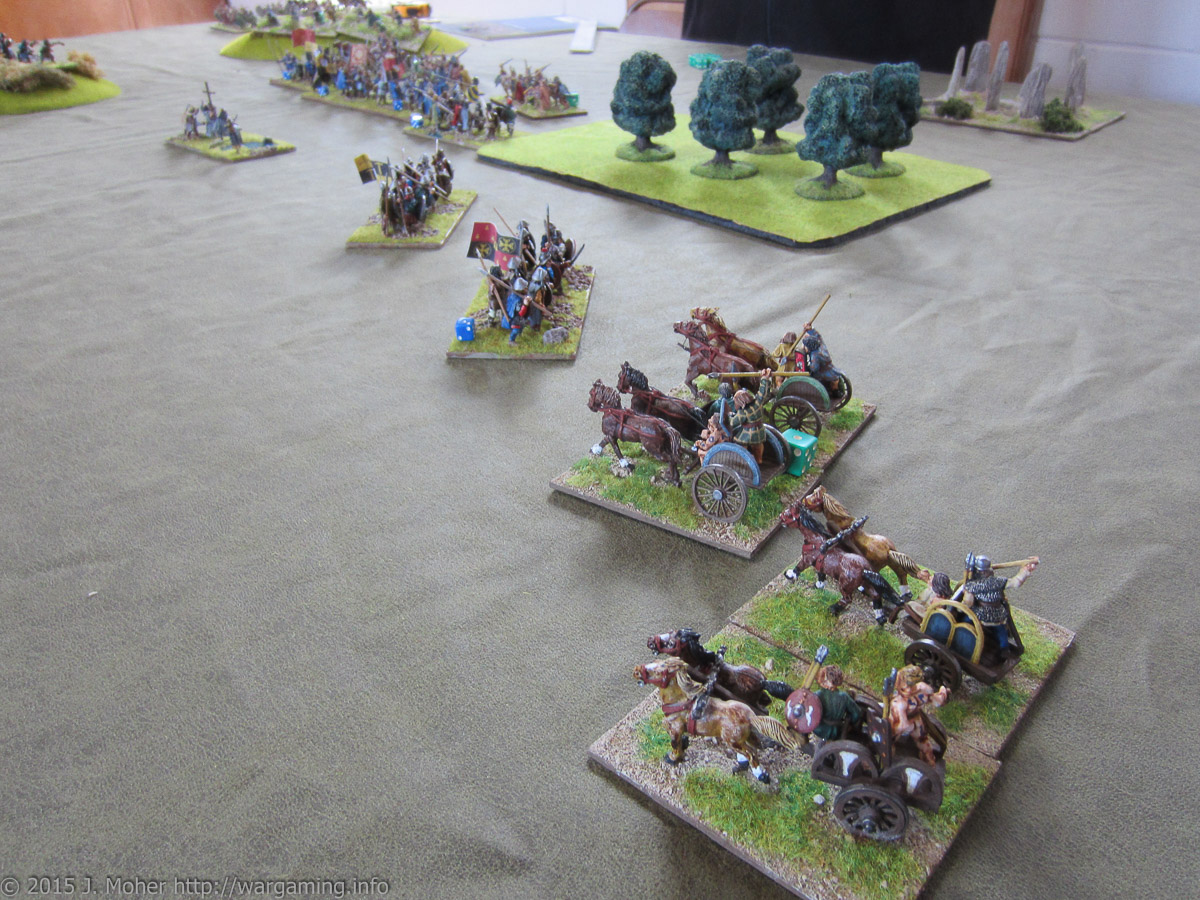
At the AWC meeting we took on Nick’s Picts – a slightly anachronistic opponent, but close enough to historical Saxons in terms of troops and fighting abilities to not be too much of an unhistorical match-up. Nick’s Pict’s were organised as follows (if I have this right):
— 1 Foot Companions & Leader (Warrior) with 6 LP
— 3 Ordinary Riders (Chariots)
— 4 Ordinary Warrior Infantry
— 2 Mounted Skirmisher (Light Horse with Javelins)
— 2 Foot Skirmishers (Bows)
Pictish Battle 1
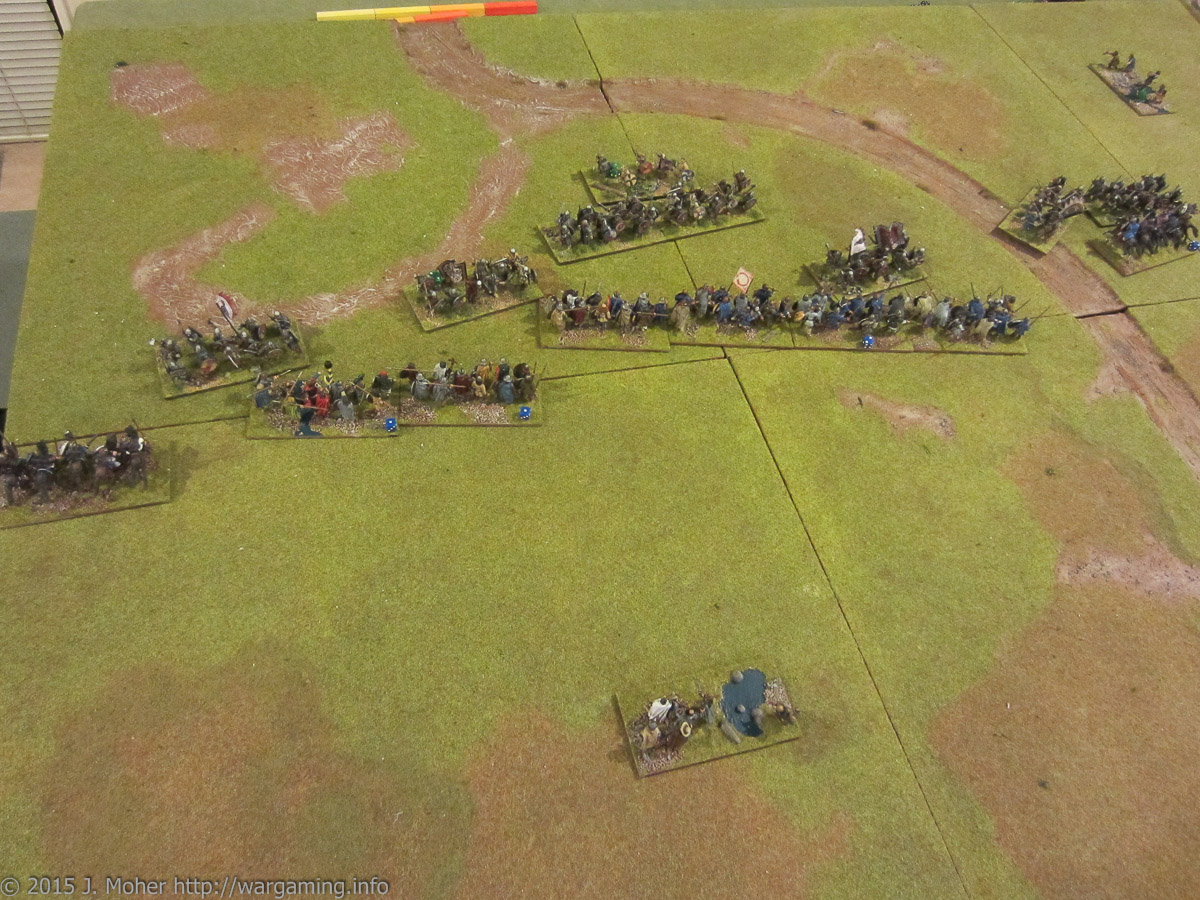
Having been the aggressor into their territory, Charlemagne found the Picts were rather numerous – with more riders & skirmishers than the Carolingian Franks – however Charlemagne settled on an aggressive plan to engage their warriors with his shieldwall as rapidly as possible (where able – there was a nasty wood the infantry needed to stay clear of) – while the Caballari would endeavour to quickly deliver knock-out blows on the extreme flanks (eliminating both of the Pictish mounted skirmishers), following which the Caballari on the right would try and hold off the superior numbers of Pictish Chariots, and Charlemagne and the Household Caballari on the left would either exploit or head back to support the centre.
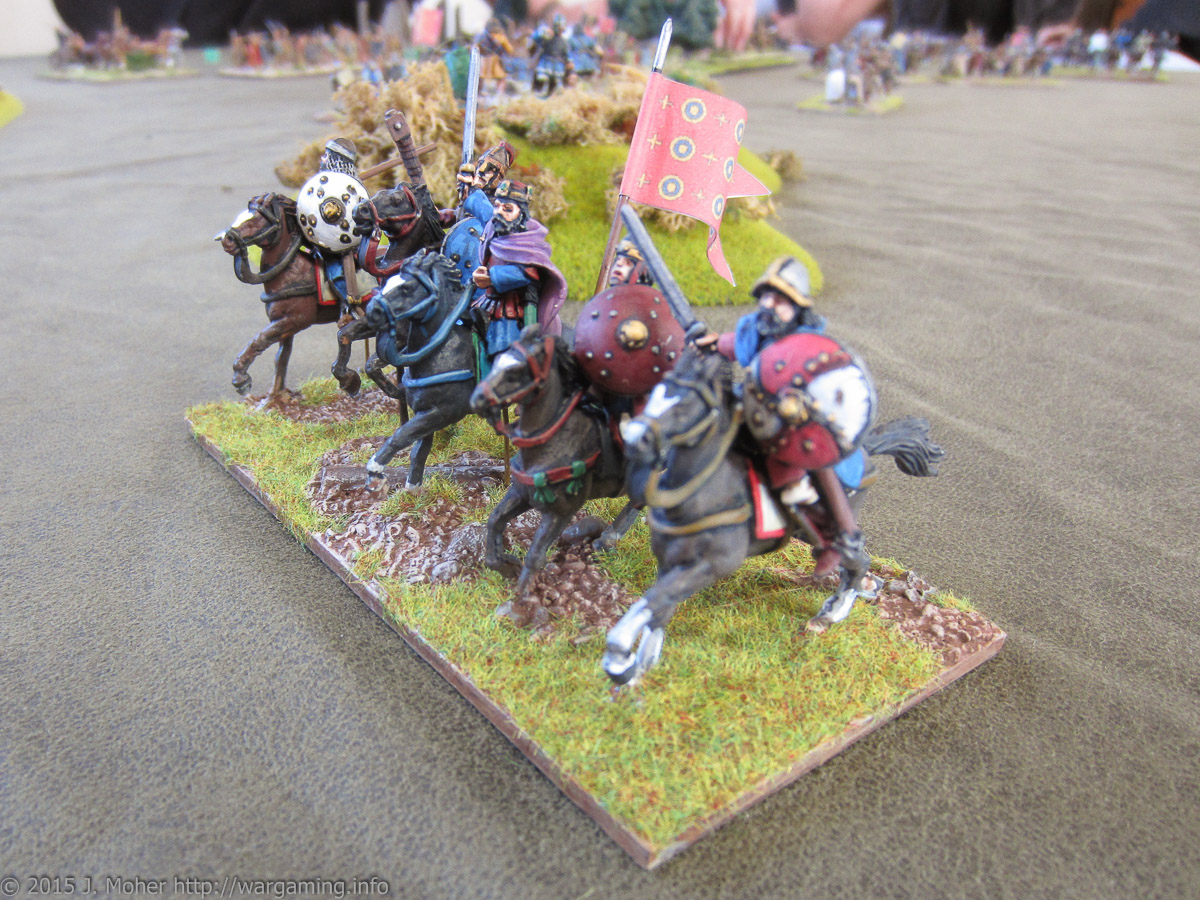
Charlemagne’s action on the Frank’s Right was fairly successful – dispatching the Pict Light Horse in due course – however on the right the Frank Caballari found themselves facing superior numbers and although able to inflict casualties on the Pict Horsemen required some fancy maneuvering to avoid being overrun by the Chariots of their main mounted force! Even as the right-hand shieldwall unit began to move to the support of the caballari the latter were boxed into a corner and in a fitting display of Carolingian heroism destroyed the Pict Licht Horse as they themselves were overrun by the latter’s chariots!
By this stage the infantry lines were closing – and Pictish Warriors were emerging from the woods to engage the two units of shieldwall on the Carolingian right (see above). A third unit of warriors was in the wood threatening the flank of the advancing main Frank battleline. Over on the left the Carolingian Crossbowmen & Slingers were engaged with one of the Pictish bow armed Skirmishers on the two scrubby hills, and the other Pictish skirmisher was starting to fire on the left-most Carolingian Shieldwall as it advanced.
Meanwhile Charlemagne returned from his successful flank mission to support the left-hand end of the Carolingian line. As the remaining Picts now charged forth they discovered the Carolingian Shieldwall can be pretty staunch! And a tough battle ensued – in which the Frank infantry slowly chewed it’s way through the Picts (but not without some hairy moments) – eventually resulting in the Pict army breaking.
A second engagement against these Picts also went well for Charlemagne, as did 1 of 2 engagements against Late Imperial Romans (the other was essentially a draw via attrition). To cap off this week of intense activity the final moment of glory was when Charlemagne’s forces finally achieved victory over Roundie’s dreaded Vikings (Rematch No.4) – a day that had seemed destined never to come!