Well I’ve been mucking around for sometime planning to do something for Dux Bellorum – and 12 months or so ago decided to do a Carolingian Army, albeit slightly outside the chronological and geographical period nominally covered by the rules (Arthurian Britain 367 to 793 AD). However I have been wanting to do something nominally ‘Charlemagnian’ in a wargaming context for sometime, so while outside of Britain and slightly late period-wise (768-814 AD) it is very much an army in keeping with Dux Bellorum’s ‘genre‘ and it’s historical opponents are identical or very similar to those found in Britain (e.g. Saxons, Vikings/Danes, and Lombards – only the Moors in Spain won’t easily fit the Dux Bellorum gaming model). And so, to bring in the new year of 2015, and my new Carolingian army’s basing having been completed (partially) to a level suitable for use, they were christened in an initial outing against Kieran Mahony’s Normans (who at nominally around 970 AD onwards are also a bit out of period for Dux Bellorum).
My roughly organised Carolingian Franks in the era of Charlemagne were:
— 1 Mounted Companions & Leader (Caballari) with 6 LP
— 2 Ordinary Riders (Caballari, Swabians, Batavians, Bretons, etc)
— 5 Ordinary Shieldwall Infantry
— 1 Foot Bow
— 1 Monks (Benedictine & similar, +2 LP)
Kieran’s Normans were:
— 1 Mounted Companions & Leader (Milites) with 6 LP
— 1 Noble Riders (Milites)
— 1 Ordinary Riders (Bretons)
— 1 Noble Shieldwall Infantry
— 3 Ordinary Shieldwall Infantry
— 1 Foot Crossbow
— 2 Skirmishers (Bow)
Neither army used any points on strategies and tactics (other than the Carolingian Monks), although arguably both could or should have used Imposing Horsemen, and the Carolingian’s potentially the Dismount tactic as well (but that’d make for a pretty small army on-table with 3 strategy & tactic options used, even with the monks)! As an aside historically speaking both forces above are probably modelled a fraction infantry heavy for armies that were principally based around medium & heavy cavalry in real life – the Carolingian’s especially placing great emphasis on lance armed mounted troops which usually formed a high proportion of the troops in their armies.
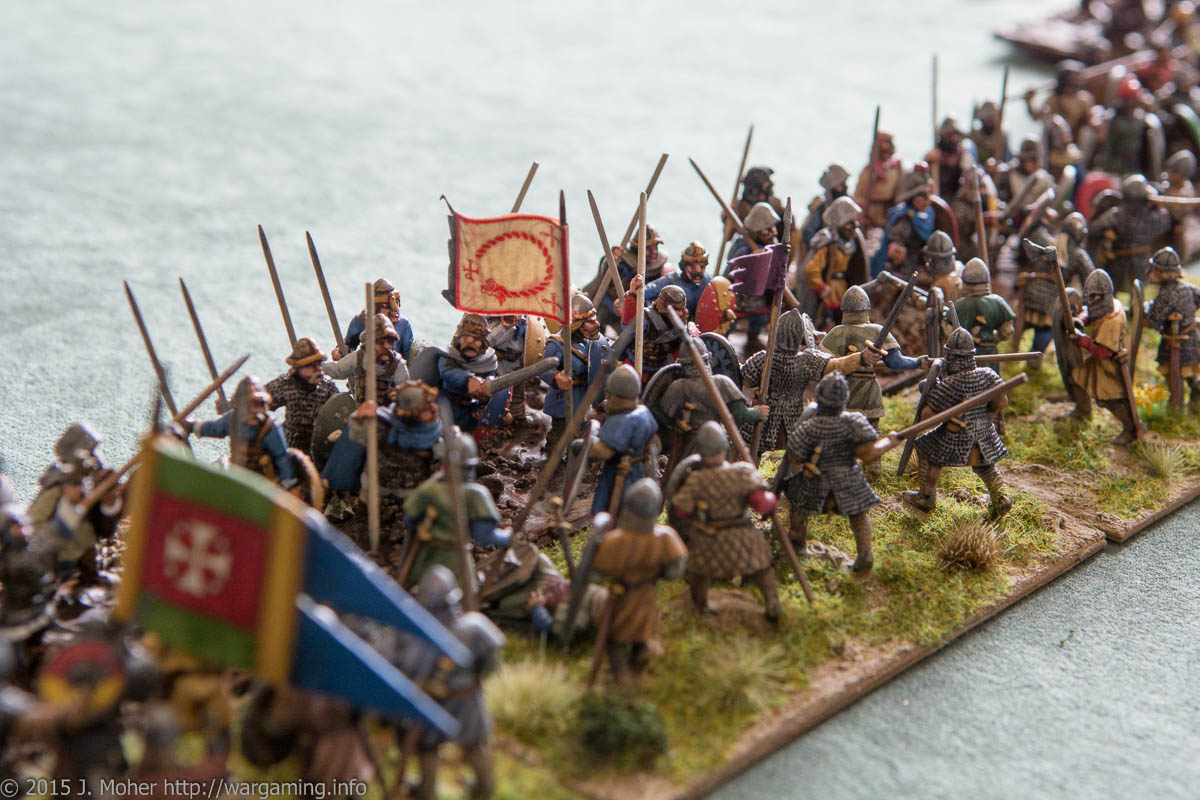
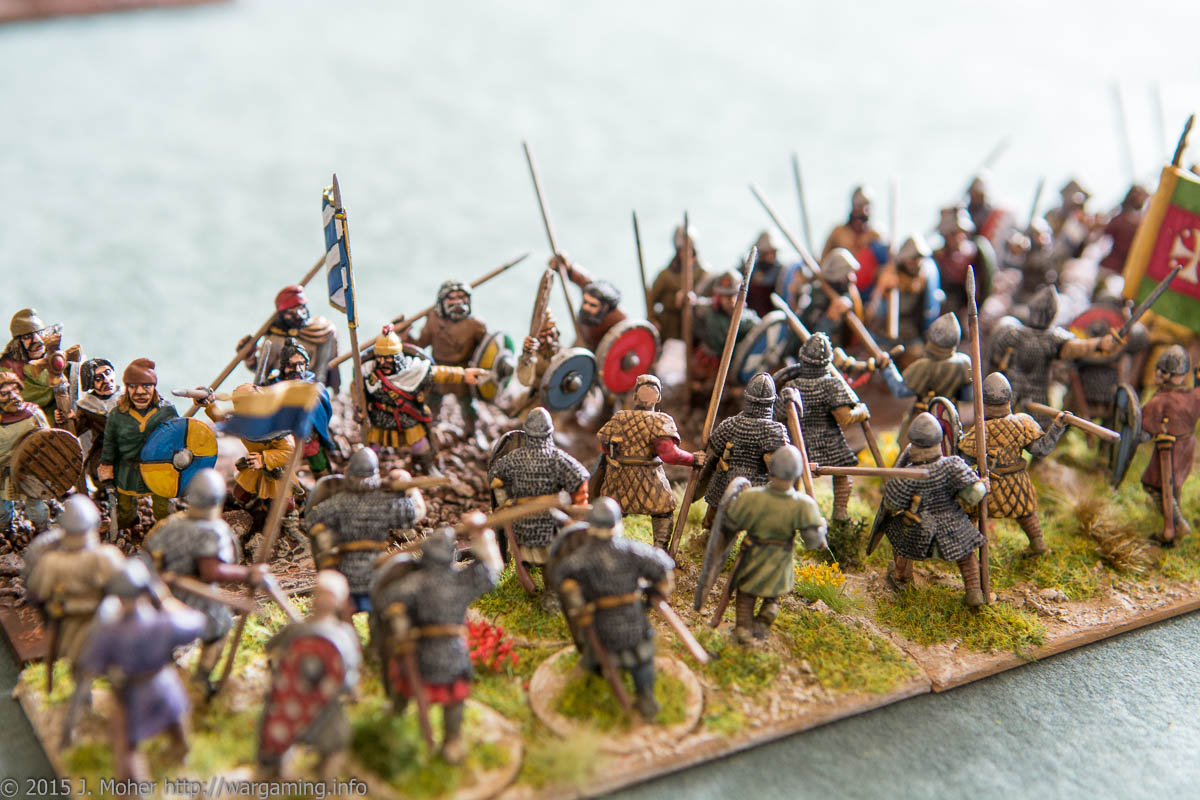
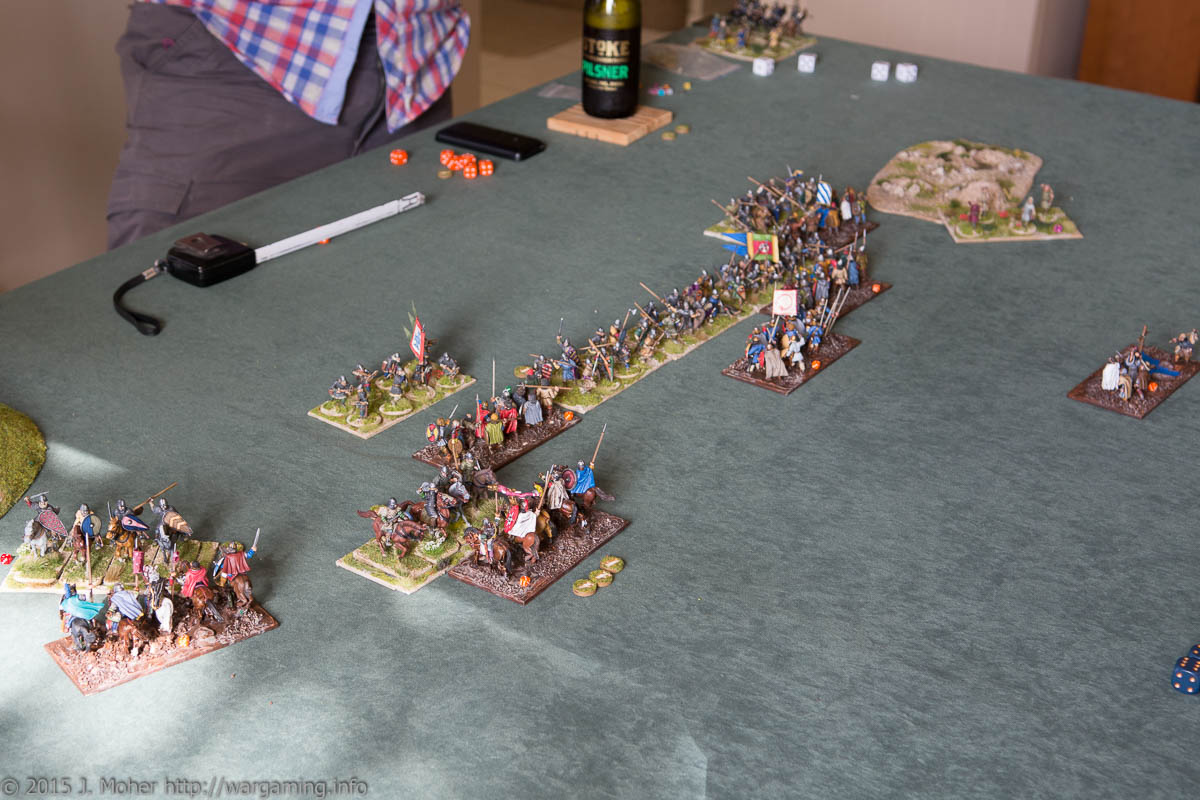
The battle saw a fairly conventional deployment with both sides shieldwall infantry in the centre, and mounted troops, bowmen, and skirmishers on the flank. In the centre the 5 Carolingian Shieldwall Infantry faced their 4 Norman counterparts and the Norman Crossbowmen – the Norman’s having a small tactical advantage initially (due to their 1 Noble Shieldwall and the Crossbowmen), on the Carolingian left Charlemagne’s Companions and the 2 ordinary Caballari faced off against the Norman Commander’s Companions & 1 Noble Milites giving the Carolingian’s the advantage in numbers (if not in quality). On the Carolingian right the lone unit of Bowmen faced 2 units of Norman bow-armed Skirmishers supported by 1 unit of Breton ordinary riders, while the Benedictine Monks covered the Carolingian right-rear.
The opening moves went poorly for the Carolingian’s, as on their left the Norman General’s Companion Milites quickly eliminated one of their Caballari riders (despite being opposed by both such units), Charlemagne’s Household Caballari failed to get a decisive win over the opposing Norman Noble Milites, and the Norman’s were able to bring their Breton riders from the other flank as reinforcements. In the centre the Carolingian’s allowed the Norman shieldwall to charge home for the initial contact, while in the left-centre the end shieldwall unit was repeatedly pounded by the Norman Crossbowmen, soaking up 1-2 LPs each turn countering hits. On the right, despite the Norman’s having a small advantage, the Carolingian Bowmen managed to exchange hits at an equal rate with the Norman Skirmishers.

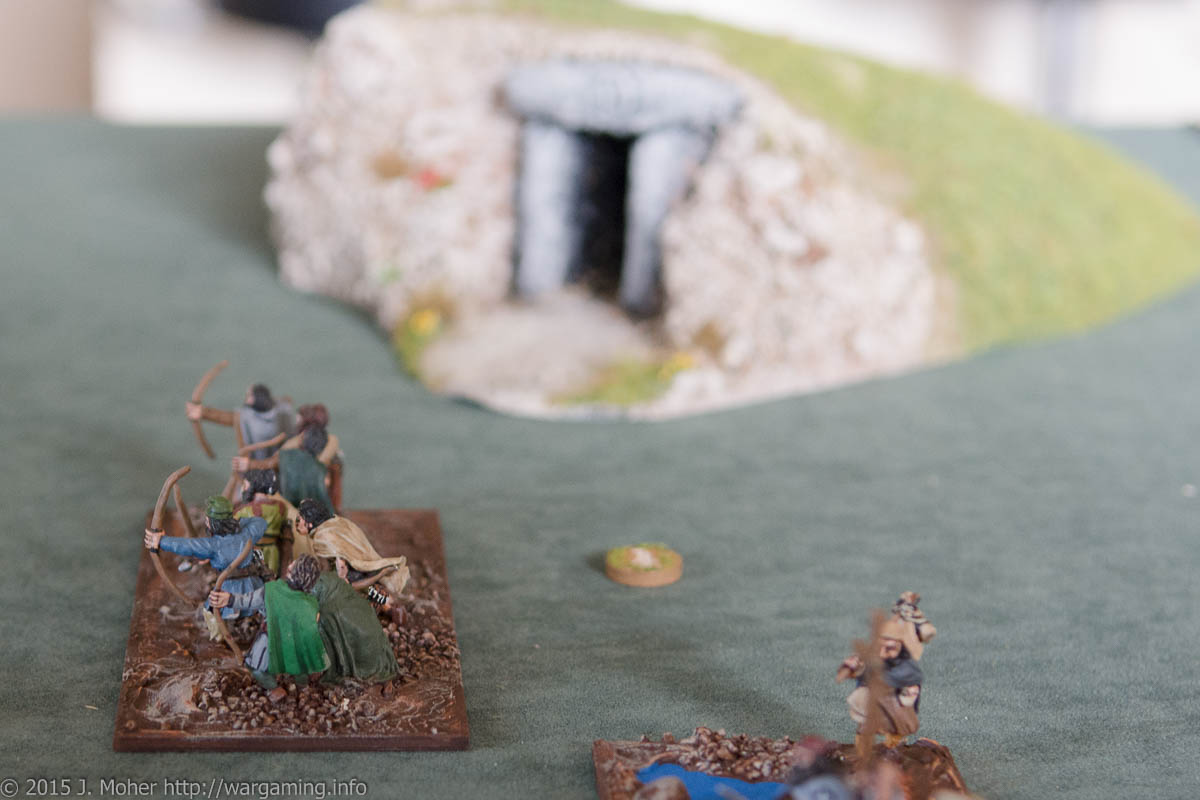
On the Carolingian left Charlemagne finally dealt with the Noble Milites, only to then be opposed by the fresh Breton riders, however the remaining Caballari riders hung on for grim death against the Norman General’s Milites (they survived about 6 turns of ongoing combat with only 1 cohesion point remaining before succumbing on the second to last turn of the game). In the centre after initially losing 1 shieldwall unit to the Normans, the Carolingian’s fought back (eventually dispatching one of the Norman infantry units at no further loss to themselves), but on the right, after initially dispatching one Norman Skirmisher the Carolingian Bowmen were in turn dispatched by the other surviving Norman Skirmisher, who (with just 1 remaining cohesion point) then proceeded to pursue the Benedictine Monks in the rear of the Carolingian position to bring them into bow range! On the left Charlemagne’s Companions rode down the Breton riders (eventually) and made a beeline for the Norman Crossbowmen, just as the surviving Carolingian Caballari finally succumbed to the Norman General’s Companion Milites, who in turn made a beeline for Charlemagne’s Household Caballari (who were themselves just hanging on with 1 cohesion point remaining)…
The battle was a close run thing, and in the end both armies hit 50% losses simultaneously (Carolingian’s 3 Riders, 1 Shieldwall, 1 Bowmen; Normans’ 2 Riders, 1 Shieldwall, 1 Crossbowmen – plus 1 Skirmisher) – however morale checks favoured the Normans, with the Carolingian’s having 3 of their 5 survivors rout, whilst only 1 of 4 Norman’s did so (excluding the surviving skirmisher). The loss of Charlemagne himself in the final turn of combat (even as he ran down the luckless Norman Crossbowmen with his few surviving companions) perhaps prophetic for the morale of the Carolingian’s!

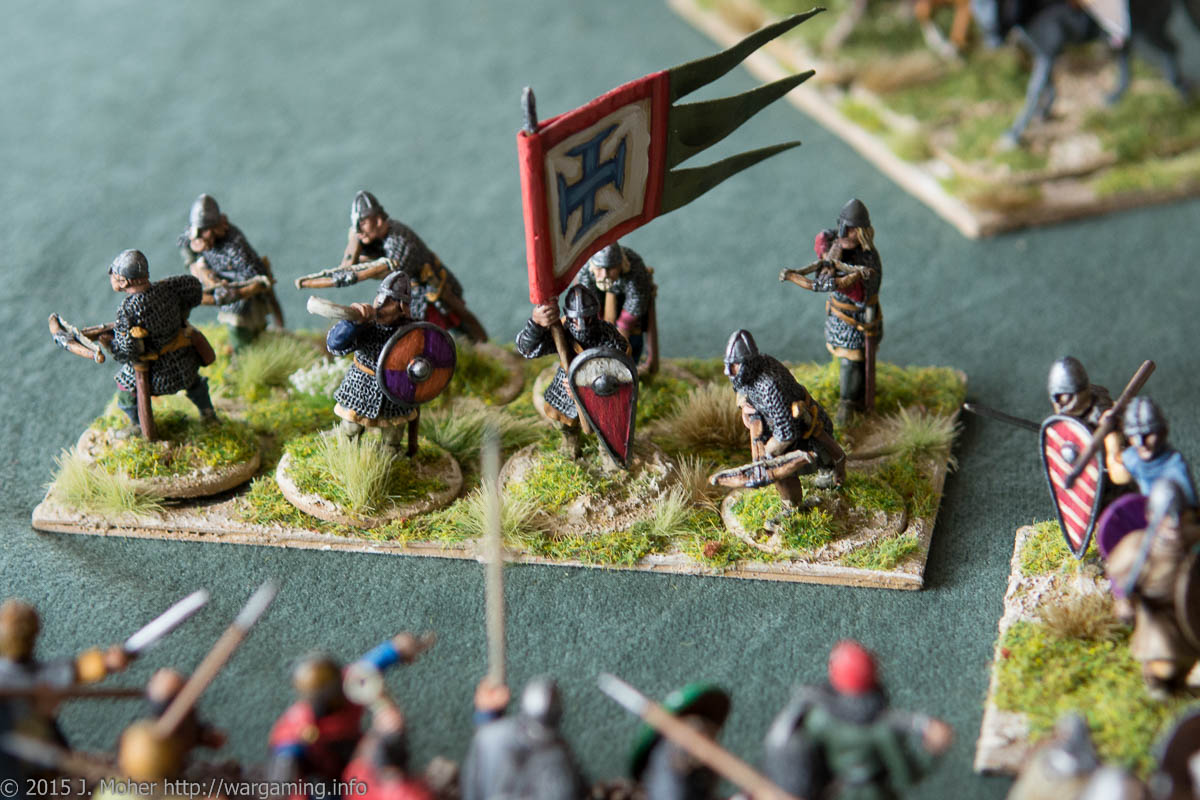
For the record my Carolingians are currently a mix of Artizan Designs, Wargames Foundry, Essex Miniatures, and Old Glory (from Late Roman, Dark Age, Arthurian, Saxon, Frankish, Ancient German, Norman, and Carolingian ranges), while Kieran’s Normans are a mix of metal Perry Miniatures and plastic Conquest Games figures.
Read more about my Carolingians & Dux Bellorum in Carolingians vs. Vikings.
One thought on “Dux Bellorum With Carolingians”