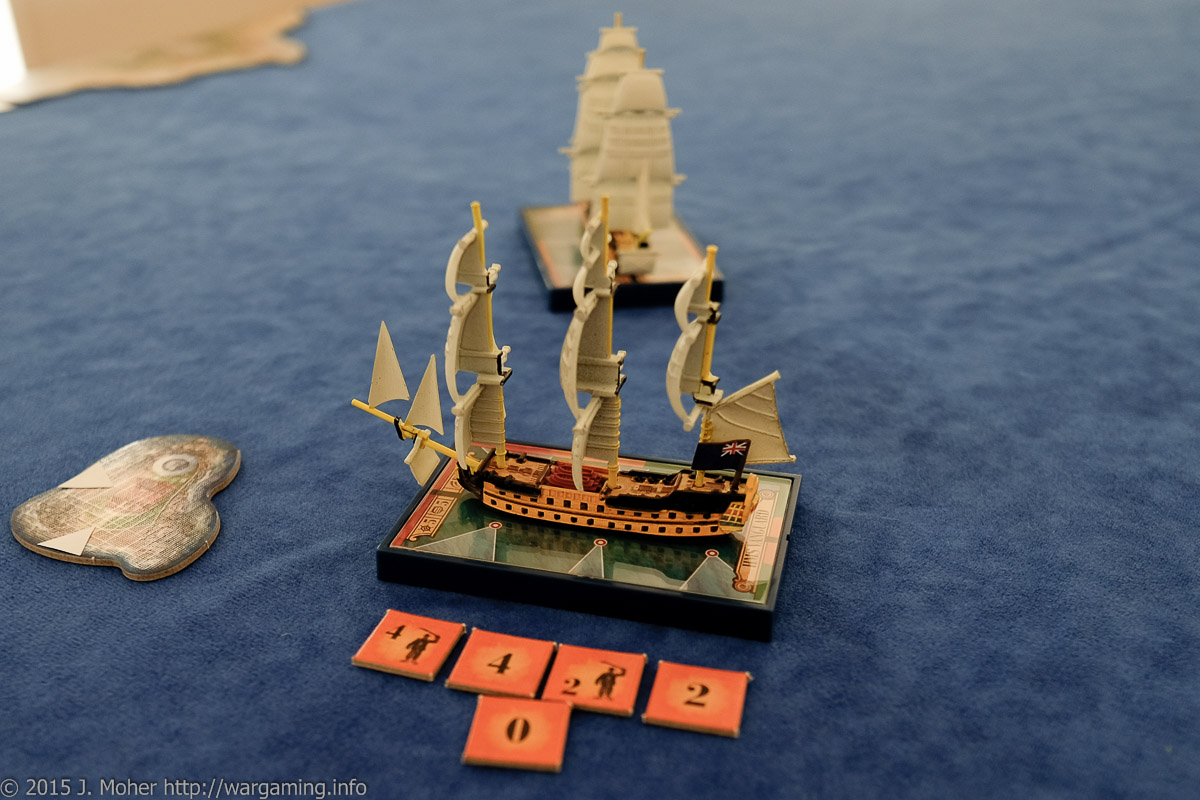
Contre-amiral Thierry Victore’s ad-hoc squadron has been in pursuit of an enemy Royal Navy ship heading towards the safety of its waters. Aboard the ship was a passenger carrying vital intelligence of great importance to The Directoire. Capitaine Géroux’s mission was to prevent that passenger from reaching the enemy shore, and if possible, to capture him. However during the night fog enveloped both ships, potentially allowing the prey to escape, but as night gave way to day the fog started to lift… When all became clear, Géroux found himself within firing range of the enemy. Dryade was in a position to wreak havoc upon the enemy ship but failed. In the process Capitaine Géroux was unable to sink or capture the english ship nor capture the passenger and gain the critical intelligence. Unable to make clear plans following the disaster poster le brouillard Amiral Victore has dispatched a ship to observe each of the likely ports the enemy vessel has temporarily taken shelter in. Continue reading “Our Ships Were French Oak And Hearts of Oak Our Men”
Tag: Campaign
When The Fog Lifts
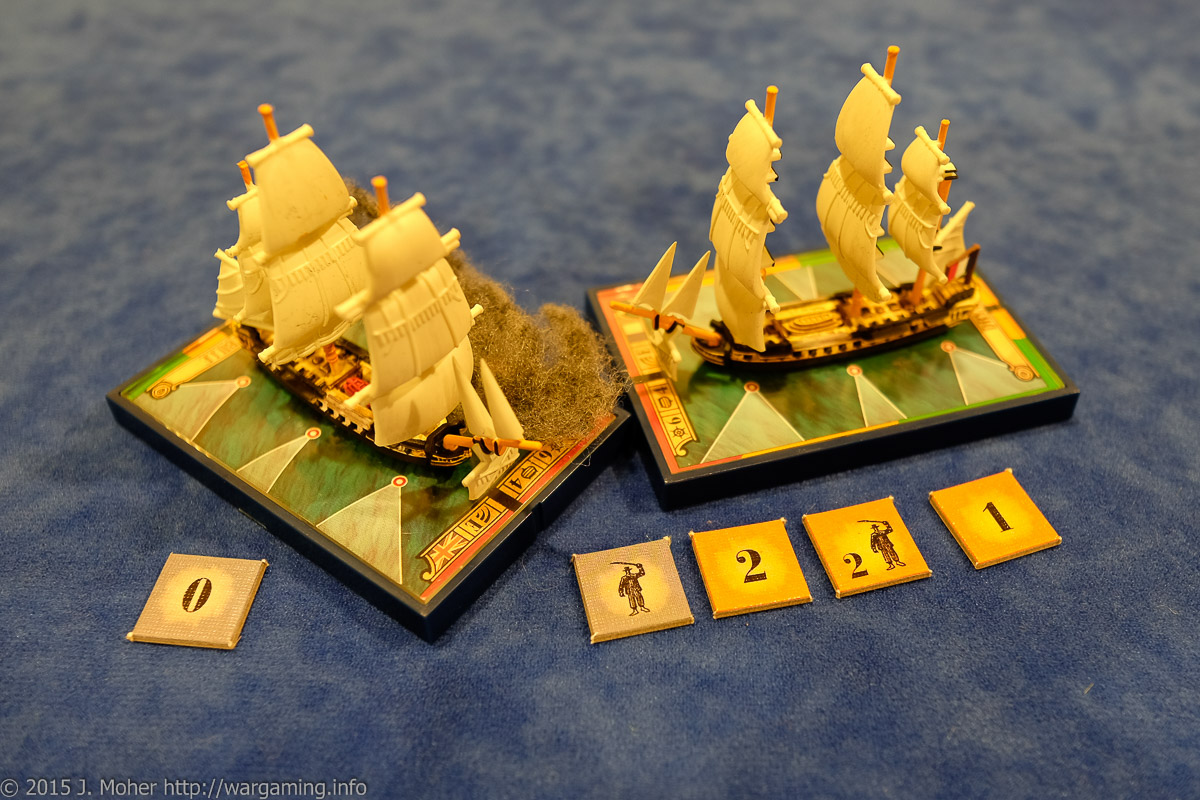
Capitaine de frégate Josepe Aurèle Géroux had been pursuing the English frigate for several days now, but finally he had outthought his foe and was almost upon them. His command, the Dryade (a 36-gun Frigate of the Republic) was in fighting trim and spoiling for a fight, and he was himself known in the French Navy for his uncanny aim and the quality of his crew’s gunnery. It was also vital that the English vessel be caught, as it contained valuable intelligence on board and a person of great interest to The Directoire, it must not reach the safety of English waters! However as dawn approaches the Dryade has been shrouded in a thick sea fog, and the enemy vessel is lost from sight – but with the rising sun the fog burns off and the enemy is spotted… Continue reading “When The Fog Lifts”
Fire & Sword Turn 05: March 1884
After the rather erratic results in February 1884 the Anglo-Egyptian forces were facing some great challenges (and some perhaps unrecognised opportunities) in March. Both Eastern & Western Sudan are only showing very low levels of rebellion and not offering a serious threat to the Anglo-Egyptians – the real fight for Sudan is spread the length of the Nile, from Fashoda all the way downstream to Abu Hamed. In the North the 3rd Company, 19th Yorkshire Regiment headed south from Aswan to Wadi Halfa ready to move into the Sudan in April; where it is joined by a late reinforcement in the form of a company of the Egyptian Camel Corps and a Screw Gun Battery of the British Camel Corps.
Continue reading “Fire & Sword Turn 05: March 1884”Blücher By Sam Mustafa
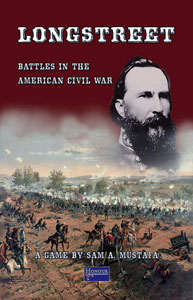
Early this year Sam Mustafa will be releasing his latest game system in his “Honour” series, Blücher, which provides the ability to fight grand-tactical type games in the Napoleonic Wars. One units, stand, or counter, represents a Brigade or Regiment (incorporating multiple-battalions) or a massed Artillery concentration. Also included with the rules is Scharnhorst, a pre-game campaign that determines the manoeuvres of the opposing armies and ultimately how their deployment occurs on table. Continue reading “Blücher By Sam Mustafa”
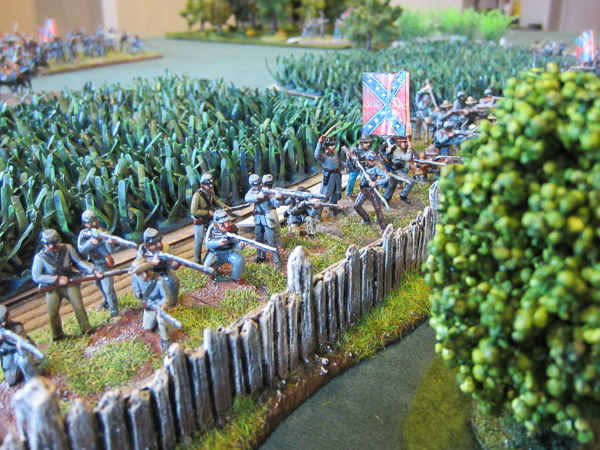
Marching On Richmond: The Conclusion
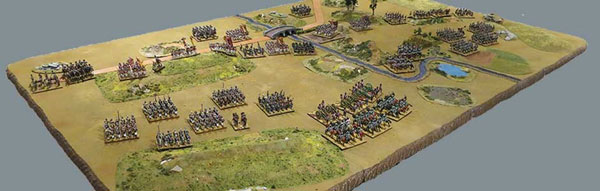
Having broken from their 1864-1865 winter camps the armies headed further into Virginia, the mass of the Union forces always looking to outmanoeuvre the Confederates to expose Richmond and end the war. By late March a decisive battle emerged to conclude the Petersburg Siege, and my forces (General Ulysses P. Rickards) were dispatched to hold vital crossroads to the flank of Five Forks to prevent any last ditched effort to raise the siege by General Longman’s Confederate forces and the balance of General Lee’s Army of Northern Virginia under General Pickett. Continue reading “Marching On Richmond: The Conclusion”
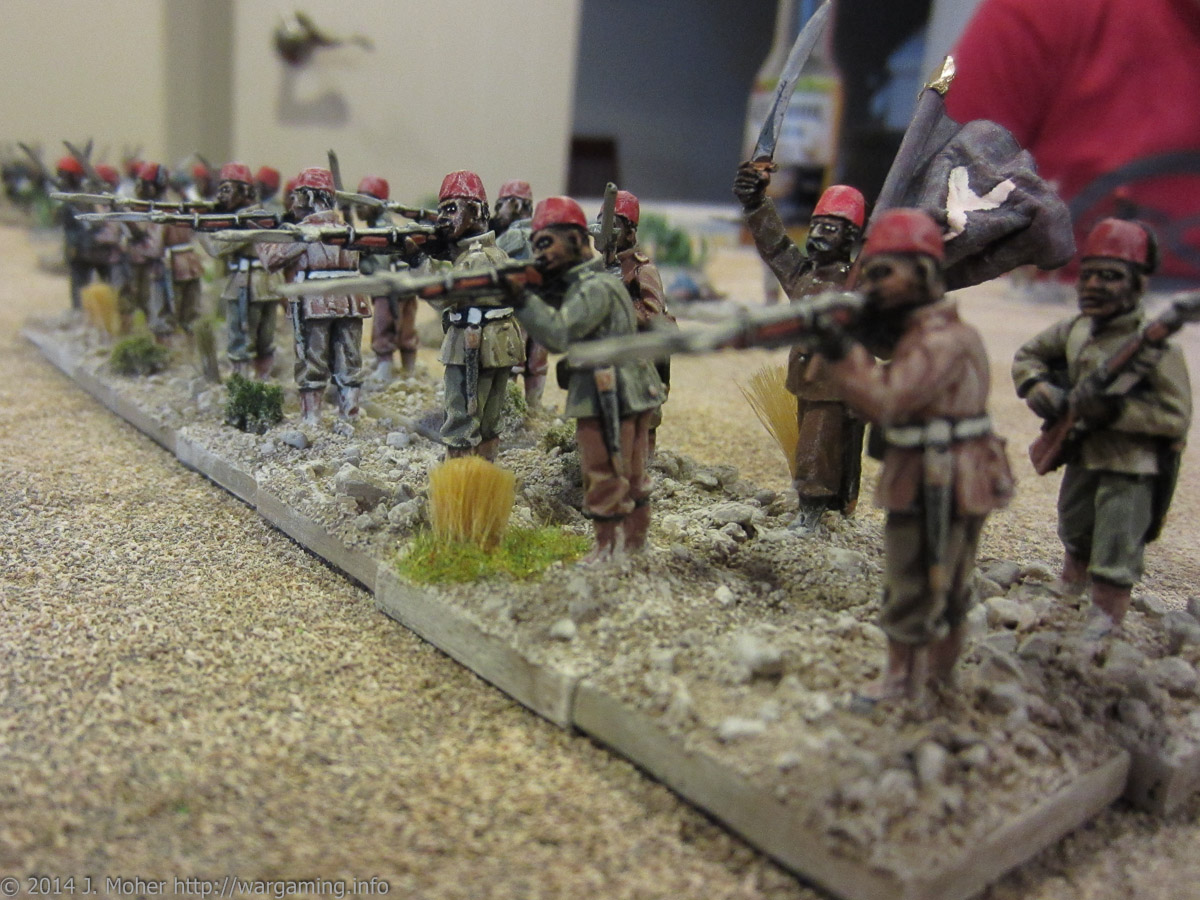
Fire & Sword Battle 06: The Gardner’s Jammed & The Yorks Vanquished
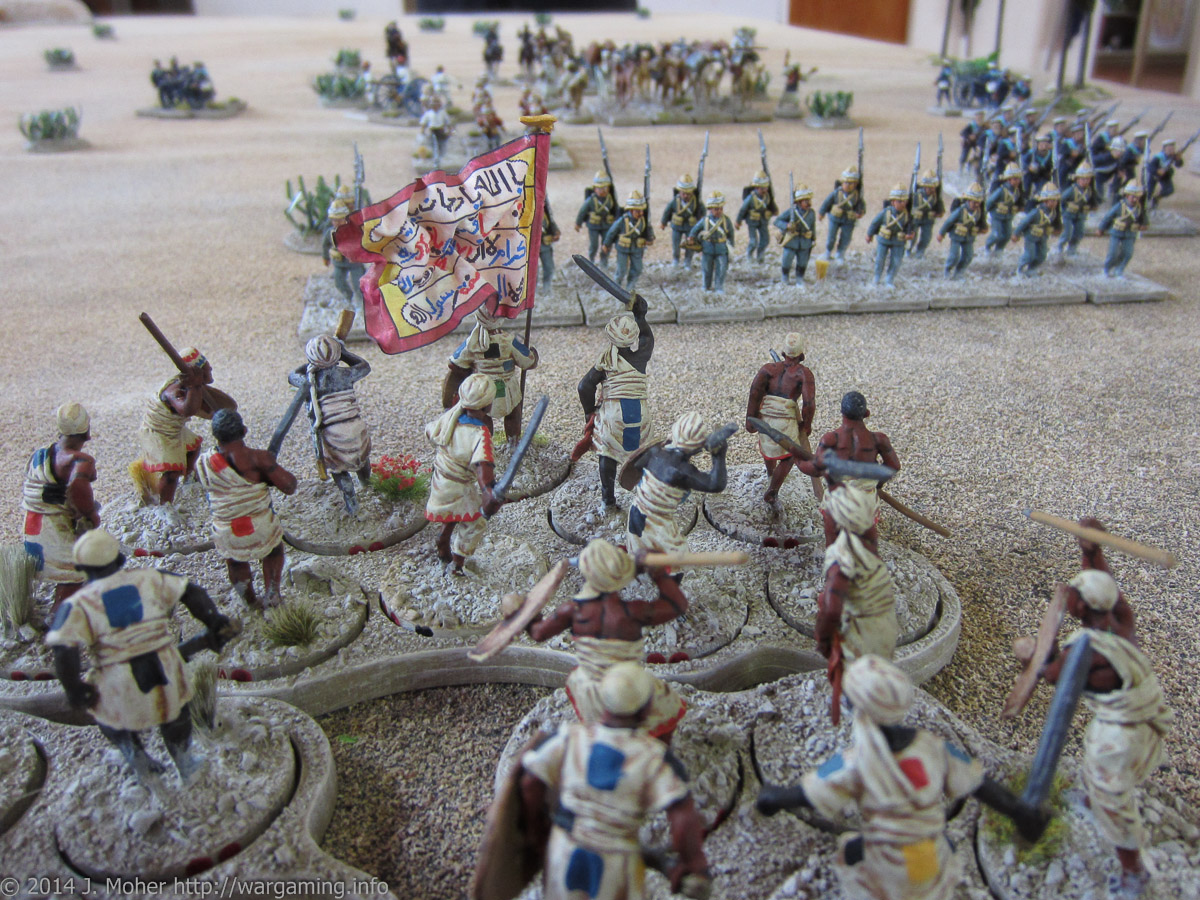
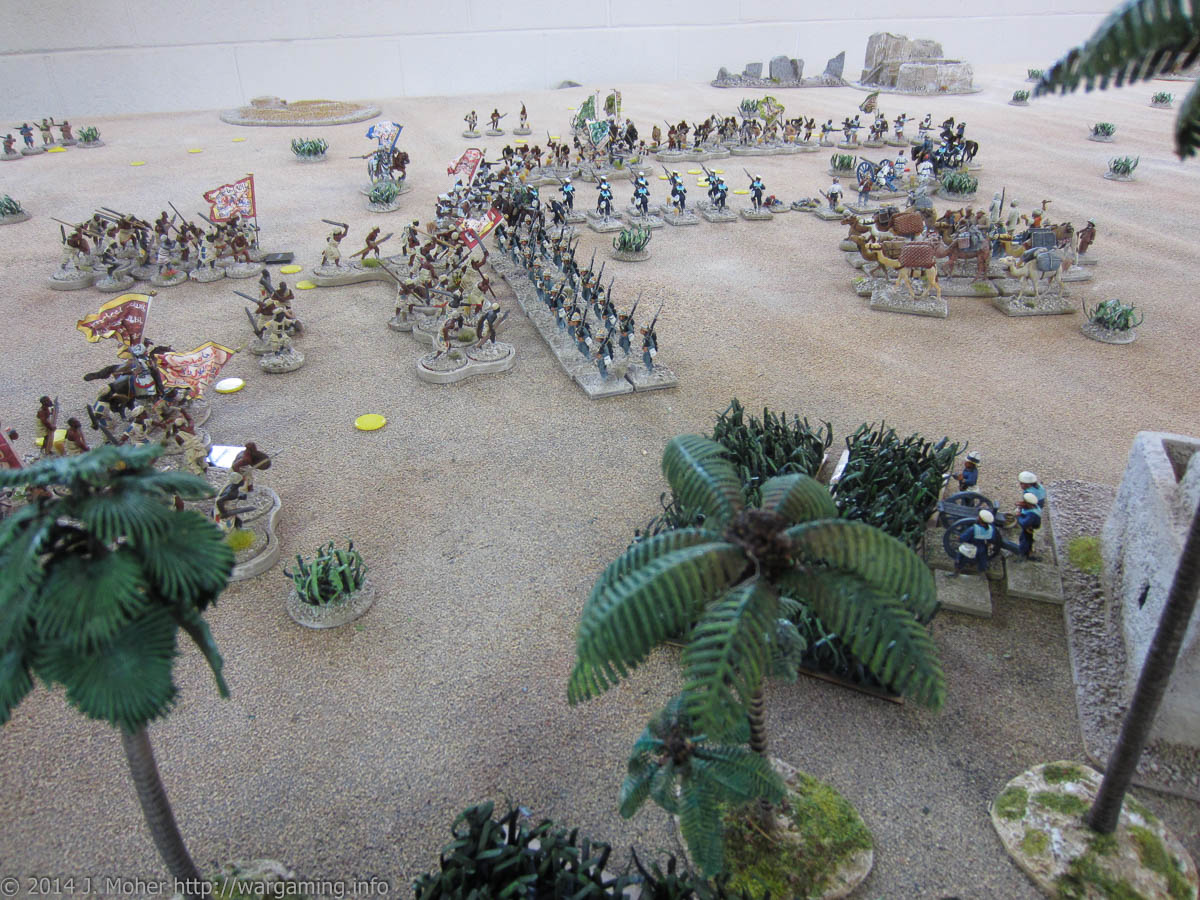
As described in Fire & Sword Turn 04: February 1884 Sir Henry’s column continued South towards Dongola, and at the 3rd Cataract is met by the first supply steamer to have made it beyond the 2nd Cataract. It resupplies his column and brings welcome reinforcements in the form of the 2nd Company, 19th Yorkshire Regiment (who are also wearing the freshly issued and newly designed Grey Serge Uniforms intended for the expedition), as well as the 1st MG Section, The Naval Brigade (operating Gardner Guns). The reinforced column is soon in Kerma and quickly continues on to Dongola, conscious of the possibility of European hostages or prisoners being held there. As it finally approaches the town Sir Henry is surprised with a sudden onslaught by the defending Dervish forces!
Continue reading “Fire & Sword Battle 06: The Gardner’s Jammed & The Yorks Vanquished”Marching On Richmond: Winter 1864-65
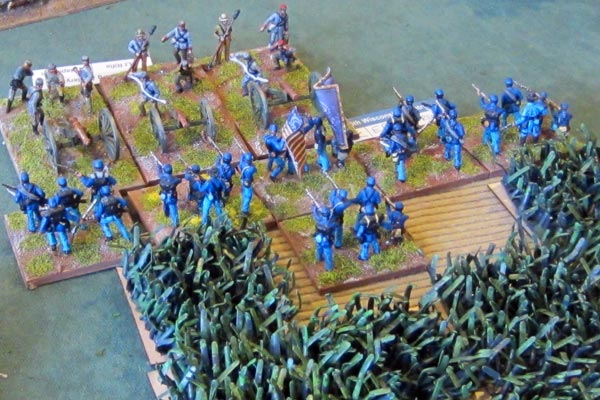
After the action at Virginia Farm both sides moved into winter quarters, setting up cantonments in Virginia. As Spring 1865 approached and we prepared for the new campaigning season my Division received new reinforcements, and smattering of new recruits. Meanwhile the 2nd New Hampshire, 4th “Magnificent” Maine, and 54th “Unstoppable” Massachusetts (Coloured) were all disbanded due to low numbers and the survivors used to reinforce other regiments – my force therefore was thus: Continue reading “Marching On Richmond: Winter 1864-65”
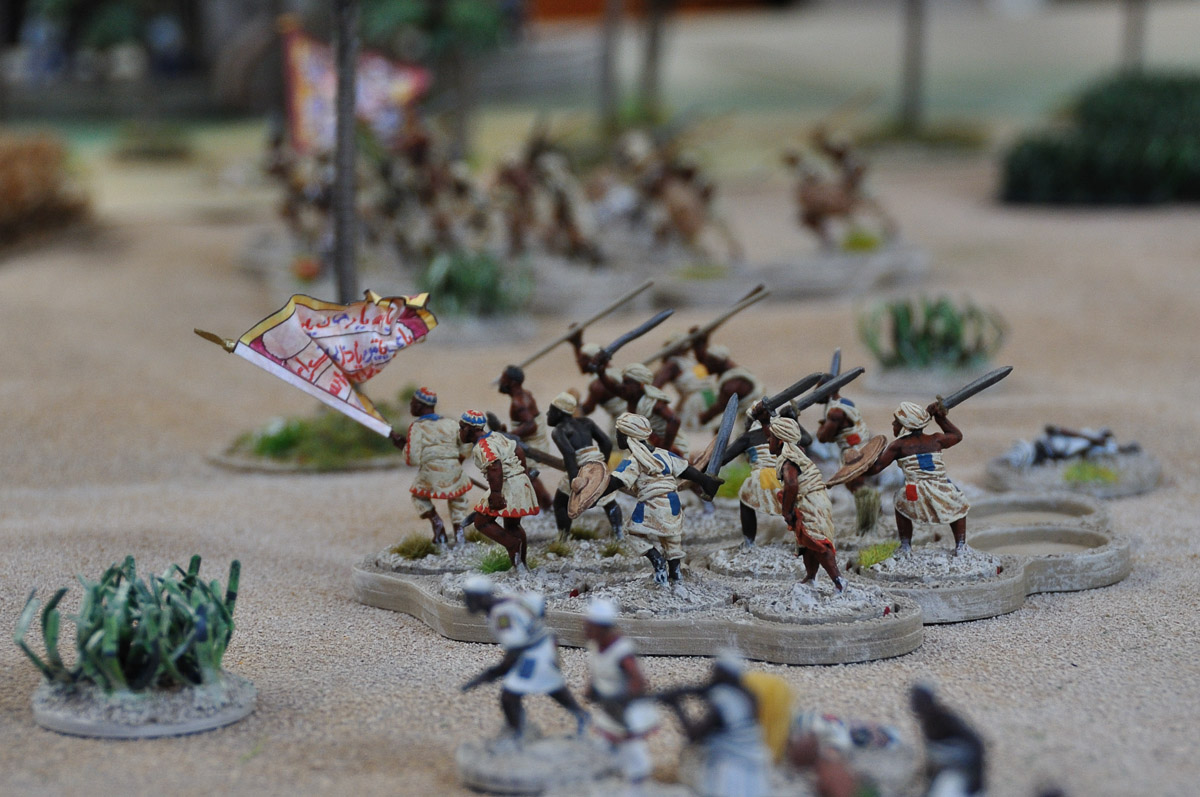
Fire & Sword Battle 05: Because We’re ‘ere Yuzbashi! Nobody Else. Just Us.
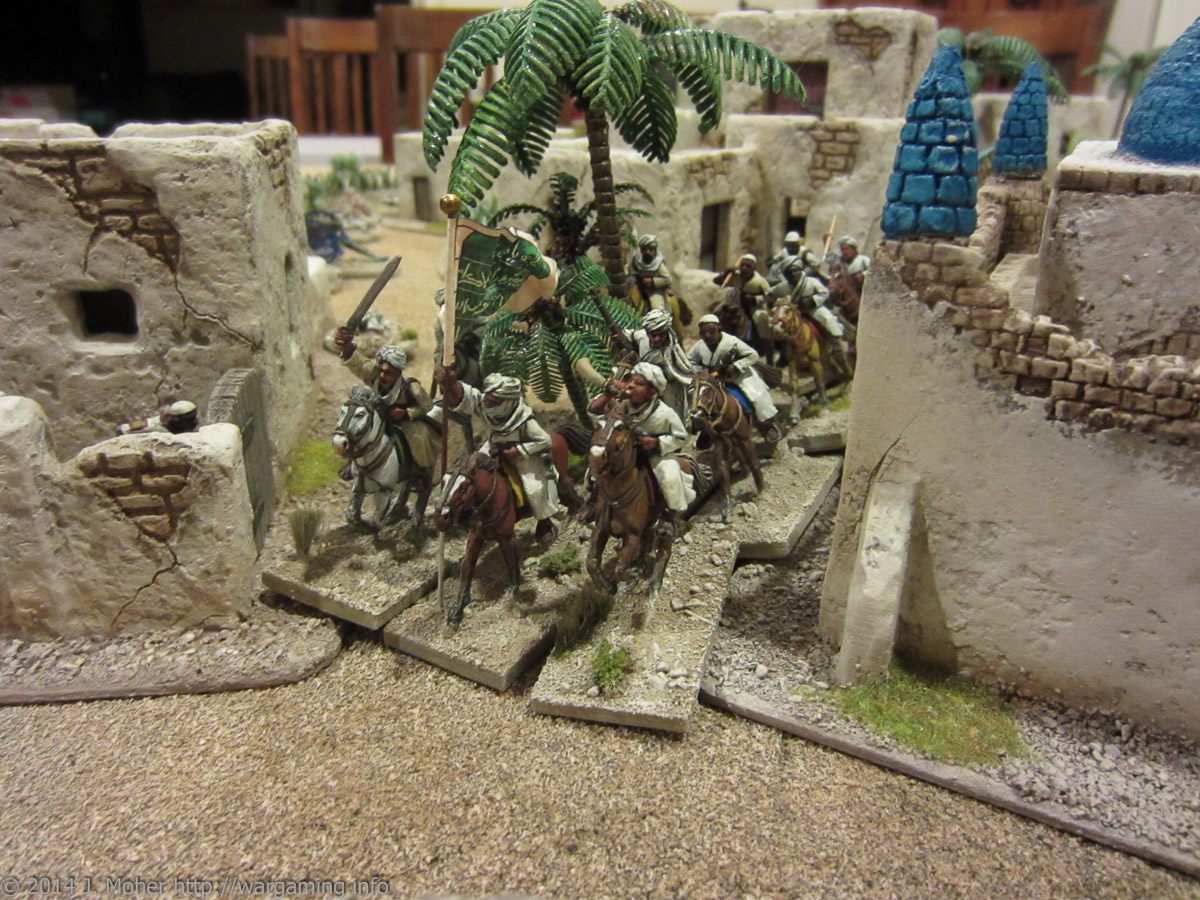
Akhtar Pasha had just spent the last few weeks trekking along the caravan trail from Suakin to Berber. When he left Suakin the Eastern Sudan was quiet and unchanged despite the violent rebellion raging in Northern & Southern Sudan – however things had now changed, the Eastern Sudan had erupted into rebellion behind him and he was now deep in enemy territory, with a column of troops in need of water and supplies, and lacking any mounted force for reconnaissance or foraging! Akhtar’s plan was to march rapidly on Berber, this was the closest reasonable sized town that was both likely to have plentiful stocks of supplies, and be fortifiable once occupied – but it was also small enough that hopefully it would not have a strong Mahdist rebel presence, and they would not have heavily fortified the place thereby making access impractical. Around the middle of February Akhtar Pasha’s force arrived at Berber, and prepared to assault the town…
Continue reading “Fire & Sword Battle 05: Because We’re ‘ere Yuzbashi! Nobody Else. Just Us.”Fire & Sword Turn 04: February 1884
With January 1884 drawing to a close, the revolt appeared to have been stabilising – however the Eastern Sudan, despite the relative quiet in the region now finally also erupted (or rather simmered) into full blown rebellion – the results were limited however; although Trinkitat & Kassala fell into the hands of dissident Beja Hadendowa Fuzzy-Wuzzies aligned with the Mahdist Rebels, and led by one Osman Diqna, Suakin appears secure – so they aren’t seen as a major threat at this time. Elsewhere no major changes occurred and Akhtar Pasha’s column at Hadiga, and the lone 4th Company of the 1st Egyptian Rifle Battalion on the Atbara River, barely noticed, continuing their journeys initially unaware of what had transpired to the East & South of them…
Continue reading “Fire & Sword Turn 04: February 1884”Fire & Sword Battle 04: Sally at Abu Hamed
As referred to in Revolt in the Sudan Turn 03: January 1884, at Abu Hamed Sayed Bey decides to sally forth from the town and endeavour to temporarily break the siege. While Abu Hamed is now plentifully supplied with resources (it has over 6 months of supplies on hand) Sayed Bey determines to take the opportunity to procure more, and while he has a relatively fresh & strong force available to hopefully inflict a defeat on the local Mahdist forces. Unbeknown to Sayed Bey, he sallies forth only two days after Sir Henry’s victory over the Dervish force at Baqah al-Garbiyyah Oasis, intent on breaking the siege of Abu Hamed…
Continue reading “Fire & Sword Battle 04: Sally at Abu Hamed”Printing Action Cards For Longstreet
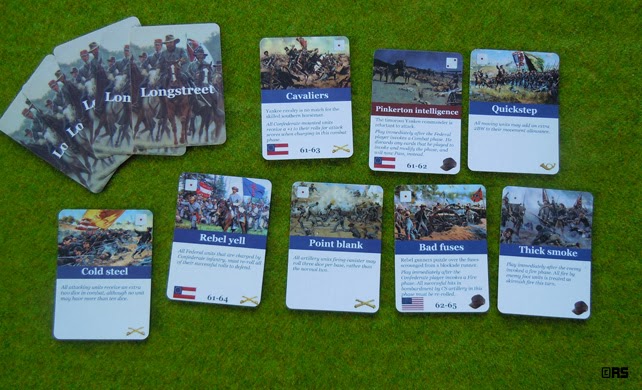
If you are interested in Longstreet you will know it requires cards to play. There is an official set available from Sam Mustafa with the rules, which requires the action deck for one player, plus all the advanced cards for other features of the (advanced) rules and the campaign. However you do need to have 2 decks of the action cards for a standard game – the official deck will provide you one set for 1 player, plus all the advanced cards you need for both players. So to get a second action deck (assuming your regular opponent(s), or lack of the same, don’t have a set) you can either do as I have done and buy a second official set, or you can just use the lower quality free PDF from Sam’s Website to printout, stick to card, and cut out. Continue reading “Printing Action Cards For Longstreet”
Marching On Richmond: Virginia Farm 1864
As the summer of 1864 dragged on we continued to manoeuvre and fight indecisive engagements with our erstwhile rebel opponents. As Fall approached however we finally cornered the main Confederate Army in Virginia to force a major action to defend Richmond. My Division was engaged near the centre-right of our line, at a place we dubbed “Virginia Farm” where once again we found General Longman’s forces opposing us… Continue reading “Marching On Richmond: Virginia Farm 1864”