
It is early 1884 and the Mahdist Rebellion is reaching it’s peak – Gordon is isolated in Khartoum, and the rebellion has steadily spreads north towards the Egyptian frontier. As the debate about any relief expedition to go to Gordon’s aid is being discussed, news comes that a large number of European, Greek, and Egyptian Civilians, along with a small British Hospital Corps detachment, have been cut off in the town of Old Dongola; and the local Egyptian Commander has only a small force of Bashi-Bazouk Irregulars, supplemented by whatever Civilians that can fight, to try and defend the town (who’s defences are in a poor state due to official Khedival policy of not maintaining any permanent fortifications in the Sudan, the town having the partial remnants of a wall, supplemented by zeribas and improvised barricades)… Continue reading “The Relief of Old Dongola”
Tag: Mahdist
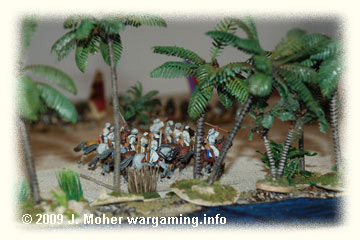
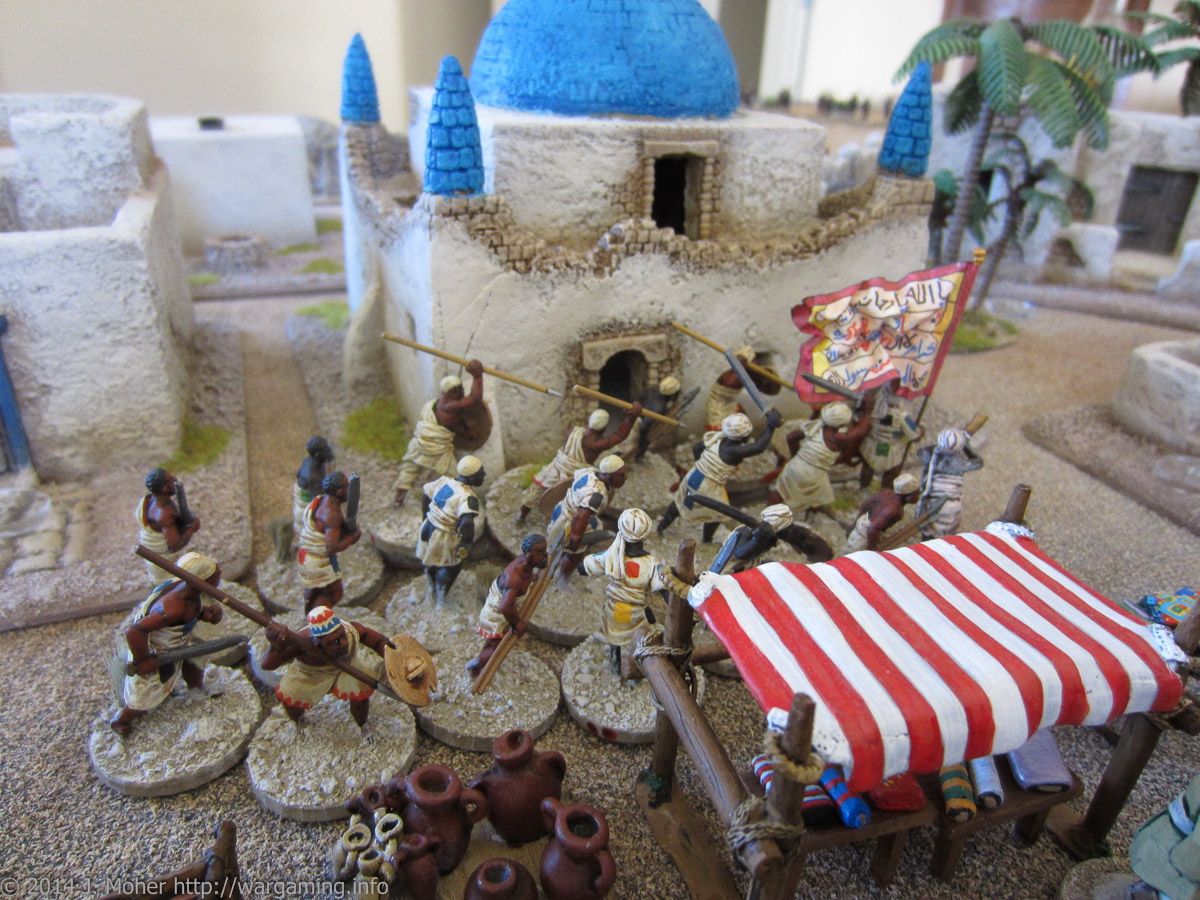
Fire & Sword Battle 03: The Battle of Baqah al-Garbiyyah Oasis
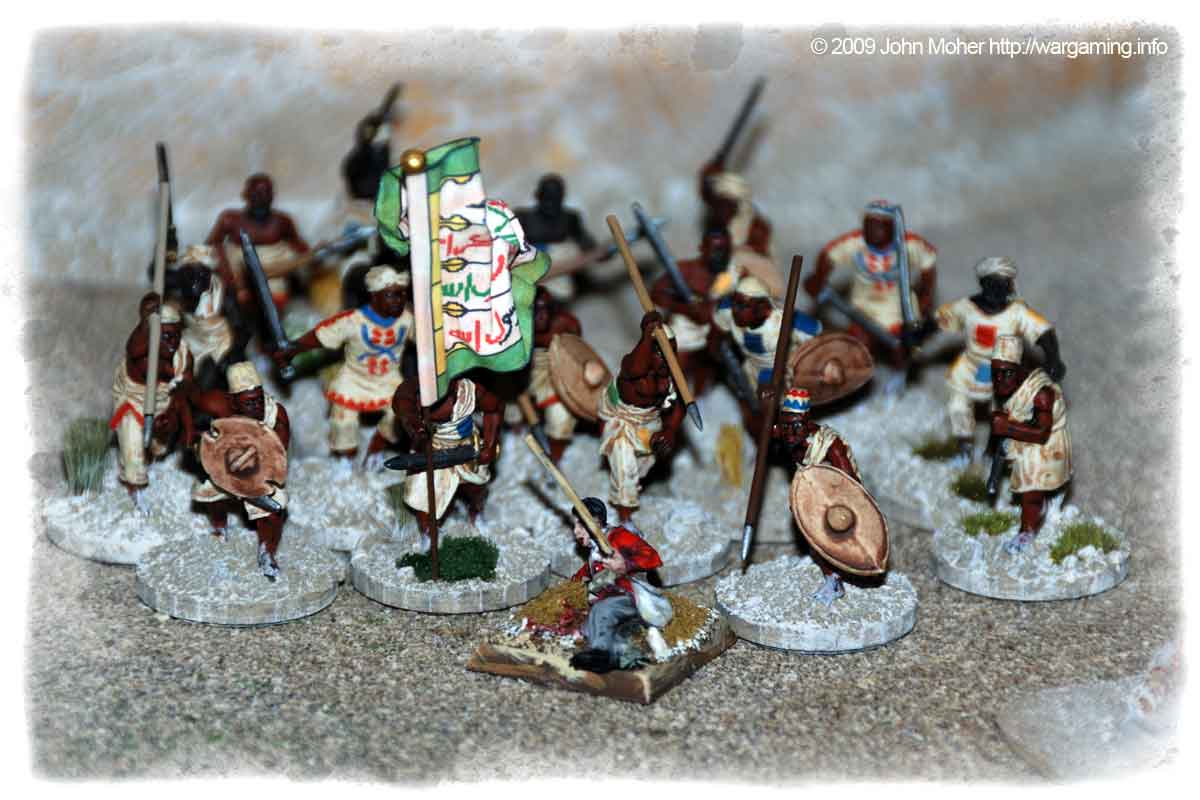
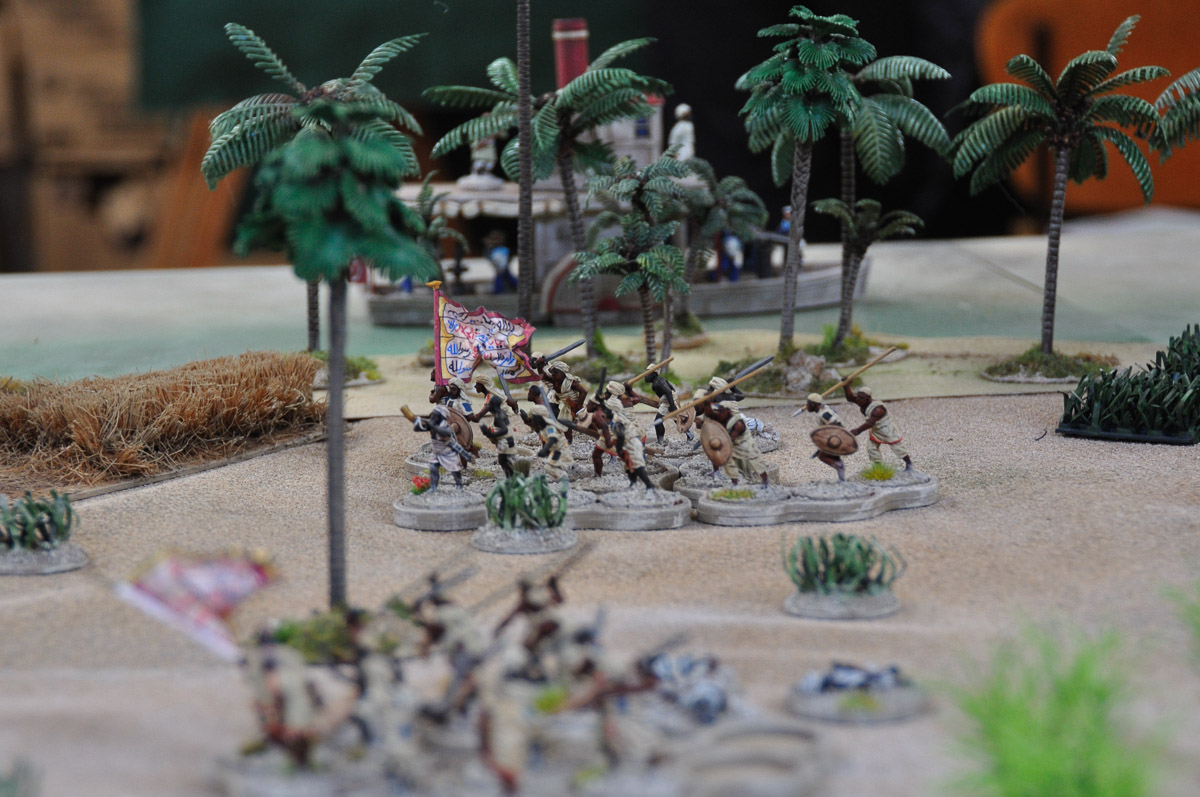
As Sir Henry’s Column advanced South towards Akasha, he received word of a large Dervish Force from ostensibly friendly locals (but more likely disgruntled Mahdists with a score to settle against the Mahdist force’s commander). As this force was reported a few miles inland from the Nile, at a minor watering hole, Sir Henry felt obliged to turn and approach the Mahdist forces – he could ignore them, being but a day and half’s march from the town of Akasha, but that would allow them to remain behind him on his Lines of Communication, and potentially block reinforcements from reaching him. As a result he turned inland, and his plucky column headed into the desert…
Continue reading “Fire & Sword Battle 03: The Battle of Baqah al-Garbiyyah Oasis”Fire & Sword Turn 03: January 1884
After Turn 02: December 1883 the Anglo-Egyptians luck runs out – the revolt has spread into Western Sudan; Darfur & Kordofan are aflame with Mahdist support and Dara immediately falls to the rapidly growing Dervish Army in Darfur. Even worse El Fasher falls immediately after with the loss of it’s garrison. In Kordofan the expedition heading for El Obeid (2nd Company, XIIth Sudanese Battalion; and 1st Section, B Egyptian Artillery Battery) somehow survive the sudden onslaught, and are not perhaps fully aware of their precarious position.
Continue reading “Fire & Sword Turn 03: January 1884”Fire & Sword Battle 02: The March to Wadi Halfa
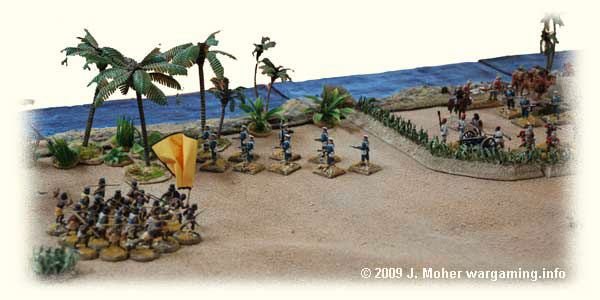
Having camped but a days march from the approaches to Wadi Halfa in late September 1883, Sir Henry Frotheringham’s relief column is suddenly assaulted in the early dawn by a large Dervish Force…!
Continue reading “Fire & Sword Battle 02: The March to Wadi Halfa”Fire & Sword Turn 02: December 1883
Continuing from Revolt in the Sudan’s Turn 01: November 1883, the Anglo-Egyptians get a lucky break, the Khedive is relieved to hear the revolt hasn’t spread to Darfur & Kordofan, the breadbasket of the Sudan. Meanwhile in Khartoum the available supplies have actually increased thanks to Bordein’s unexpected, albeit hasty, arrival. However Abu Hamed is not looking so lucky – it has only 2 turns of supplies and the only possible help that might reach them is plucky Talahawiyeh, who, if very very lucky, may reach the garrison by the end of this turn, if she doesn’t they may have to gamble on sallying out to try and drive off the Dervishes long-enough to forage for supplies.
Continue reading “Fire & Sword Turn 02: December 1883”Fire & Sword Battle 01: Skirmish before Metemma
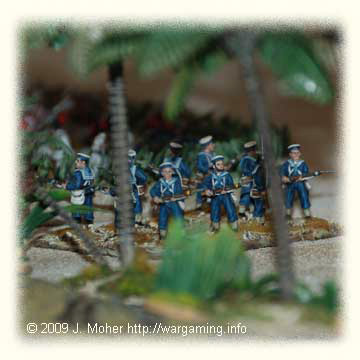
Maizoub ‘John’ Pasha despatches Talahawiyeh (with her 9pdr Gun, Nordenfelt MG, & detachment of 6 armed Sailors) towing a Nuggar and transporting the 4/5th Egyptian Company (20 men), down river towards Abu Hamed – to discover the full situation and re-establish contact with the latter; and if possible, Cairo. The expedition is under the command of Captain Wahab El Zahra Agha, officer commanding the 4/5th Egyptian Rifle Company.
Continue reading “Fire & Sword Battle 01: Skirmish before Metemma”Fire & Sword Turn 01: November 1883
The campaign begins with a violent revolt in the North and South, spreading fast like a bush fire. The North had been a powder keg for some time but it had been hoped any insurrection might be contained there. The insurrection actually began at Dongola, and spread North to Wadi Halfa which immediately succumbed and the Xth Sudanese Battalion garrisons in both locations were engulfed by the suddenness of the uprising. Even worse the revolt spread South through Berber and then Atbara fell to the rapidly growing Mahdist cause – it being suggested that most of the troops at Berber (from the 2nd Egyptian Cavalry Squadron) may have changed sides and joined the Ansar rather than fight them! All along the Lower Nile the lesser towns also fell to the Mahdists, and just the strongly held garrison town of Abu Hamed held out, surrounded by a countryside of seething revolt.
Continue reading “Fire & Sword Turn 01: November 1883”Unit Organisations in TSATF
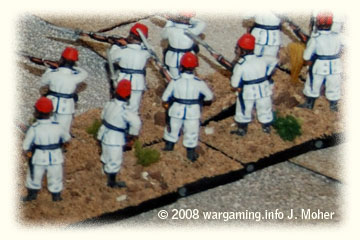
One thing I have done [as of 2008] is slightly tweak the organisations of units to try and more closely replicate the real life historical organisations – while still keeping to the general intent Larry Brom put in the rules and approximately the same number of figures per larger formation (Battalion or Regiment). As we are using the same organisations for our Fire & Sword Campaign I ended up putting together Visio Organisation Charts of them as visual organisation reference for Roundie & Kieran (who weren’t familiar with, my perhaps pedantic, idiosyncrasies over organisation tables) and as a result of an unrelated discussion on the Sword & Flame Yahoo! Group it occurred to me they might be of some little interest to one or two people out there (although I’m sure I’m not the first to do so and many will have their own views different to mine)…
Continue reading “Unit Organisations in TSATF”Fire & Sword Campaign Set Up
Following on from my introductory Our First Fire & Sword Campaign: Revolt in the Sudan post the initial deployment was done randomly – using a random table I generated to use in conjunction with Steve Winter’s original rules. This resulted in a reasonably conventional, although not necessarily ideal deployment of the Egyptian forces. The actual size and number of forces was similar to Steve’s originals, see his starting OOB (or our map below) for an idea of the forces… The map shows the situation once the random deployment has been completed and the initial revolt indexes generated – but before Turn 1 has begun and checks for revolts carried out.
Continue reading “Fire & Sword Campaign Set Up”Our First Fire & Sword Campaign: Revolt in the Sudan
Some of us at the Auckland Wargaming Club were inspired by Steve Winter’s campaign at the Colonial Angle website – so we grabbed Steve’s great idea, I tweaked it a little to suit me, and off we went! First thing I did was grabbed Steve’s Map and colourised it – the map below is the result. I am on the lookout for a new map long-term however and this one is now getting a bit congested due to my tweaking!
Continue reading “Our First Fire & Sword Campaign: Revolt in the Sudan”Fire & Sword in the Sudan Campaign
Our Colonial Campaign gets ready to kick off! Turn one has already begun and the Sudan has erupted into revolt. See how the campaign is going here… Our First Fire & Sword Campaign.
Continue reading “Fire & Sword in the Sudan Campaign”The Sword and the Flame [TSATF]
![The Sword and the Flame [TSATF]](https://wargaming.info/wp-content/uploads/The-Sword-And-The-Flame-Revision-1-1986-front-cover-1.jpg)
Larry Brom wrote TSATF in 1979, and 30 years later it’s still going strong with very little changes! Having played TTG’s Soldiers of the Queen* [SotQ] fairly extensively since it was published in 1987 (in my earlier wargaming years) until a long hiatus from all colonial gaming in the early 1990s, I was only introduced to TSATF in recent years for the first time…
* Not to be confused with the Victorian Military Society’s Journal “Soldiers of the Queen“!
Continue reading “The Sword and the Flame [TSATF]”