6mm Wargaming

Terrain Boards project - Part 2

Introduction

Here is part two of this project. This has been split it into multiple pages because of the scale of the project and the amount of work involved. In the remaining parts of this project I will show the progress of each board rather than the whole lot, as the work on each becomes more detailed. These detailing steps take a lot longer so progress on each board is slower.


Click on the thumbnails to see the full sized image


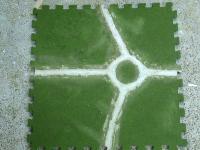
Test field tile

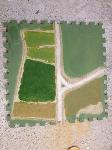
This tile was a bit of a test bed and I used to try out different flock for the fields and also tried to create a slightly sloping area where the fields are. The second photo shows some of the different coloured fields that were added. I had some issues with the flock and I had to glue down a couple of layers of flock to get enough coverage.

This was also the first board I tried drybrushing the flock after the glue had dried to break up the large green areas, but it was a bit heavy handed with the paint. However this has turned into a good looking board and the crossroads work well.


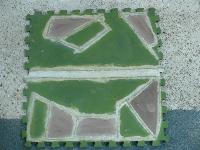
Fields Board

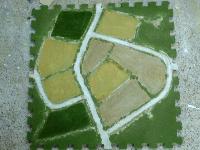
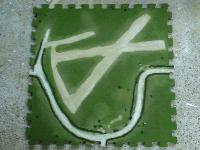
The idea for this board was to cover almost the whole board in fields like in the aerial photos of Normandy. The first picture shows the layout with the ditches carved into it and the road layout including a smaller side road. The second and third pictures so the progress of flocking the fields a number of colours and then flocking the remaining grass areas. I created quite a few ploughed fields on this tile to make a change from the green of the other boards.

The ploughed fields were made with a fine toothed saw blade from a coping saw which was dragged across a thin layer of sealant. First I smoothed the sealant and left approximately 2mm thickness before dragging the saw blade across it (holding it on each end).


Small lake Board

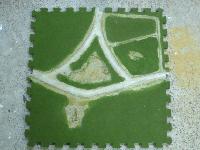
A tile with a small lake and a couple of sunken rocky areas. The steps to create this are the same as the other tiles and the rocky areas help break up the rest of the tile A piece of the road is under repair already in the first picture!

In the third picture I have flocked it and then I've glued a bunch of burnt grass along the roads and surrounding the lake although its a bit hard to see. Next I'll airbrush and drybrush the grass and then add bushes and hedges. The water will be added at a later stage so it doesn't end up with flock in the water.


Airfield Board

So far this board hasn't come out as well as I would have liked and certainly needs some more work to improve it. This is the first tile I glued hedges onto and I'm not very happy with the results because they look too regular and some of them are too far away from the road (they moved while they were drying). I'm also not happy with the runways as it doesn't look very realistic to me so I'll add a green/brown/sand flock to them and then drybrush it. You can see the patchy areas where I created light grass but these have come out funny in the photo and look much better in real life.


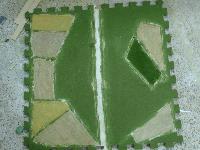
Sunken road

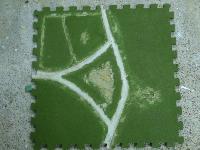
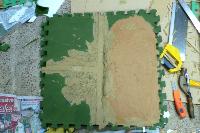
I had my doubts about this tile but it is starting to turn out very nicely. The first 3 photos show the progress with a close up of the sunken part. If your wondering why the hill is a different colour, its some old caulk I was using up because I didn't like the colour and was using it to smooth out the edges before applying the final layer of sealant.
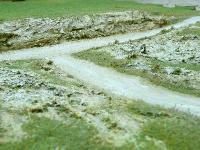
The last photo shows the tile after it was flocking and drybrushed and the closeup of the road shows the dried grass effect well, although its a bit yellower ithan the picture shows.


Roundabout tile

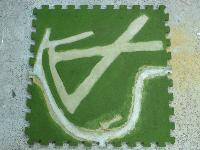
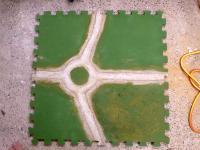
A couple of WIP pictures of this tile showing before and after the flocking. In the third picture you can see patches created by the drybrushing which look a bit funny in this picture, but are fine on the actual board. The flock on the hill clumped together for some reason and you can see a lump of it in the middle picture.


More Fields

The intention for this tile was to have lots of fields with a blank areas in the middle. My plan when I created this board was to have a town or village in the middle surrounded by fields. I may still add a town but that will be in the future, when I decide how I will integrate the towns into the boards.


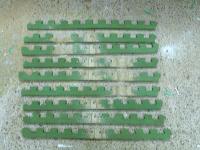
Edge pieces

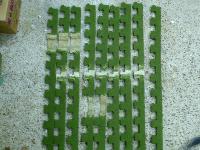
If you were wondering what I was going to do with the board edges here is the pieces I will use. Each tile pack comes with 4 pieces so there are plenty of these although there is a couple of different shapes and I need to see how they will line up together, and if I need to reshape any of the end parts. I have also added roads and river sections to about half of the edge pieces so that the roads will go right to the edge of the table.