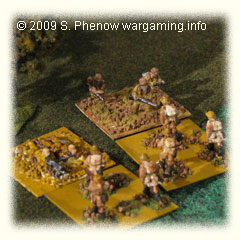
Date Played: 04 April 2009 4.00pm US PDT (04 April Midnight GMT); 1830 WCFD Game Time.
Game Report by Stephen Phenow.
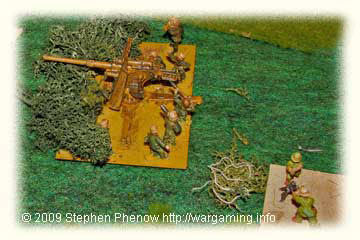
The Germans had retreated to the fortified head of a steep valley. Here they had emplaced a very well-camouflaged ‘88’ that was picking off Allied vehicles on the road (off-table). The 88 couldn’t be used vs. targets on-table because it couldn’t depress sufficiently to target the valley, and its view was obscured as well, but it was a menace to the off-table traffic. The British had to send in men to find it and destroy it. They had an air liaison officer who was having problems calling in Typhoons, and the British could resupply infinitely. How long could the Germans hold out?
The Battle
A and B companies arrived first. The ground was a valley, with a stream meandering alongside the road running along its length. The centre of the valley was dominated by a farm field surrounded by a stone wall in good repair. The house and outer buildings had long since been burned down and scattered copses of woods and overgrown orchards occupied the valley floor – the ground seemed to be good farming land.
To the North a ridge ran across sloping down to the stream. To the west another ridge and would give the British a good vision of the valley floor. At the far end of this ridge at least a company’s worth of motor transport were parked, hastily (and somewhat poorly) camouflaged.
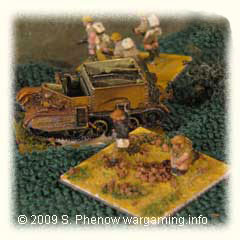
On this ridge the British established their OP; it gave a good view of the valley floor, and the high ridge to the east. The mortars were ordered to deploy off the carriers, and they prepared to open the ball…
Actually the battle was almost over before it started. When the British BC was establishing his CP on the ridge, in the terrain feature next to him had hidden a platoon of Jerries. They took reactive fire, suppressed the single rifle squad guarding the HQ and with their initiative tried to storm the adjacent OP.
The BC’s Carrier used its Bren and suppressed a Jerry Squad, and 3 Platoon of B Company, using the British initiative arrived and drove off the Germans.
The British commander decided that the farm field had to be taken, and ordered A Company to assault. A Company was game but from the woods next to the field, the field, and more woods to the east, rifle and LMG fire rang out. No kills, but ½ of 1 and 2 Platoon were suppressed or pinned!
The Germans occupied a line stretching across the middle of the field to the each of the woods from east to west. A hard point with a Spandau HMG guarding the road opened fire on 4 platoon (of B Company) and pinned it down.
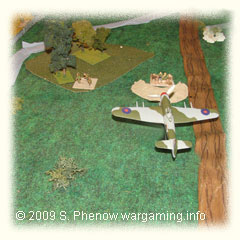
The FAC requested an airstrike on the hard point. A Typhoon came in and destroyed it with a rocket attack. 4 Platoon rallied and advanced, only into accurate rifle fire from the woods flanking the hard point. 1 squad was killed, and 1 suppressed.
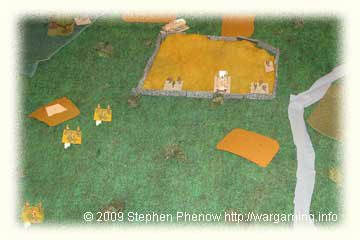
The Jerries called in mortar fire on the pinned 1 and 2 platoon and 8cm rounds further suppressed more of them.
At this point Jerry halftracks (Sdkfz 251s) were seen entering the farm. A LMG opened fire on 3 Platoon but with no effect.
3 Platoon continued to advance but LMG fire from the APCs and riflemen pinned them down.
5 Platoon (B Company) now advanced and uncovered a second hard point guarding the road. They lost one rifle squad to accurate HMG fire.
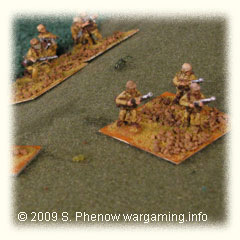
6 Platoon (B Company) continued to guard the OP. The Jerries now brought up two more APCs from the east. A Company was getting in trouble and the CC requested a mortar WP (smoke) strike on the farm, so he could withdraw. Before this could happen, an accurate mortar barrage destroyed 2 squads of 2 Platoon. A Company was now down to just 2 unsuppressed squads, the rest being pinned or suppressed.
The OP was able to finally mask the farm with smoke, but when A Company attempted to withdraw, accurate LMG and rifle fire from the east woods destroyed them. A Company was reduced to 1 squad each in 1 and 2 Platoon.
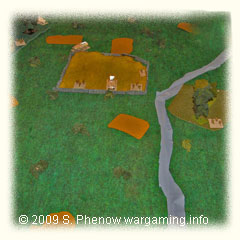
C Company now arrived. The A Company CC explained the situation to C Company’s CC (try saying that quickly when you’ve had a few! – Lloyd). The C Company CC deciding that storming the farm was suicide, and decided to demonstrate against the East woods, and sent 8 and 9 Platoon to attack the woods to the west. They were caught in a cross fire from the centre woods, a third hard point, and the west woods. Two squads were killed and a third was suppressed. The two platoons hit the dirt. Meanwhile 7 Platoon did not fare much better. The LMGs of the APCs suppressing two squads.
Once it was British initiative, another Typhoon came in and destroyed the second roadside hard point. The Mortars continued to stoke the smokescreen but 8 and 9 Platoon were still pinned down.
The BC called for armour. He justified this on the grounds he had discovered an enemy armoured (Gepanzert) Panzer Grenadier Company, with heavy assets. The APCs’ were successfully not letting themselves become PIAT targets so he would have to blast them out with AP.
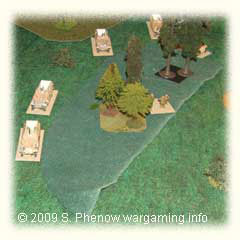
9 Platoon was able to rally, and advanced to the centre woods. Without the HMG in the hard point covering it, only 1 squad was pinned in the process. The rest of the platoon entered the wood, and captured it. The enemy lost two rifle squads. 9 Platoon now held the centre wood next to the farm.
The WP smoke and suppressing fire finally gave enough protection that the surviving remnants of A company (2 squads) successfully retreated.
7 Platoon was now facing two APCs. But the Jerries refused to close assault, contenting themselves to simply keeping the platoon pinned down.
10 Platoon (D Company) now entered the field. They were ordered to relieve 6 Platoon (B Company), so 6 Platoon could get the drive going forward. Once relieved, 6 Platoon advanced forward, protecting 5 Platoon’s flank.
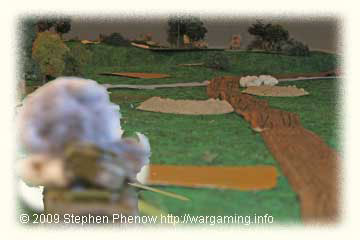
4 Platoon then moved to reinforce 9 Platoon, if one squad is justified the term reinforcement. An M4 Sherman now came down the road. There was a whip-like crack, and the Sherman staggered. The OP trained his binoculars on the far north ridge. Was it the 88? No. Some sort of tracked vehicle with a large gun shield and a long barrelled gun had taken the shot.
The Germans started to move around the rear of the farm to open up fire lines around the smokescreen. The British in the centre woods opened fire and pinned them down.
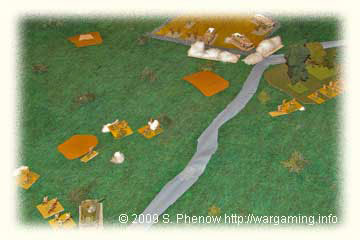
A second M4 Sherman nosed around the wreck. Another CRACK, and another smoking tank. The BC commander was incensed. He was given no intel about Jerry armour. Yet there it was, a Jagdpanzer sitting on the ridge, bore sighted on the road! The third M4 cowered behind the two wrecks. The BC realized that his three tank assault had now been reduced to one!
The sight of armour though forced the Sdkfz 251 APCs in front of the East woods to withdraw, not wanting to chance a 75mm round! 7 Platoon was saved having lost its HMG (although as one officer commented; as if a one squad platoon was much)!
The mortars continued to stoke the screen, in front of the farm. The Jerry company realized that the farm was now useless and begin to pull its vehicles out.
The FAC finally called up another Typhoon and ordered it in against the ridge. The Typhoon braved the hail of defensive fire, launched his rockets and brewed up the Jerry tank destroyer.
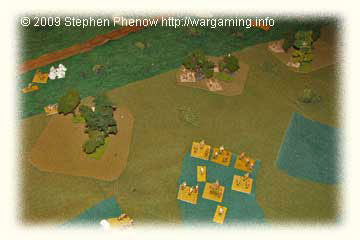
Cheers from the British side. The BC ordered his last M4 Sherman to head for the farm and help extract 8 Platoon. The Sherman started across the field when KABOOM, the tank brewed up. C Company CC called in to report that another long anti-tank gun, this one mounted on a ½ track, had taken the shot from across the valley.
The BC threw his hat down and stomped on it on it in disgust. The Germans were obviously not going to be budged from the farm. Very well, they would flank it from the west.
6 Platoon was ordered to assault the terrain feature directly ahead on the ridge. 11 Platoon (D Company) was ordered to support. 6 Platoon broke the enemy platoon in the feature, but was wiped out in a counter-attack led by the German Gepanzert Panzer Grenadier CC himself.
11 Platoon was now pinned and suppressed, and down to two squads. The Germans restored their lines. D Company ordered 10 and 12 Platoon to attack. The 3rd hard point HMG suppressed the attack and the Jerry Panzer Grenadier CC with two squads then destroyed 11 Platoon in another counter attack.
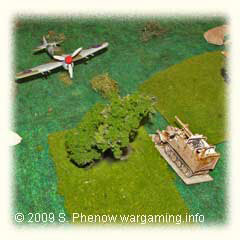
They then pulled back into their terrain feature. B Company was now down to just ½ of a platoon remaining. D Company’s attached HMGs set up on the ridge. The FAC vectored another Typhoon onto the third hard point and suppressed it. The HMGs opened up and suppressed a squad, and killed another. 12 Platoon stormed the feature and routed the defending platoon, killing two squads, and forcing the Jerry CC to retreat. They then moved down and took the west woods from the Jerry platoon guarding it. The British now had troops in the centre and west wood-line.
They controlled the road. The Motorised Panzer Grenadier CC decided he had had enough. His company had been reduced to two squads; he mounted them up in his trucks and pulled out. The west flank was open! The Gepanzert Panzer Grenadier CC realized the British could now move along the West ridge and flank the North.
Meanwhile the British OP was ranging in on the half-track anti-tank gun. He finally suppressed it. This finally convinced the Jerry Gepanzert CC he could not hold the ridge, and he ordered the 88 FlaK18 to limber up and pull out, before ordering the rest of his forces to follow suit. The suppressed SP half-track ATG rallied and was last to depart with the British hot on its heels…
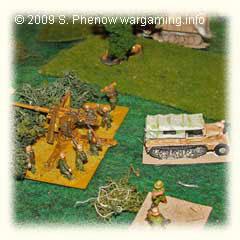
The Germans broke contact, and moved off the table at 19:20 Game Time.
The Result
British Losses: 25 Squads, 2 HMGs, 5 PCs, 1 CC, 3 Shermans.
German Losses: 13 Squads, 2 HMGs, 1 Marder III, plus 3 abandoned Hard Points.
Game score: Allied (Strategic) Victory but -29 VPs (German Losses +103, British losses -174, Time Penalty -20, Objective +62).
Allies: Stephen Phenow.
Germans: Dan Munson.
Location: California, USA.
Gallery of large Images from the Game
Read more on World Crossfire Day 2009 here.


