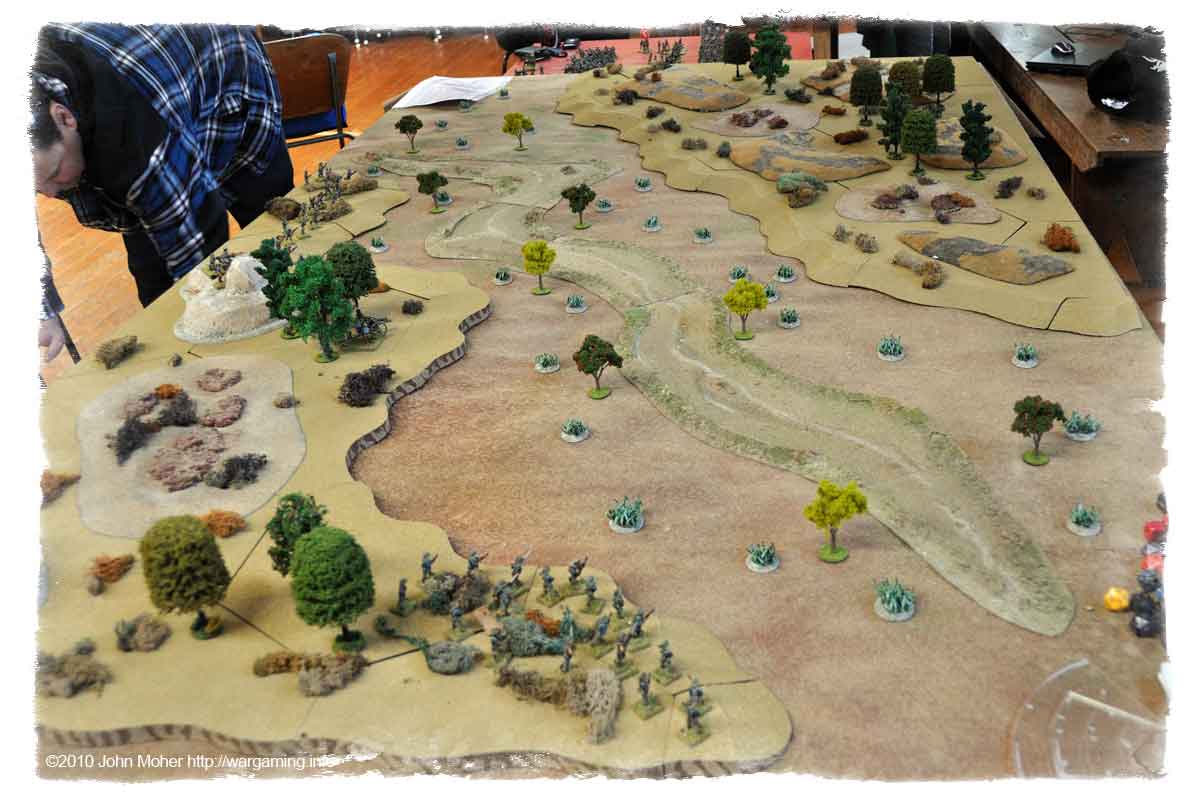
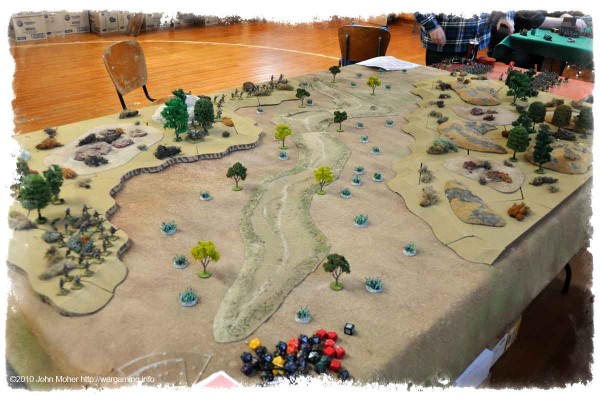
As the morning fog cleared the companies of Australian & British Troops moved into the wadi below the height known as Chunuk Bair – their mission to secure the hills on the far side for the following battalions to assault the mastiff itself. The good news was little or no Turkish resistance was expected – no troops had been sighted in the area as this was not the point where the main assault had occurred the first 2 days…
The fog and difficult terrain had delayed the arrival of half the troops, so the Australian Battalion moved off with just 2 of it’s Companies; the other 2, part of it’s MG Platoon, and the supporting Company from a British Battalion were only just arriving up onto the heights and would have to catch up…
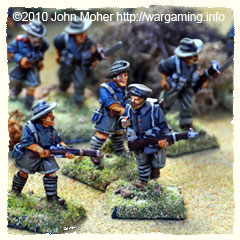
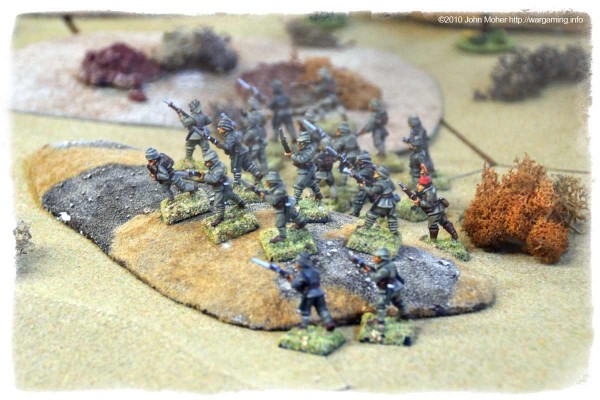
As they pushed forward it looked like there would be no resistance, but as the leading company approached the wadi’s central gully signs of movement were spotted on the opposite slopes – Johnny Turk had arrived just in time to forestall the ANZAC advance!
Although the balance of the attacking force had by now appeared and were making their way to the wadi, more Turks appeared, and as the leading Australian companies entered the central gully, the Turks could be seen beginning to occupy and line the slopes with riflemen and machine guns. But soon their support, the Australian’s MG Platoon (2 Vickers MGs) and a Battery of two 18pdr Field Guns were in action, as fast as they could identify targets in range, engaging them. Particular attention was paid to the Turk MGs – two platoons (4 Maxim MGs) were identified moving into position in the centre of the Turkish line, and these were relentlessly targeted by the 18pdrs and Vickers MGs.
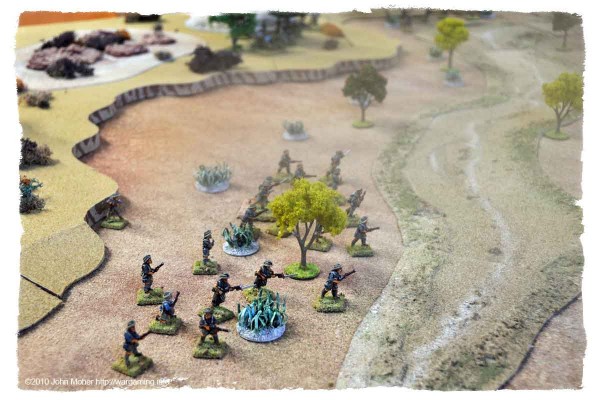
There was some confusion around the Gully in the bottom of the wadi – the Australian Companies were unsure whether to charge across and directly up the opposite slope, or take cover in it and open fire, or to hang back and not enter it – so some momentum was lost, especially on the Australian right. By this time the third Australian company had caught up, and the 3 leading companies were in or moving through the Gully, with the other 2 companies closing fast. However still more Turks had arrived, and the first of them had begun to open up a steady fire with rifles on the leading ANZACs.
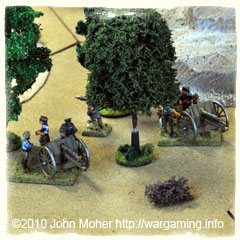
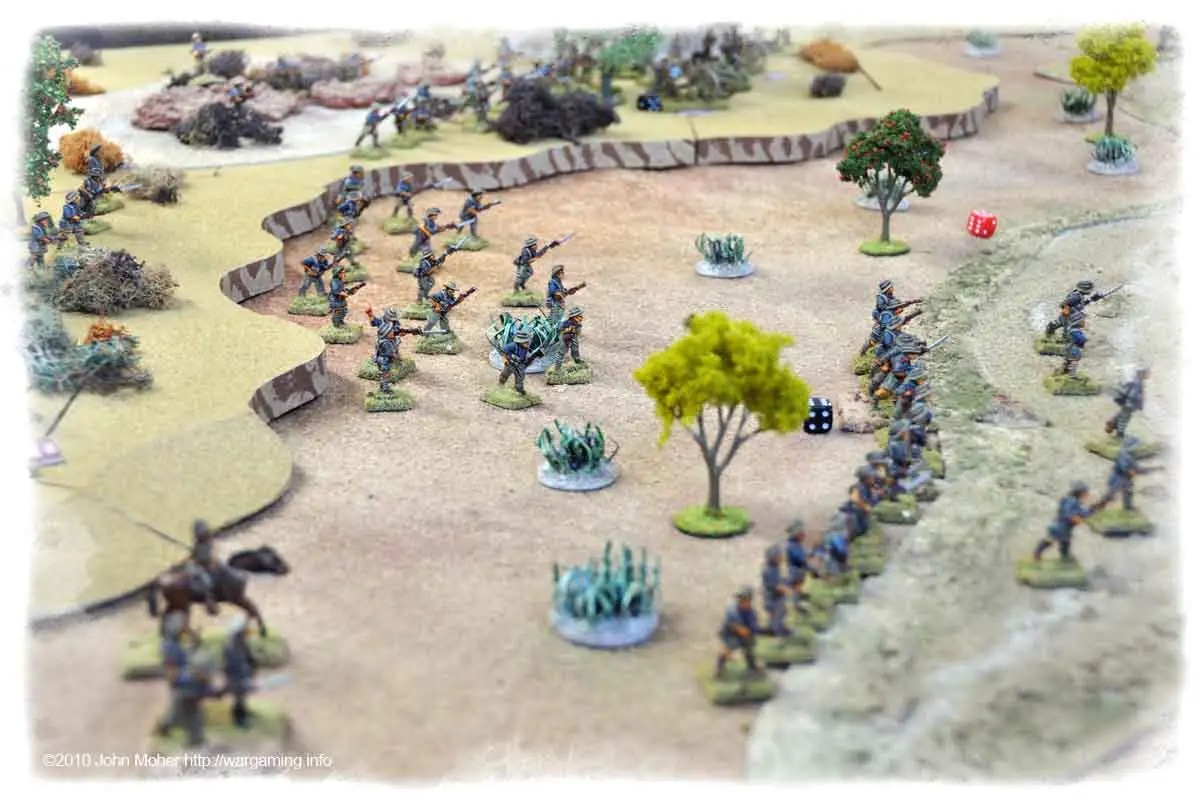
Then on the right A Company of the Australian Battalion stormed out of the Gully towards the Turks, the advance (intended to be in skirmish order) then turned into a full blown charge and they headed up the slope into the closest Turks! However the Turks held their ground, delivered a telling defensive volley, and the Australian charged faltered, forcing the men to go to ground in the open terrain (A Company would remain in such a state for most of the remaining battle). The Turks responded by an immediate charge of their own down off the slope against the dispersed inert A Company.
On the Australian left the two companies there (C & D) also now emerged from the Gully and stormed across the open ground and up the slopes, against the two Turkish Companies opposing them (I/1st & I/3rd)… The relentless ANZAC artillery and MG fire had also paid off and both Turkish MG platoons had been decimated, with just the commander of the first platoon the only survivor left! As the Australian charges were more successful on the left and crashed home into the staunch Turks, the brave Turkish counter attack on the Australian right faltered, the Turks being caught in a merciless crossfire of Rifles, MGs, and Artillery as they emerged in the open, the entire unit was destroyed in this fusillade of fire.
By now the Australian MGs and the 18pdr Field Guns were sending requests for resupply, their ammunition near exhausted, as the hand to hand fighting raged on the Australian left. In the centre the Australian charge had again faltered and both sides (Australian D Company and Turkish I/1st Company) now blazed away at each other mercilessly at point blank range – the commander of the first Turkish MG Platoon joined the Turkish Company here and personally dispatched 3 of the ANZACs with his pistol at close range in short order, and is expected to be decorated for his heroic single-handed efforts assisting the I/1st Rifle Company. On the Australian left the combat went badly for the Australians, they took heavy casualties and were thrown back by the I/3rd Turks, the company (C) was badly shaken by this and then disintegrated and streamed back to the rear. In the centre D Company was also taking heavy casualties from the Turkish fire (being reduced to 25% it’s starting strength), and the remaining Turkish companies had now arrived just in time to shore up the pending breakthrough by the Australians on the Turkish left.
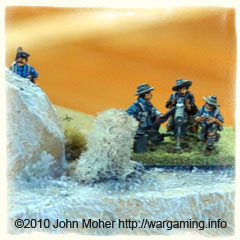
The Australian D Company soon ceased to exist, further heavy casualties reducing it to 5% of its original strength! By this time the I/3rd Turkish Company on the Turkish right was completely out of ammo and down to about 40% strength, and the I/1st Company in the centre had 1-2 rounds per man left and 55% strength. Back on the Australian right B Company had passed through the inert A Company, and stormed up the undefended slopes, but just a moment too late as the belated I/4th Turkish Company had just managed to rush across from the centre and form a reserve line on the highest ridgeline! A brutal melee saw the Australians victorious and the (Elite) I/4th Company retired shaken from the battlefield…
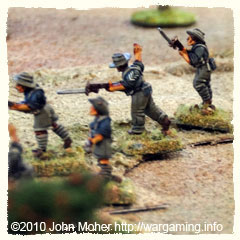
As the Australian B Company reformed, and A Company finally collected itself and began moving forward again they were joined by the British Company who had been providing fire support on B Company’s flank. The last Turkish reserve (II/5th Company) formed up opposite them, as in the Turkish centre and on the right the remnants of I/1st and I/3rd Companies desperately sent runners for ammunition and prepared to move along the ridgeline to the II/5th’s aid. Would the surviving Turks be able to stop the last ANZAC ‘push’ and prevent the latter’s units gaining their objective…
About the Game
This game was played at the Auckland Wargaming Club using a simplified version of the WW1 Modifications for TSATF (The Sword And The Flame) colonial rules available at the Side Shows of the Great War Yahoo!Group. This was our first go at a WW1 game using TSATF, and the results with the “Side Shows” modifications (designed by Andrew Champion) were very pleasing.
Order Of Battle:
Elements of the ANZAC Division:
- Australian Battalion HQ: 1 Mounted Officer C-in-C, 1 NCO, 2 Other Ranks.
- A, B, C, & D Australian Companies, each: 1 Officer, 1 NCO, 18 Other Ranks.
- British Company (attached): 1 Officer, 1 NCO, 18 Other Ranks.
- Australian MG Platoon:
- Platoon HQ: 1 Officer.
- 2 MG Sections, each: 1 Vickers MG, 1 NCO, 3 Other Ranks.
- Attached Field Artillery Battery:
- Battery HQ: 1 Officer.
- 2 Gun Sections, each: 1 18pdr Field Gun, 1 NCO, 3 Other Ranks.
Elements of the 19th Turkish Division:
- I Battalion HQ: 1 Officer C-in-C, 1 German Liaison Officer, 2 Other Ranks.
- 1st, 2nd, 3rd, & 4th Rifle Companies, each: 1 Officer, 1 NCO, 18 Other Ranks.
- 5th Rifle Company (attached from II Btn): 1 Officer, 1 NCO, 18 Other Ranks.
- MG Platoon, I Battalion:
- Platoon HQ: 1 Officer.
- 2 MG Sections, each: 1 Maxim MG08, 1 NCO, 3 Other Ranks.
- MG Platoon, II Battalion (attached):
- Platoon HQ: 1 Officer.
- 2 MG Sections, each: 1 Maxim MG08, 1 NCO, 3 Other Ranks.


Looks like great fun. I note “battalions to assault the mastiff itself.” where no doubt it was going to be a dogged defence : )
Indeed, Indeed! In fact there was a rather nail biting but fairly decisive finish in the game above. And of course this game/scenario can also be the ‘preamble’ to a second game focussing on the heights themselves – with the summit as the objective!