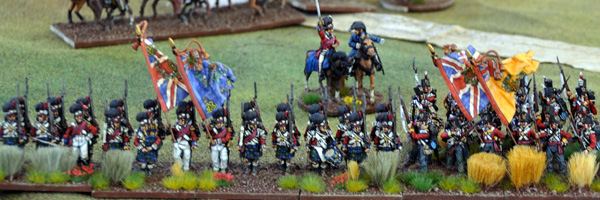
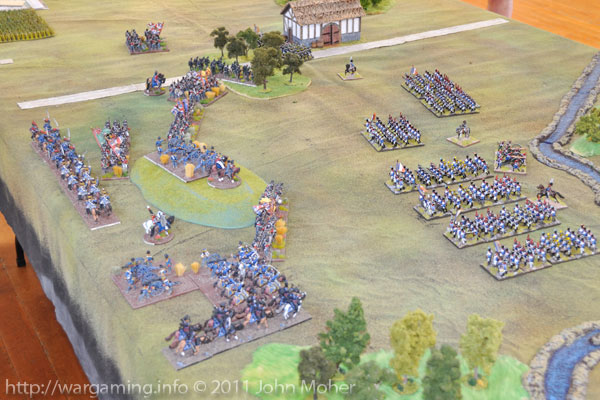
Somewhere near the Franco-Belgian border, Lieutenant-General Sir Thomas Picton surveyed the ground before him, by a strange quirk elements of his ‘reserve’ division, the 5th, had ended up near the border just as the first reports of Napoleon’s crossing reached the Allied forces. Wellesley would need time to concentrate his forces, so his Division would need to delay the initial advance elements as long as possible – and it wasn’t long before news of their arrival was received. Choosing a place with some hope of defence and a good line of withdrawal Picton deployed his troops, Major-General Sir James Kempt’s 8th Brigade on the left and centre, and elements of Pack’s 9th Brigade on the right, supported by Rogers’ Foot Company of 9pdrs on the high ground. Major-General Sir Dennis Pack meanwhile had hastened to the rear to collect and organise reinforcements and lead them forward to the battle…
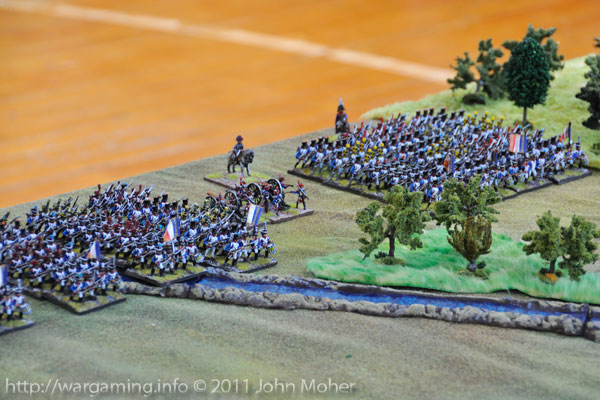
It was not long before the French appeared, well were heard actually, their raucous noisy marching and drums audible to all long before the long columns of bell-topped shakos came into view of the waiting British troops. Picton watched stoically as they rapidly forded the nearby brook, he had hoped its banks might have slowed them somewhat, but alas not. “Boom”, “Boom, Boom, Boom”, suddenly Rogers’ Foot Company came into action – telling Picton the French were now inside artillery range, the first volley’s ripping through one of the leading columns as Picton observed the effect of the fire…
The French were coming at Picton’s weaker right flank, where only the 2/44th Foot (the East Essex Regiment) covered Rogers’ guns in their battery. Picton immediately dashed off orders for Kempt to forward half his Brigade to the right to face the threat, while the 1/95th Rifles would occupy the woody ground in the centre as an anchor for the British line, and to threaten the French right. Only the 1/32nd Foot (the Cornwall Regiment) would remain to cover the exposed left and Picton’s line of communications, but as yet there was no apparent threat on that flank.
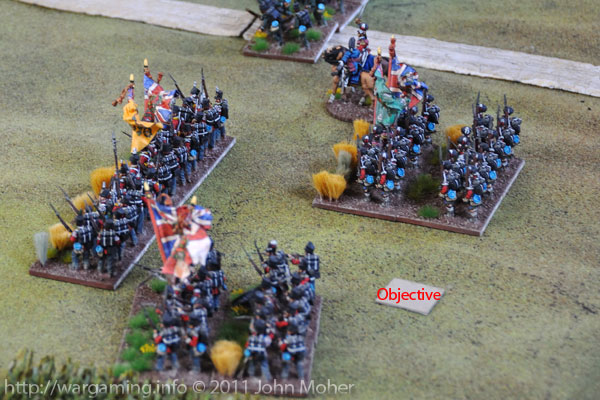
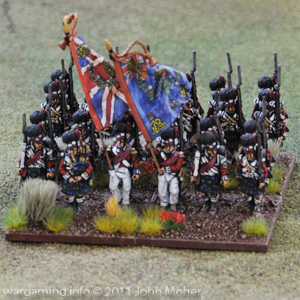
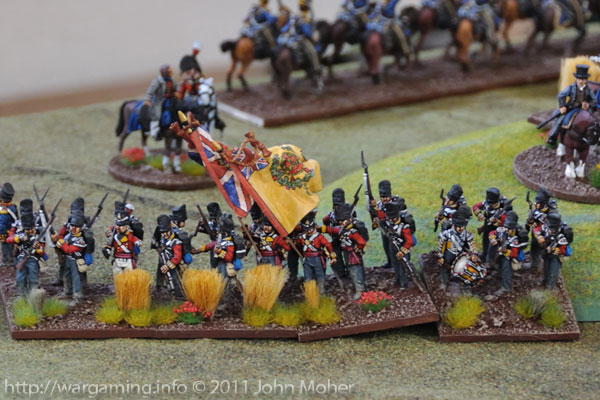
As the French came on and Rogers’ guns continued to boom out the 1/28th Foot (the North Gloucestershire Regiment) moved into the line between the 1/95th Rifles and the 42nd Foot (the Royal Highland Regiment – better known in more recent times as the “Black Watch”). Meanwhile Kempt’s remaining battalion, the 1/79th Foot (the Cameron Highlanders) moved further to the right behind Rogers’ guns, to form a reserve for their support… The French appeared to be advancing voraciously across the field, and Rogers’ guns were struggling to deter them – one French battalion column had veered off to the British left, but at least 7 battalions continued on, with 4 of them facing just Rogers’ guns and the 2/44th! To make matters worse Kempt wasn’t having the best day, his ‘staff work’ being dreadful and causing confusion amongst his Colonels (Kempt had generated a rating for the day of +1 leading Combats but -1 for Tactics & Manoeuvres)!
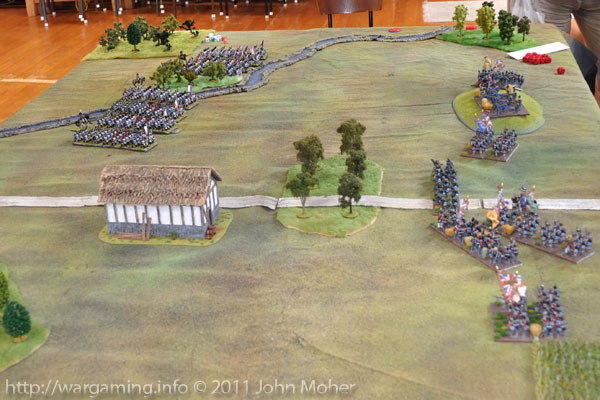
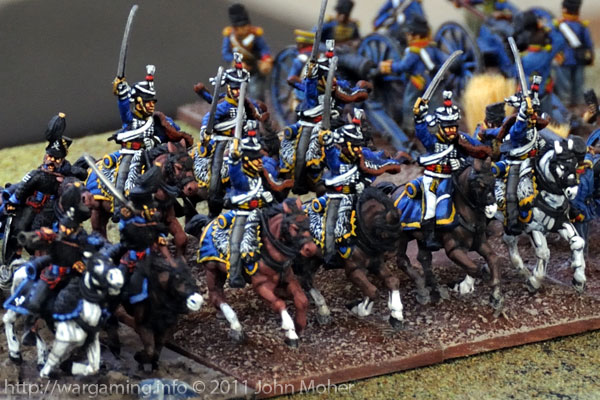
However before the French could do much more Major-General Pack came galloping onto the field, in an act of inspirational brilliance (unlike Kempt he was +1 for Combat and Tactics & Manoeuvres), with the 5th (Light) Cavalry Brigade and others – suddenly turning the tables on the French who were now facing a major cavalry force and their Artillery out-numbered. Pack immediately galloped off to the British left leading the 5th Cavalry Brigade’s 7th (Queens Own) Hussars and 13th Light Dragoons to secure that flank, while leaving the 3rd King’s German Legion Hussars, the Brunswick Hussars, and the Royal Horse Artillery Troop at Picton’s disposal.
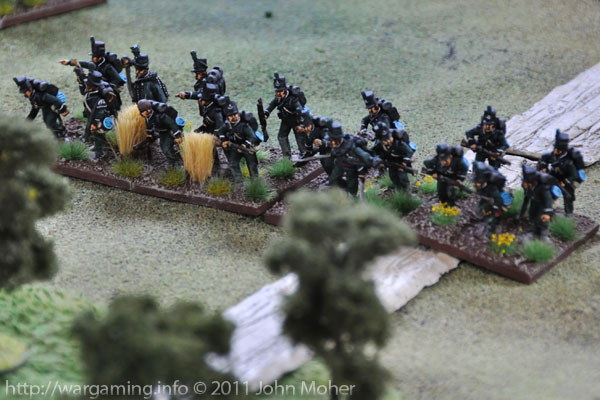
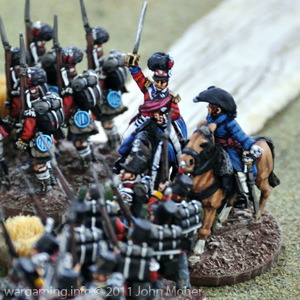
The French were undeterred, they shook out into their attack columns and kept advancing, Rogers guns’ fire proving less effective as well, as the gunners tired after their initial frenzy of rapid fire… A French foot battery deployed into firing line on the British right, and a lone French battalion continued to work its way around the British left, it’s intent unclear. The French were nearly in position to launch their initial assault, but with a “Huzzah” (in German of course, being Hanoverians) the 3rd KGL Hussars surged forward, spurred on by the cheers of the 2/44th East-Essex men as they passed, and bore down upon the French gunners… Needless to say the French gunners were rapidly up and on their way, out of the brave German Hussars path! Meanwhile the 1/79th Cameron Highlanders rapidly moved across behind Rogers’ guns, ready to form into line as able, as the latter’s guns were on the verge of being overrun; while to the right the RHA Troop deployed in support of the 2/44th and the Hussars.
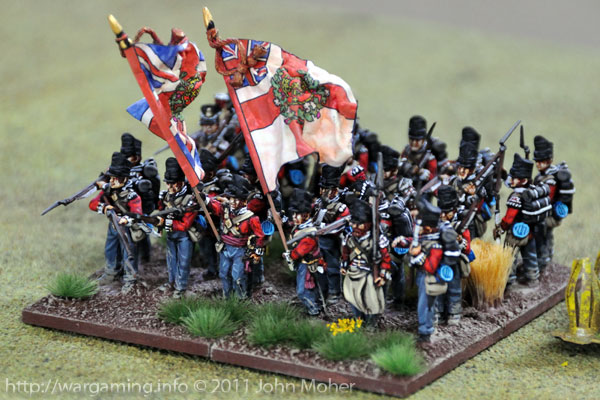
Then the French were on them – the 2/44th being hit by 2 columns, although luckily Rogers guns’ managed to limber-up and retire just as the French were about to crest the hill! Elsewhere the French battalion on the British left continued its meanderings, appearing not perhaps to be intending to engage? In the centre two more French columns were approaching the 1/28th North Gloucestershire’s and 42nd Royal Highlanders, but on the extreme British right the 3rd KGL Hussars brave charge had paid dividends, two other French columns had hung back and now formed into square, preventing their involvement in the initial assault.
The East Essex men let loose with a solid volley of musketry into the leading French column, bringing men down, before both columns crashed into them and the entire battalion disappeared in a cloud of black powder smoke and bayonet combat, suddenly the French columns emerged from the smoke, yelling and hooping and waving their Shakos on their bayonet tips, of the 2/44th Foot there was no sign, but that of a small clumps of stragglers, fleeing to the rear – Picton had lost one of his battalions, and worse still he was horseless and engulfed by the advancing Frenchmen never to be seen again – The British Division had lost it’s General…! Elsewhere the Cameron Highlanders deployed into line on the reverse slope of the hill, ready to oppose the other French column, but their flank was now exposed by the collapse of the East Essex, and it would be up to the Brunswick Hussars to assist, as, led by the Divisional ADC himself, they approached the French columns to support the Highlanders. However the RHA Troop now packed up and galloped off to the British left as rapidly as possible, to avoid being overrun by the rampant Frenchmen, it’s departure partially covered by the Cameron’s!
Meanwhile the French Foot Battery had deployed again in the centre, and so the 3rd KGL Hussars charged again, this time the French guns stood and opened fire with canister on the Hussars supported by some desultory musketry from a French battalion that had reverted from square back to column on the Hussars flank, the artillery inflicting casualties. In the centre the first French column had struck the 1/28th North Gloucestershire’s and pushed them back after a brief musketry duel and charge, but these promptly reformed and immediately charged in return against the French to regain the ground lost. In the woody area around the road the 1/95th was milling around in some confusion and as yet was unable to support the Gloucestershire’s. However Rogers guns’ now redeployed in the ‘bubble’ behind the centre of the British line, and facing to the right, in anticipation of supporting the 1/79th Cameron’s in their unequal struggle versus 3 French columns (in fact Rogers did not fire again in the battle, his guns masked and unable to obtain an adequate field of fire). On the far left of the British line, Pack, with the 7th Hussars and 13th Light Dragoons, was now approaching the strange French battalion that was still moving across their front in march column – his intent to hopefully charge that damned battalion with both regiments and force a conclusion to its nonsensical behaviour!
With another glorious “Huzzah” (again in German of course) the 3rd KGL troopers were amongst the French gunners, slashing and riding down the artillerymen, the battery destroyed – unfortunately the German’s were now on blown horses and quite disorganised, despite being virtually in the enemy’s rear they were going to need some time to recover and reform before they could charge again – luckily there were no French horse around to threaten them, but it’d be up to their German brethren from Brunswick to keep up the momentum for now. What’s more the Divisional ADC had become tied up with leading the 2 German Hussar Regiments personally into action amongst the French Columns, becoming isolated, and leaving the Brigade Commanders to manage the bulk of the fighting on their own!
While one French battalion formed square to guard the end of the main French line against the threat of the Brunswickers, the two battalions previously nervous about the KGL riders (to the French left rear) now shook out into line, to start putting both cavalry regiments under repeated volleys of musketry. On the hill the end of the Cameron Highlander’s line was crashed into by a French column, and the second battalion that had threatened the guns had meanwhile expanded into line to face the Highlanders frontally… In the centre the 42nd Royal Highlanders were holding off another column, and the North Gloucestershire’s had forced back the French column beside the woody area (inside which the 95th Rifles still dithered and struggled to deploy meaningfully).
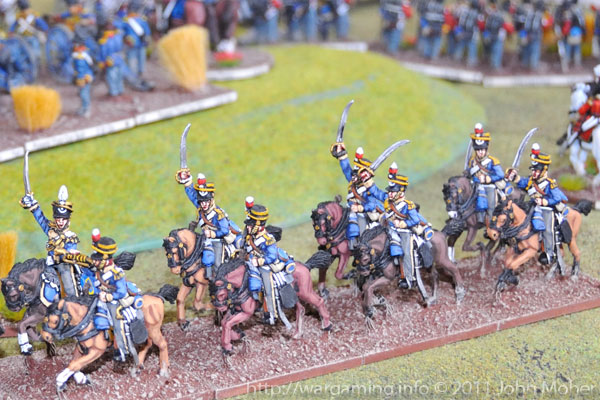
On the British left the 5th Light Cavalry Brigade closed in on the lone French march column as they now about faced and rushed back towards the woods containing the 95th Rifles! Off in the distance the thunder of many horses were heard, as a sizeable force of French Heavy Cavalry loomed up on the horizon to threaten the British left! Back in the centre the North Gloucestershire’s were again successful, repelling the French counter-assault, although with Major-General Kempt falling mortally wounded in the process! On the right the Divisional ADC led the Brunswick Hussars through the maze of French units, to unite with the blown 3rd KGL Hussars, behind the centre of the French line, the latter unsuccessfully endeavouring to rally and reform. On the Hill the Cameron Highlanders had repelled the French assault at the right end of their line, and slowly conducted a retrograde move under fire to straighten the line and refuse the British flank…
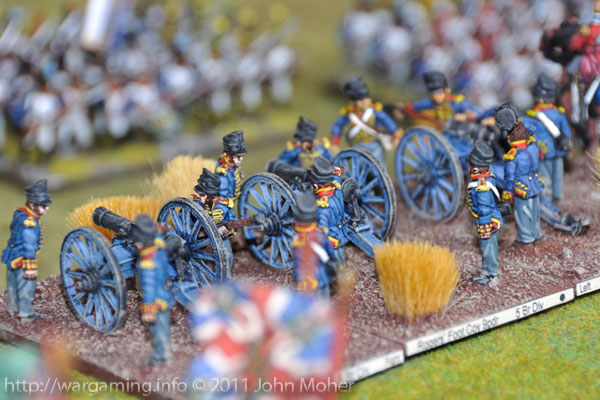
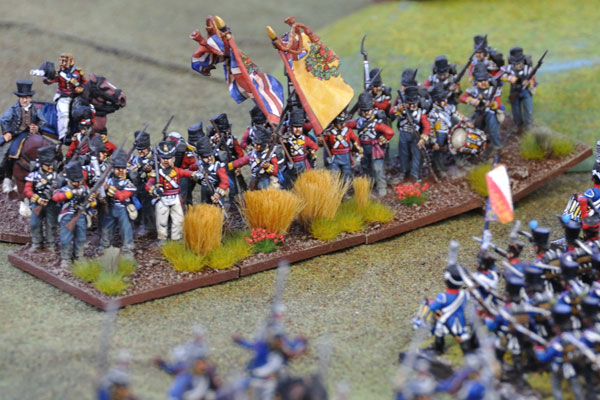
On the left the 7th Hussars threatened the lone French Battalion into square, and then charged to test the European’s mettle (they held and the Hussars retired). Meanwhile the 13th Light Dragoons moved forward to face off the superior numbers of French Carabiniers & Cuirassiers and their supporting artillery. The Cavalry charged everywhere (well except the 3 KGL), in addition to the 7th Hussars action noted above, the 13th Light Dragoons charged the now deployed French Horse Battery, and over in the centre the Brunswick Hussars smashed into the flank of the French column facing the 42nd Royal Highlanders, who had loosed off a volley before also charging! The North Gloucestershire’s kept up their relentless assault on the battalion opposite them, the French in considerable disorder and going backwards…
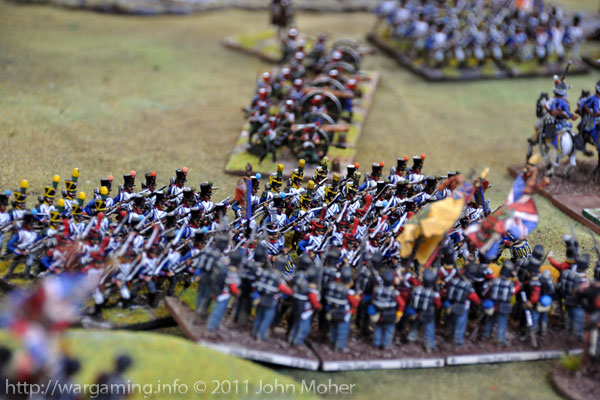
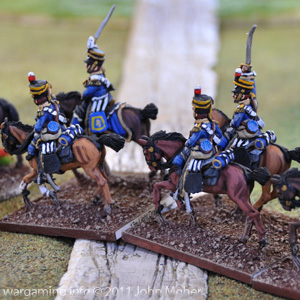
While the North Gloucestershire’s had great success, finally causing their opponents to break and disintegrate, the Royal Highlanders & Brunswick Hussars were ignominiously bounced, the French column proving incredibly resilient. On the right the 1/79th Cameron Highlanders continued to gradually retire in the face of superior numbers, but were gradually becoming further disordered and worn down as their manoeuvring prevented opportunity to reform. On the British left the French Horse Battery retired and the two British Light Cavalry Regiments prepared to face their heavier and more numerous counterparts. And everywhere the French pressed inexorably onwards.
On the right the Cameron Highlander’s threw back another French assault, but now were on the verge of collapse, their officers gone, ranks disordered and severely thinned… In the centre the North Gloucestershire’s advanced through the fleeing remnants of their opponents, breaking into the rear of the French and linking up with the 3rd KGL Hussars, who had finally managed to reform and rest enough to actually be capable of some limited action. The 42nd Black Watch again assaulted the French opposing them (having in turn previously driven off the most recent French assault), and again were joined by the Brunswick Hussars in a desperate attempt to break the French centre… On the British Left the Light Cavalry Regiments were hurled back by the French Heavies, and Major-General Pack was wounded and forced to leave the field, as the Light Cavalry first evaded and then counter charged the menacing French horse – they were now faced with a desperate battle to buy time for the rest of the Division – or what was left of it…
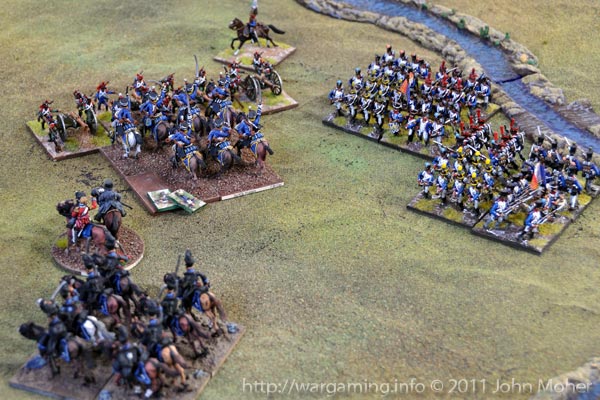
By now the German Hussars in the centre & right were in a veritable cauldron of French fire, as French Infantry hemmed them in and poured fire on the disorganised horsemen, they needed to get out of there fast. Soon meanwhile, on the British left, the French Heavies could be held no longer, the 7th (Queen’s Own) Hussars being inexorably brushed aside by the French Cuirassiers, who now broke though the British line and convinced the RHA Troop supporting the Hussars to rapidly hasten out of the way… At the same time the 79th Cameron’s finally succumbed on the far right, ceasing to exist and opening up the whole right & centre-rear of the British line. A last stand on the left saw the 13th Light Dragoons charged by the Carabiniers while under fire from French Horse Artillery to their rear, and the RHA Troop bravely sacrificing itself in front of the Cuirassiers to prevent their advance that would cut the British line of communications…
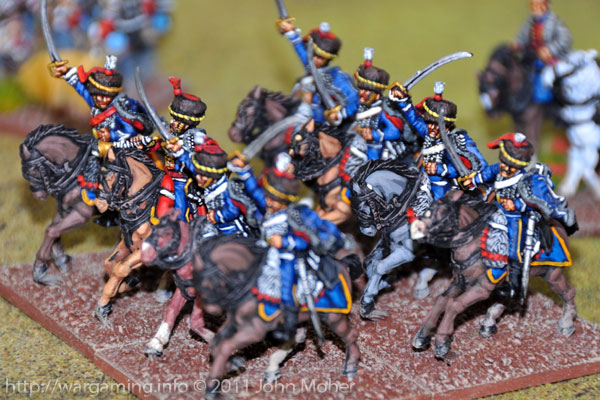
In the other final movements of the act, the Brunswick Hussars on the right now completely disintegrated under the prolonged volleys of musketry and unable to reform or manoeuvre their way out of trouble, while the 95th Rifles, who hadn’t fired a shot to date in the entire battle, were too little too late moving out from the woods to assist the 1/28th North Gloucestershire’s (who had single-handedly provided the only decisive British effort)…
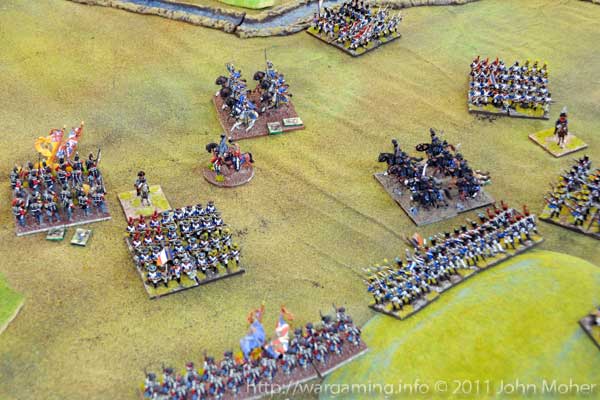
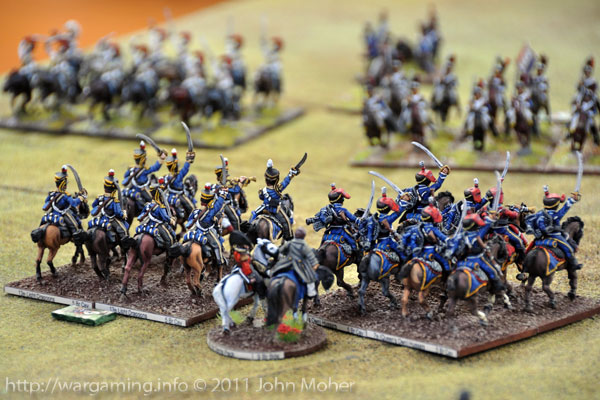
The Forces
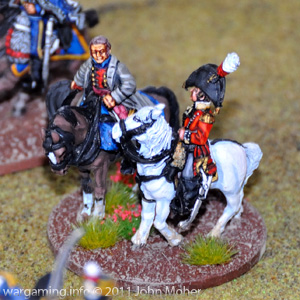
- Major-General Pack & aide.
The 6th French Division
- L’General (Jérôme – looking like L’Empereur – Cam)
- 1st Infantry Brigade
- Maréchal de Camp Baudouin (Ney +1/+1)
- 4 Bataillons d’infanterie de ligne (all small)
- 1 (6pdr) Foot Battery (4/Medium)
- 2nd Infantry Brigade
- Général de Brigade Baron Soye (Eugéne 0/0)
- 4 Bataillons d’infanterie de ligne (all small)
- 1st Heavy Cavalry Brigade (12th Division/III Cavalry Corps)
- Général de Brigade Baron Blanchard (Murat +1/0)
- 1st Carabinier Regiment (large)
- 2nd Cuirassier Regiment (large)
- 1 (6pdr) Horse Battery (3/Medium)
The 5th British Division
- Lieutenant-General Sir Thomas Picton (John)
- 8th British Infantry Brigade
- Major-General Sir James Kempt (+1/-1)
- 6 British Infantry Battalions (Small)*
- 1 (9pdr) Foot Company, RA (3/Medium)
- 5th British (Reserve) Light Cavalry Brigade
- Major-General Sir Denis Pack (+1/0)
- 4 British Hussar & Light Dragoon Regiments (small)
- 1 (9pdr) Troop, RHA (3/Medium)
* All British Battalions were treated as standard Reliable/Experienced/SK2 units, even though one was nominally the 95th Rifles and 2 Highlanders (i.e. Elite by the definition in Lasalle).
The Figures & Terrain
The British & Brunswick force is from my collection – a mix of Perry’s Metal & Plastic – except General Picton himself and Major-General Pack’s ‘aide’ who are more venerable Foundry Figures. The French are all from the collection of Campbell Millar; principally old-style 25mm metal Hinchliffe and Minifigs figures, except the Medium Foot Battery which was 1/72nd plastic Zvezda figures. Terrain was principally from my collection, with astro-turf field and woods underlays by Cam.
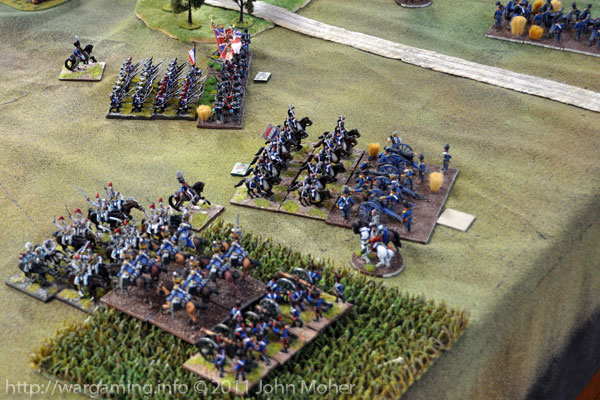
About The Game
Played at the Auckland Wargaming Club using Lasalle, this was a standard Attack-Defence game with the British defending. The objective was at the extreme left of the British line (marked in a couple of the images). The game ended after the 19th turn with the British Division broken (on paper) but not having yet had to test, and the French about to almost certainly destroy 2 more British units and overrun the objective! Cam was denied a decisive and complete victory by time as the game ended on his turn and there was no 10th Defender’s turn for my British to actually ‘break in! At the end of play British casualty points were 8/22, if there had been a 20th Turn (the tenth British turn) the British would have lost the objective and likely have been up to 13/22 losses with all their cavalry destroyed! French casualties at the end were just 3/24 (their Medium Foot Battery overrun by the KGL Hussars & the 1 Infantry Battalion broken by the North Gloucestershire’s). Although a draw, if the British had broken due to their lack of pursuit cavalry the French would have only scored a Marginal Victory, the balance of the British force being deemed to successfully withdraw covered by their light cavalry (as Pursuit Scores as of the last turn were British 12 & French 2).


WoW! Awesome looking table and a superb report!
Christopher
Thanks Christopher – appreciate the compliments… 🙂
Fantastic.. a feast for the eyes… !!! Francisco
Thanks Francisco – appreciate the generous comments! 🙂
Very Nice AAR ,C’est superbement bien fait
From a Canadien Frenchy .
André
Thanks André – appreciate the kind words…