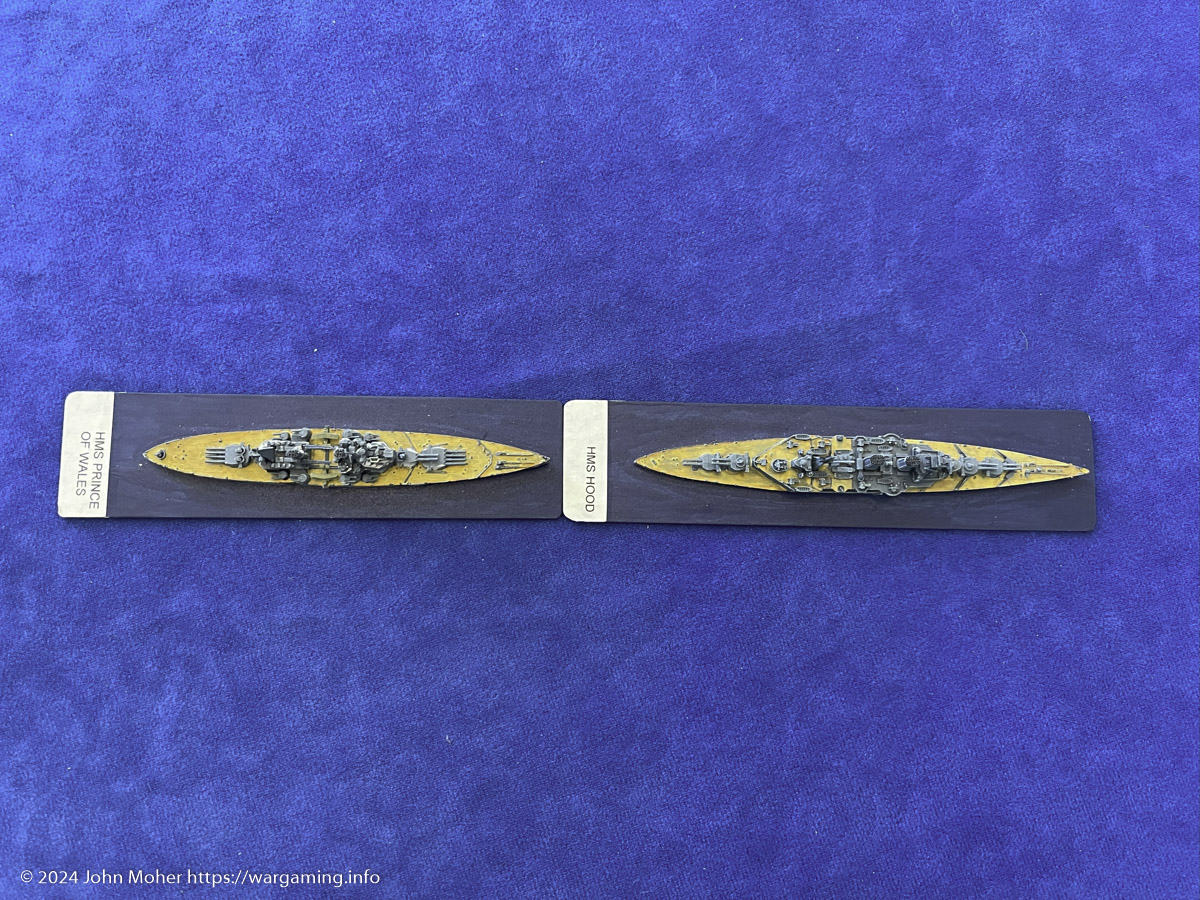
Last weekend we got in some more Nimitz gaming, this time introducing 2 more local gamers (Dave H & Chris P) to Sam Mustafa’s Nimitz. This saw two games with the mighty HMS Hood and HMS Prince of Wales going up against a variety of German opponents in the North Atlantic. Game one was a replay of the first game from a week or so ago versus DKM Bismarck and Graf Spee (see And We’re Off! Nimitz On Table Action, At Last: Part One for the previous game).
Hood v. Bismarck Take 2
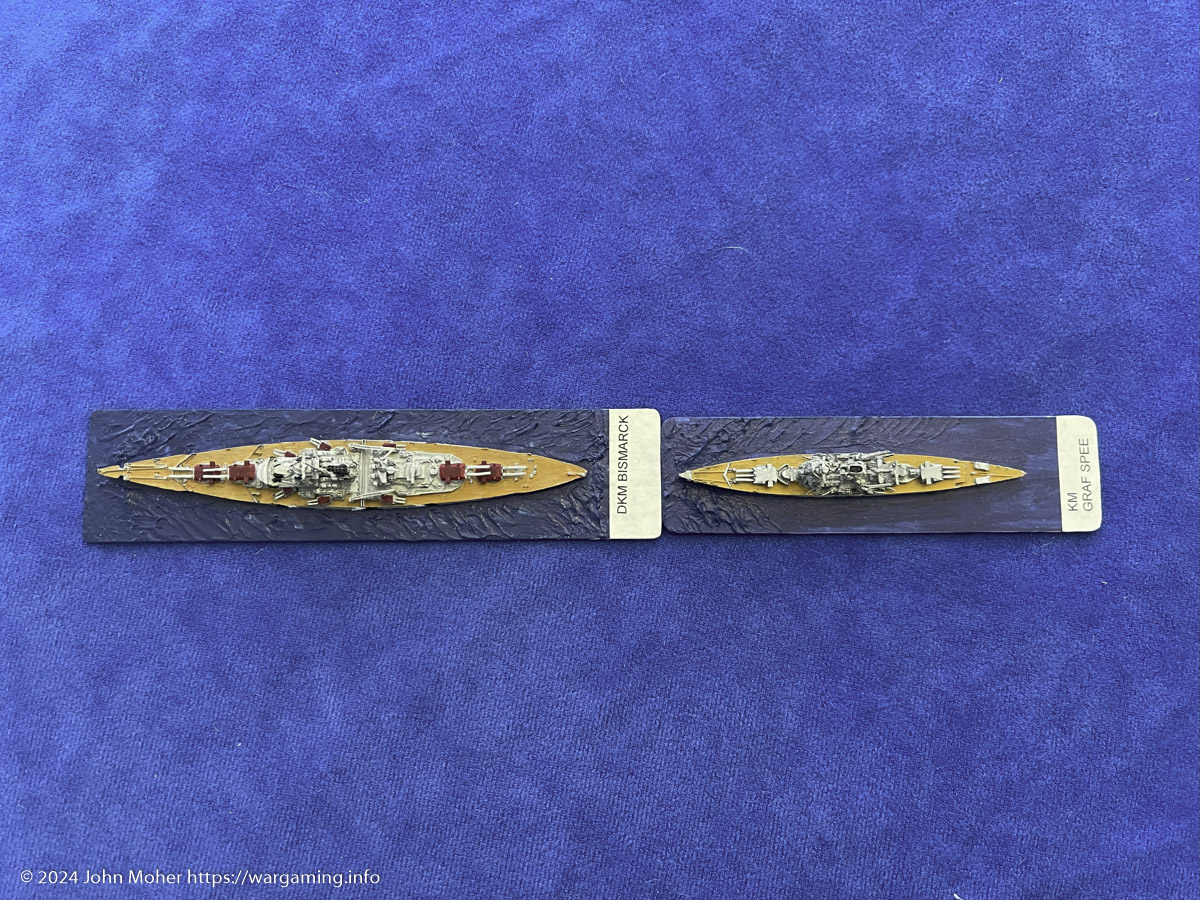
Game one was very much a repeat of the first game a week or so earlier (see And We’re Off! Nimitz On Table Action, At Last: Part One), with both squadrons circling each other, but the Royal Navy making a much more concerted focus on Graf Spee early on, to try and knock the ‘little guy’ out of the picture! Meanwhile both Kriegsmarine vessels were proving very poor shots and struggling to land any significant damage on either Royal Navy vessel (in fact both Hood and Prince of Wales suffered only 4 boxes of hull damage each, and about 4 assorted critical (I like to dub them ‘lucky’ rather than critical) hits.
Graf Spee went under relatively rapidly (compared to the previous game) and then the two Royal Navy vessels ground away at Bismarck, with Admiral Graf von Houston deciding eventually, after his gunnery couldn’t hit the side of a barn, to head for the hills… But then striking his colours shortly after when promptly reduced to just 2 (pink) hull boxes remaining and some way from the table edge… The wolves of Admiral Horatio C. Packer were closing in… Bismarck had lost her fire control director, “A” Turret, 4 of her 6 secondary turrets, and was reduced to slow speed, soon she would be under the waves or in Royal Navy hands…
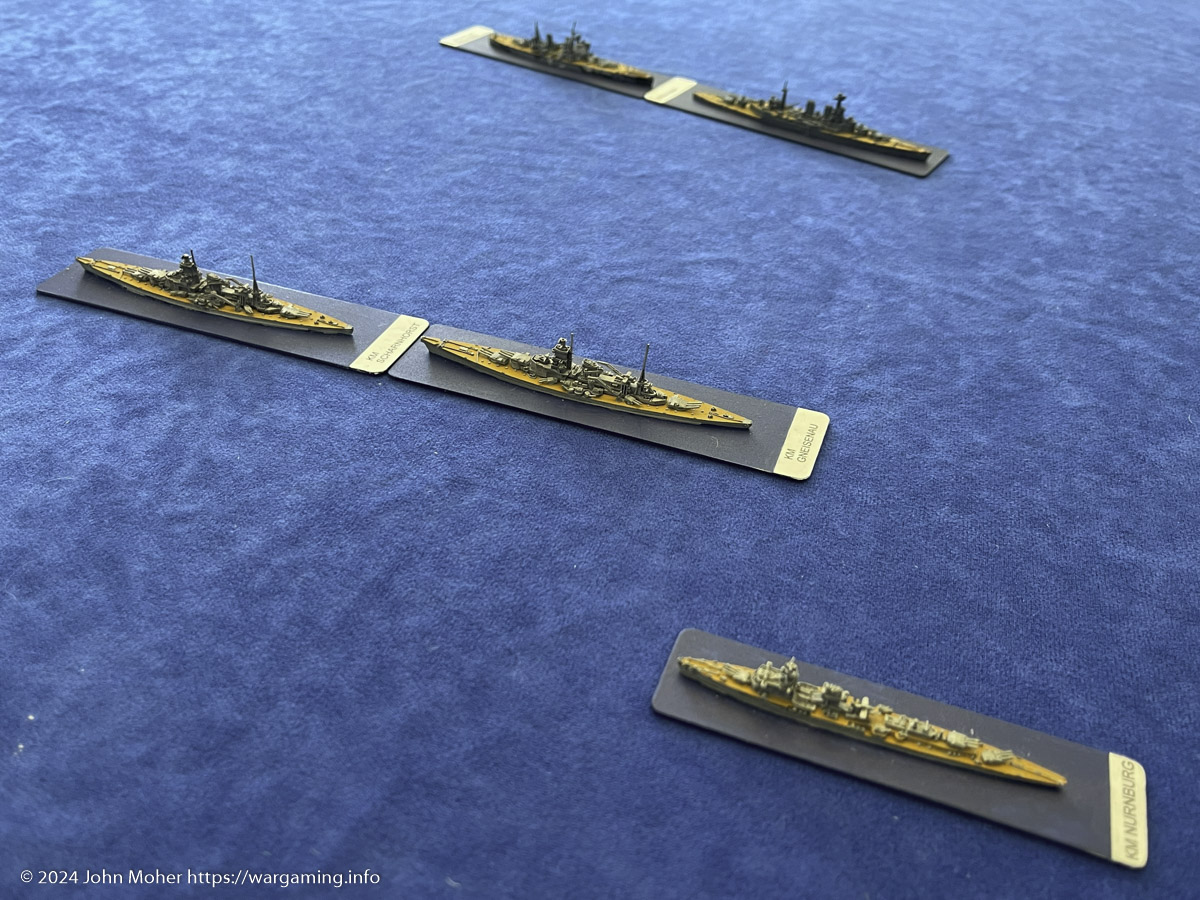
The North Sea Off Norway
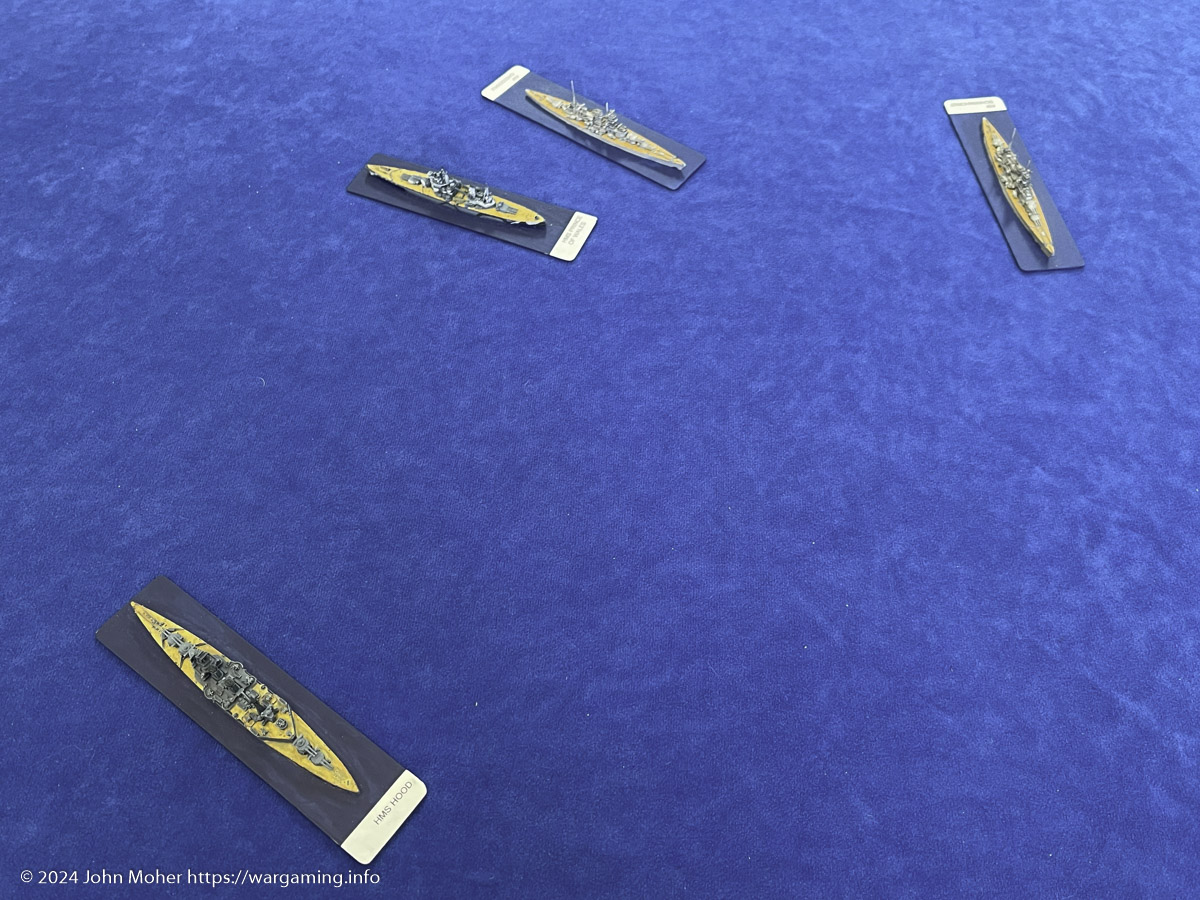
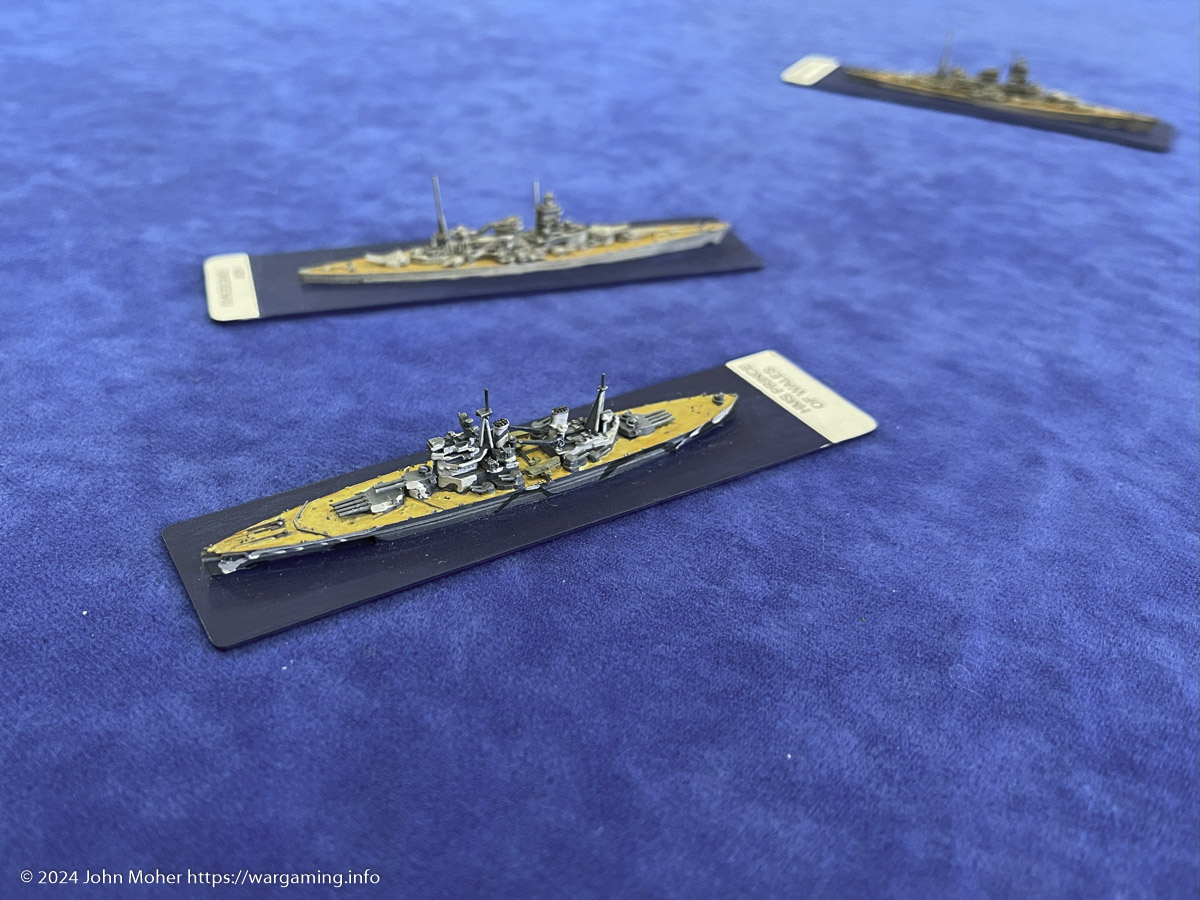
Game two was sent in more northern waters, and saw the Hood and Prince of Wales team this time taking on Scharnhorst, Gneisenau and Nürnberg. The Kriegsmarine had the advantage and stole a jump of the Royal Navy’s Force WQ, who were ostensibly covering an artic convoy from being raided from the fjord based pair of Scharnhorsts…
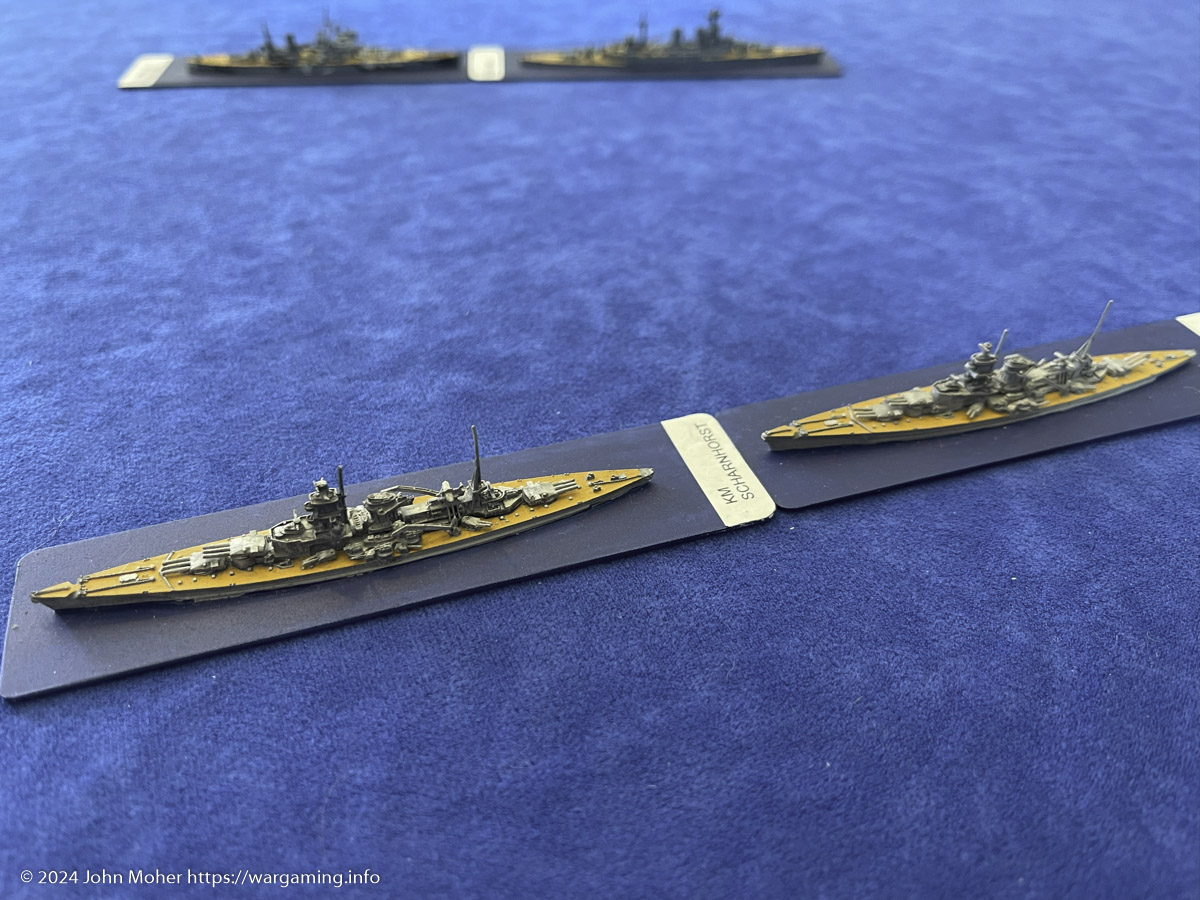
Admiral Graf von Houston sallied forth with the 2 Scharnhorst-class focussing their targeting on Hood (so Prince of Wales only got the very occasional broadside), and Nürnberg kept out of the way looking for an opportunity to slip in and do a torpedo run. Meanwhile the Royal Navy vessels under my command reciprocated by targeting the ‘tail end Charlie’ Gneisenau primarily, their secondaries engaging Nürnberg if she strayed into arc and range.

As with the prior encounter there was a lot of awfully bad shooting by the Kriegsmarine (read: bad dice), and all vessels were manoeuvring at high speed, so good hits were rare but they did manage to slowly start whittling away the Hood. This was only equalled, if not exceed, by the even worse shooting by the Royal Navy – at one point I think I rolled a ‘1’ about 6 times in succession for successive vessels primary and secondary batteries’ firing! But again the RN in turn slowly managed to land hits on Gneisneau. The latter losing ‘A’ Turret, half her secondary guns, and taking a steady hull pounding (albeit very slowly).
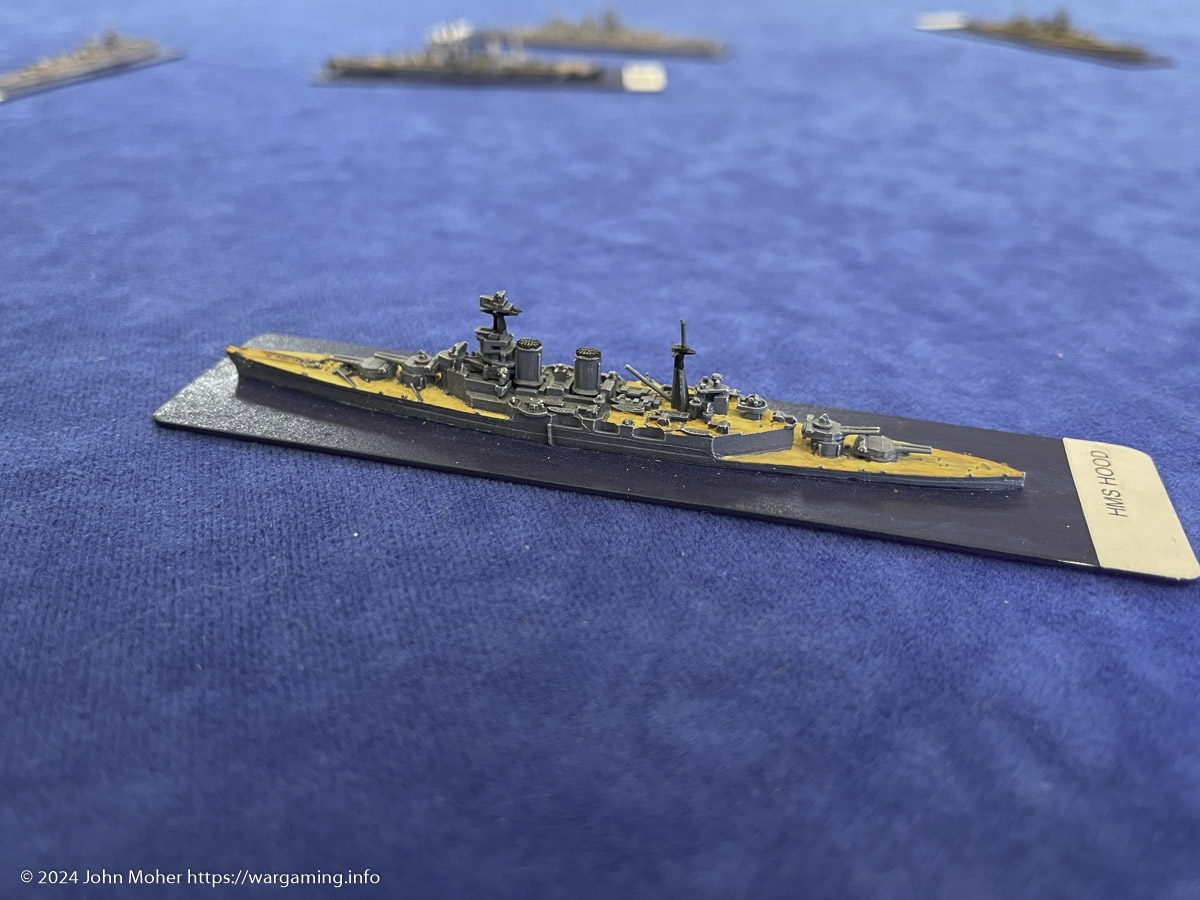
Hood meanwhile lost “Y” Turret, and prior to that had taken a torpedo hit from Nürnberg (who had made 2 torpedo attacks at her) that reduced her speed; further on she lost her director… Her hull integrity was steadily being whittled down and she started staying out to long range to try and reduce the damage she was taking. Meanwhile Prince of Wales closed in on Gneisenau to endeavour to finish her off, the latter by this stage having lost her front turret and half of her secondary guns, as mentioned earlier, and being in worse shape than Hood.
It was now looking like the Royal Navy were going to gain the upper hand, Gneisenau was essentially crippled although still fighting strongly with 2 turrets still in action, but Hood was still about 50% effective and the expectation was Gneisenau would go down quickly (but she didn’t). Nürnberg had taken some damage (including her rearmost turret out of action), but was steadily making a nuisance of herself and contributing to Hood’s demise with her gunnery. By this stage Prince of Wales was pulling off some pretty aggressive high-speed ‘zig-zag’ manoeuvres at close range amongst the 3 German vessels, endeavouring to draw their attention (and their fire) away from Hood.
Just as things were looking to get ominous for Admiral Houston (was it going to be 0 from 2 today?), Gneisenau succumbed to the ongoing attrition and the Royal Navy might finally have been gaining the upper hand. Almost simultaneously however Hood took more attritional damage and unremarkably, with little fanfare, she suddenly slid below the waves (this was 2 sinkings in 3 games for poor old Hood)… had the scales now tipped for the Kriegsmarine?
In the ongoing mêlée although Prince of Wales was the stronger opponent on paper, Scharnhorst repeatedly landed short range broadsides along with nuisance hits from Nürnberg, while she failed to return the complement as effectively. This being further exacerbated by Admiral Houston’s ability to retain the advantage repeatedly, so Prince of Wales continually had Scharnhorst on her tail firing from an advantageous position. Eventually Prince of Wales had lost both “A” and “Y” Turrets, 5 of her 8 secondary turrets, and was 1 hull box from being crippled (only her twin “B” Turret was still in action) – and Scharnhorst was still on her tail like a terrier after a rat… Faced with little hope of escape, after initial efforts to move to disengage, Admiral Moher ordered the striking of the colours and the firing of the scuttling charges – and Prince of Wales went to her fate, to join the Hood…