Well it’s been over 10 months since I posted “NIMITZ: A New Take On WW2 Fleet Action” so its taken a while to finally get around to getting some game time on the table! However I’ve been looking forward to having a crack and finally managed it this week, with a couple of buddies from the local wargaming scene. So here’s a brief run down of the 2 games we got in and a few related thoughts…
Get The Bismarck
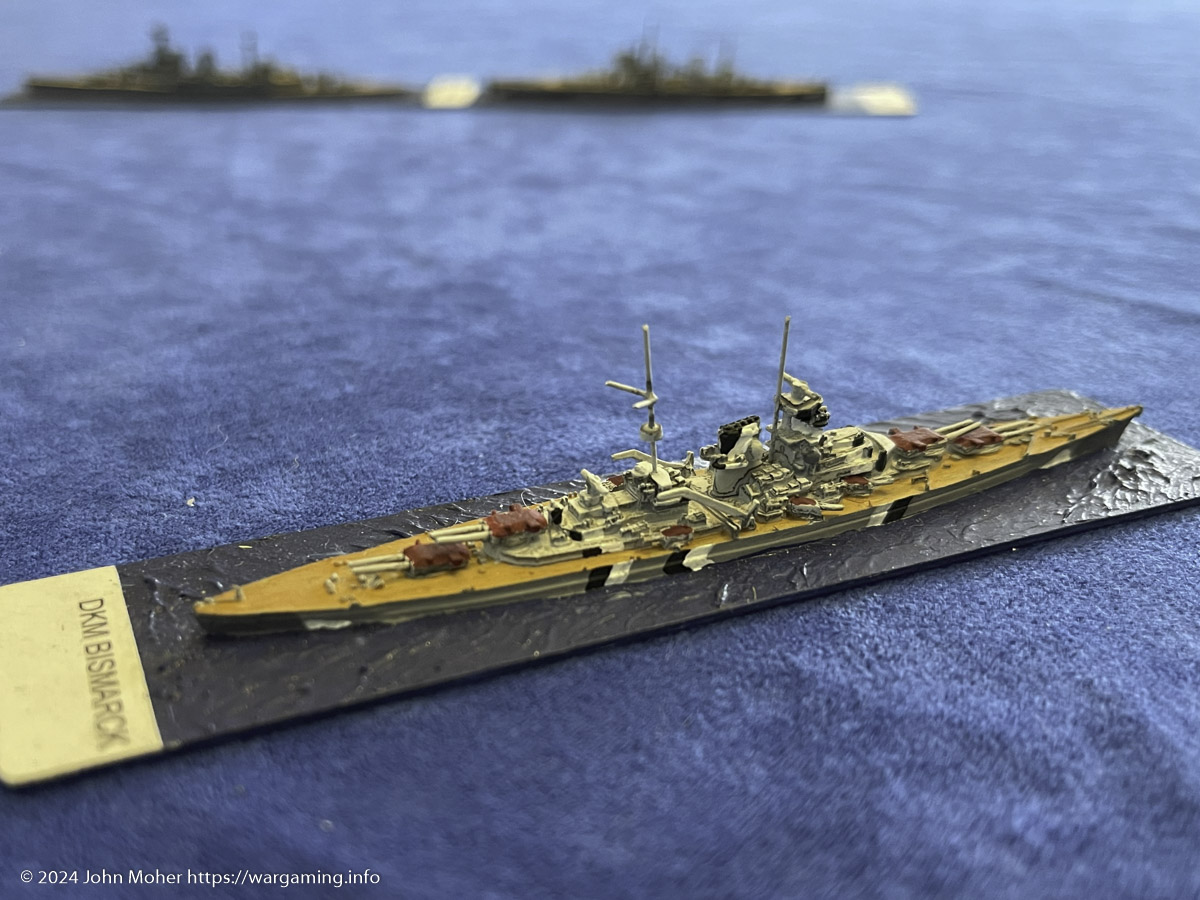
The first game saw a classic “Sink The Bismarck” scenario where the Admiral Graf Spee, of all things, had avoided getting bottlenecked up at Montevideo and made it back to Germany – and after repairs was assigned to support Bismarck in her breakout attempt (in the place of Prinz Eugene which was unavailable). Hot in pursuit were the HMS Hood and HMS Prince of Wales! This equated to ~65 point fleets in Nimitz, we played this with my 1/2400 fleets. Making the Atlantic dash from the Kriegsmarine was Richard B and commanding his majesty’s ships was Andrew B…
The Royal Navy won the advantage at deployment. Action started at a fair clip (during daytime) with both sides approaching each other at speed, with Hood and Bismarck both leading their respective formations. There was some very bad shooting from Hood, failing to score any significant salvos on the German vessels, while both Bismarck and Prince of Wales scored some intermittent hits. The Graf Spee chimed in with a couple of good shots as well…

By turn 3 the action was still hectic, all ships were still making high speed, and generally beginning to turn in on each other like circling wildcats… While the Royal Navy vessels maintained formation the Kriegsmarine ones eventually became separated as Graf Spee was forced to try and keep some distance from the British. At one point later on the Bismarck seemed quite happy using it’s smaller compatriot as a shield despite the latter being heavily damaged by that point.
By this stage the Hood’s light armour was telling and it was accumulating hull hits steadily and its incredibly poor shooting continued. The Prince of Wales landed some hits on Bismarck but only to cause superficial damage to AA and secondaries so switched her main batteries to join her secondaries targeting Graf Spee. The Graf Spee meanwhile, was starting to get whittled down having lost several hull boxes and her director, AA, and a couple of secondary guns. As the vessels circled closer Graf Spee got off a torpedo spread at the Royal Navy ships, but it was ineffective. Hood lost her ‘X’ Turret while not long after Bismarck lost her ‘A’ Turret – but overall Hood and Graf Spee were getting the worst of it.
Then the Graf Spee got knocked down to her last hull boxes and was quickly finished off, however she had barely started to go down before a telling blow landed on the Hood and she also went down rapidly! There was no dramatic explosions amidships, but just a cold steady continual whittling down of her hull until she went under water. In return she had only inflicted about half as much damage to the Bismarck before her demise. “There’s something wrong with our dice today” Admiral Barclay, RN was heard to exclaim!

By around turn 7 or 8 the Bismarck and Prince of Wales were circling each other still at high speed wandering in and out of close range. Despite being 2 guns down, so only 6 vs. 10 the Bismarck kept up the best of the gunnery and steadily landed hits on Prince of Wales. The latter replied stoutly and also scored hits but consistently failed to get penetrations at either range and only managed a small amount of hull damage. Incredibly bad firing was the norm and a painfully slow whittling away was occurring…
After a couple more turns the Bismarck was slowly but steadily gaining the advantage over the Prince of Wales, and the latter started to make a run for disengaging (with her director out of action and only 5 hull boxes left) before Admiral Barclay struck his colours and we called time; on the fair probability she would not easily escape Bismarck (both vessels were still at full – high – speed, but Bismarck still had her director, had 6 boxes left, and could inflict greater penetrations so could disable or destroy Prince of Wales with as little as 1-2 more penetrating main battery hits). And so ended our first game of Nimitz. We lost track of the turns but I suspect there were at least 12-14 turns in the end (perhaps even slightly more).

Somewhere in the Solomons
Game 2 was set in the Solomon Islands, during the early part of the Guadalcanal Campaign, at night. Commanding the IJN squadron was myself, and the USN forces Richard B (fancying being on the Allied side this time). Andy B was impartial tactical observer, historical advisor, rules assessor and unsolicited advice giver to both sides! We used models from Richard B’s 1/3000 collection, and the fleets were ~78 points in size, the forces being principally cruisers and made up as follows:
Imperial Japanese Navy
- Ise (BB, Arm 5, Hull 10, Best PEN P9 + S4, Spd 9, cost 30 pts)
- Atago (CR, Arm 3, Hull 12, Best PEN P6 + S4, Spd 12, cost 23 pts)
- Haguro (CR, Arm 2, Hull 10, Best PEN P6 + S4, Spd 12, cost 17 pts)
- Yubari (CR, Arm 1, Hull 9, Best PEN P5, Spd 12, cost 7 pts)
United States Navy / Royal Australian Navy
- USS Washington (BB, Arm 6, Hull 10, Best PEN P9 + S4, Spd 9, cost 41 pts)
- USS Portland (CR, Arm 3, Hull 10, Best PEN P6 + S4, Spd 12, cost 20 pts)
- HMAS Canberra (CR, Arm 2, Hull 10, Best PEN P6, Spd 12, cost 17 pts)
The IJN won the advantage at deployment, and in part two we run through the action! Continue reading in And We’re Off! Nimitz On Table Action, At Last: Part Two.
