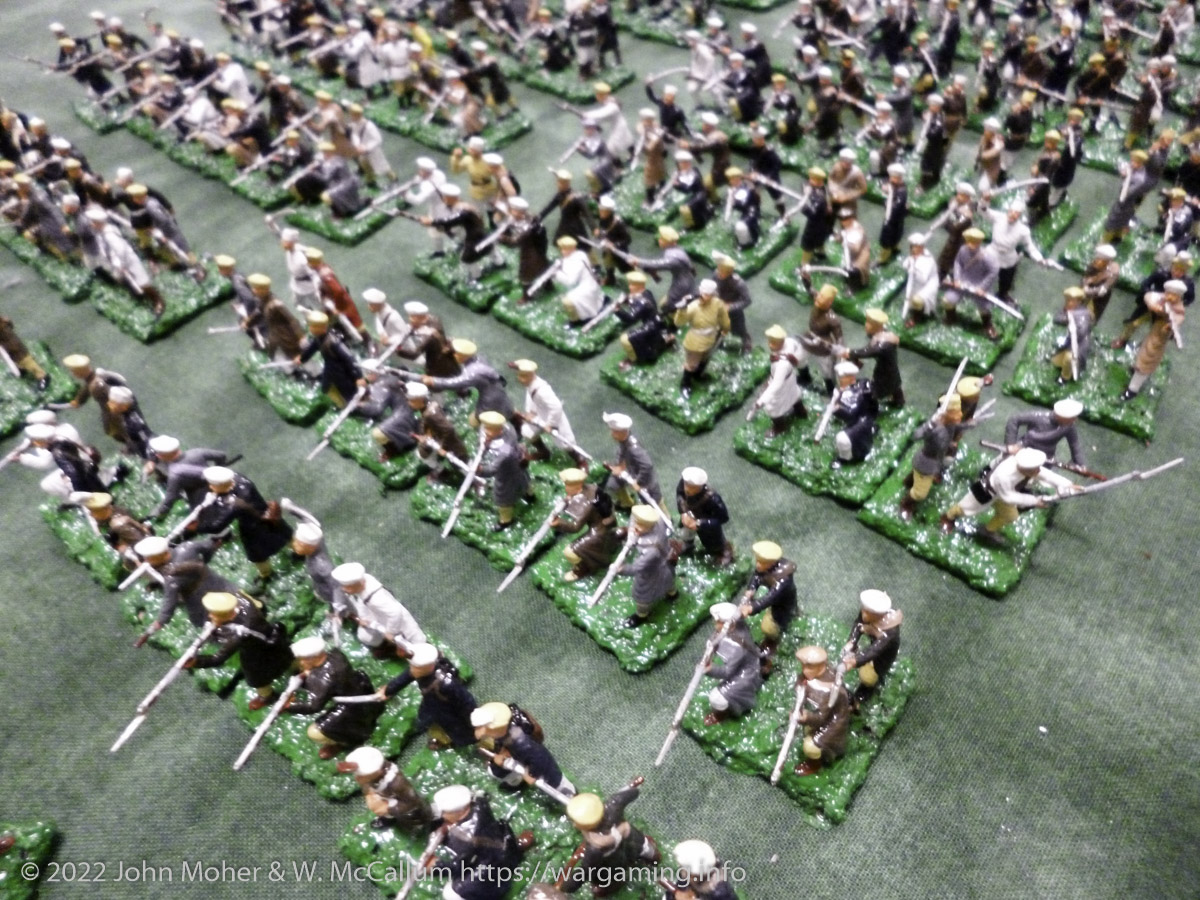
Following on from my post a few days ago about some photos I had found of a colonial Anglo-Zulu War game in the mid-1980’s, my friend who provided the armies then still has them! And as it turns out recently he had had them out of their storage containers for the first time in a long while to check their condition and do a bit of a review. He even took photos, so with his generosity, here’s some photos of the full 1/72 plastic colonial wargaming army collection we used for games in the mid-1980’s through to the very early-90’s.
Continue reading “Eighties Colonial War Game Armies”Tag: Mahdist
Fire & Sword Turn 05: March 1884
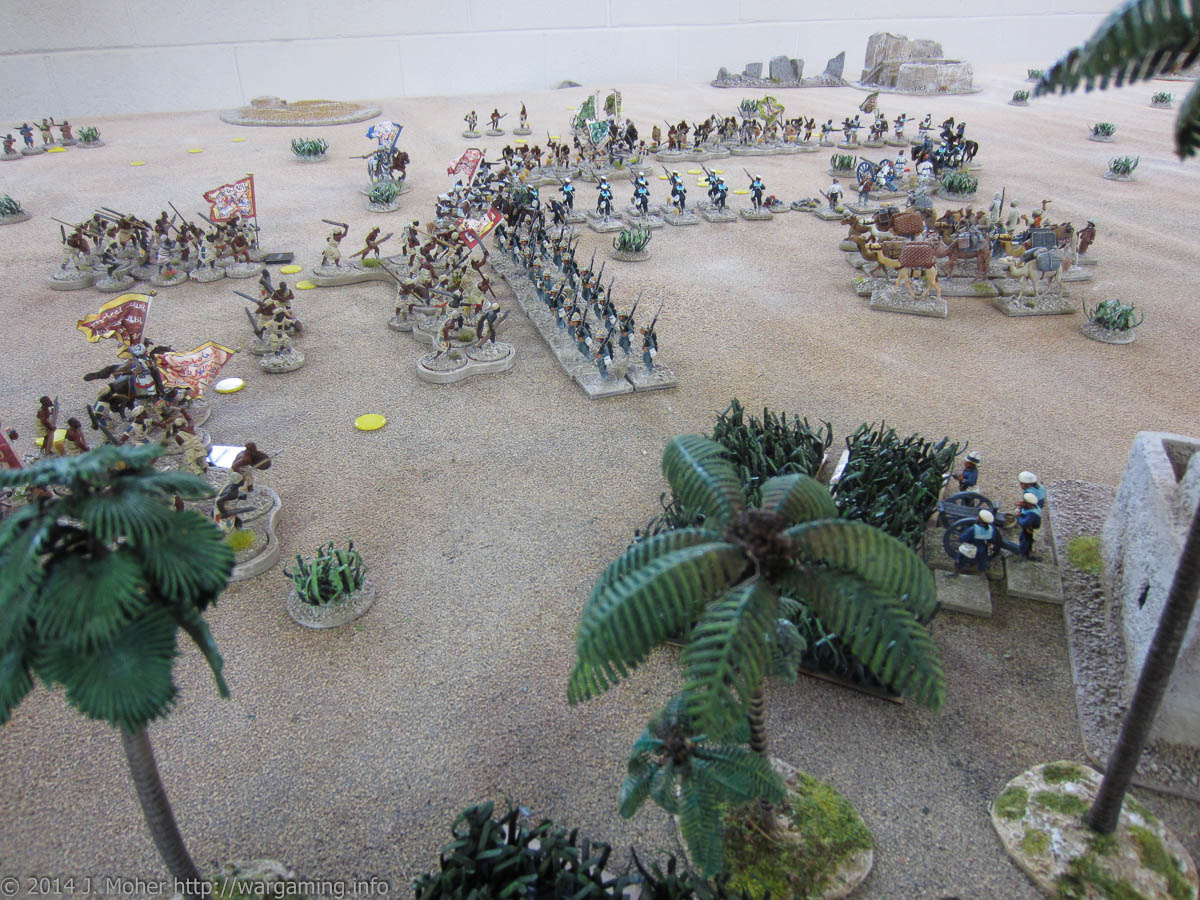
After the rather erratic results in February 1884 the Anglo-Egyptian forces were facing some great challenges (and some perhaps unrecognised opportunities) in March. Both Eastern & Western Sudan are only showing very low levels of rebellion and not offering a serious threat to the Anglo-Egyptians – the real fight for Sudan is spread the length of the Nile, from Fashoda all the way downstream to Abu Hamed. In the North the 3rd Company, 19th Yorkshire Regiment headed south from Aswan to Wadi Halfa ready to move into the Sudan in April; where it is joined by a late reinforcement in the form of a company of the Egyptian Camel Corps and a Screw Gun Battery of the British Camel Corps.
Continue reading “Fire & Sword Turn 05: March 1884”Fire & Sword Battle 06: The Gardner’s Jammed & The Yorks Vanquished
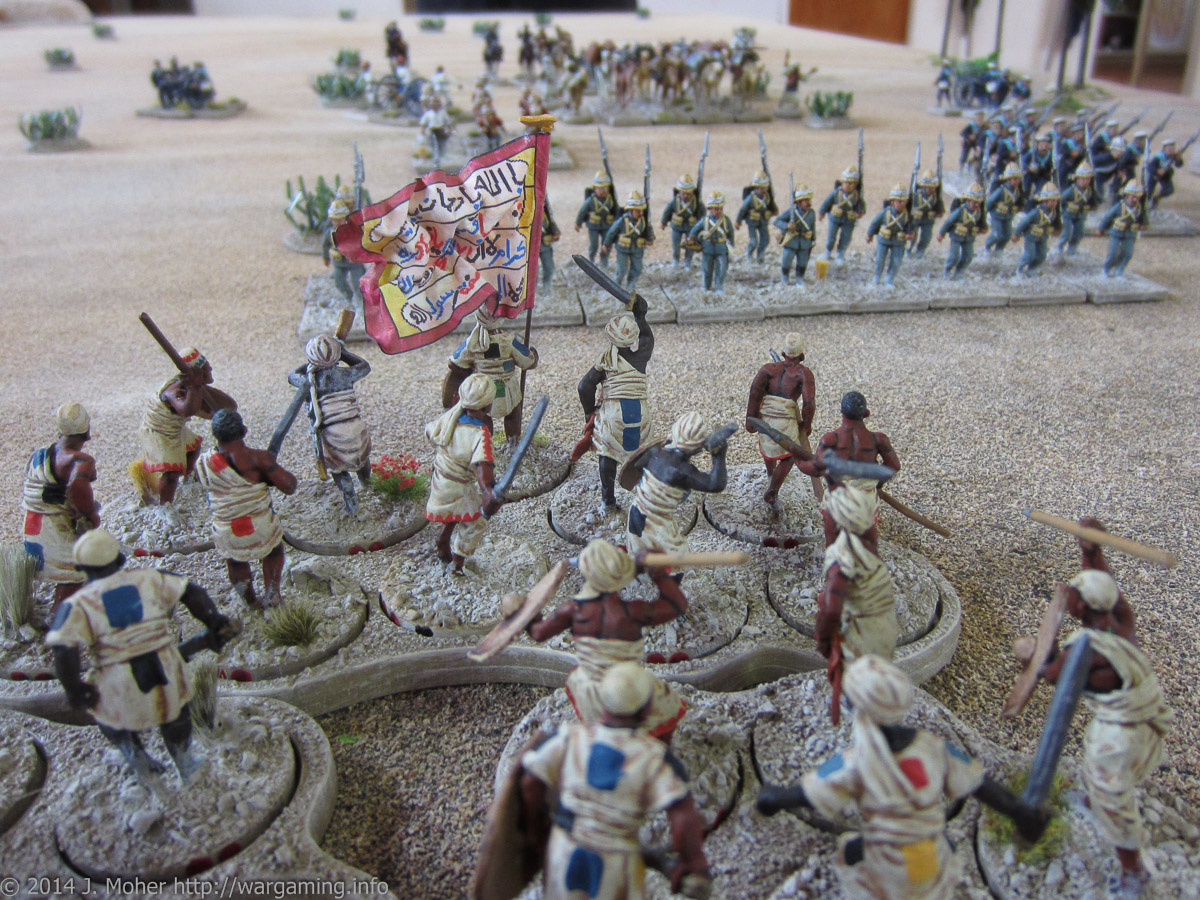
As described in Fire & Sword Turn 04: February 1884 Sir Henry’s column continued South towards Dongola, and at the 3rd Cataract is met by the first supply steamer to have made it beyond the 2nd Cataract. It resupplies his column and brings welcome reinforcements in the form of the 2nd Company, 19th Yorkshire Regiment (who are also wearing the freshly issued and newly designed Grey Serge Uniforms intended for the expedition), as well as the 1st MG Section, The Naval Brigade (operating Gardner Guns). The reinforced column is soon in Kerma and quickly continues on to Dongola, conscious of the possibility of European hostages or prisoners being held there. As it finally approaches the town Sir Henry is surprised with a sudden onslaught by the defending Dervish forces!
Continue reading “Fire & Sword Battle 06: The Gardner’s Jammed & The Yorks Vanquished”Fire & Sword Battle 05: Because We’re ‘ere Yuzbashi! Nobody Else. Just Us.
Akhtar Pasha had just spent the last few weeks trekking along the caravan trail from Suakin to Berber. When he left Suakin the Eastern Sudan was quiet and unchanged despite the violent rebellion raging in Northern & Southern Sudan – however things had now changed, the Eastern Sudan had erupted into rebellion behind him and he was now deep in enemy territory, with a column of troops in need of water and supplies, and lacking any mounted force for reconnaissance or foraging! Akhtar’s plan was to march rapidly on Berber, this was the closest reasonable sized town that was both likely to have plentiful stocks of supplies, and be fortifiable once occupied – but it was also small enough that hopefully it would not have a strong Mahdist rebel presence, and they would not have heavily fortified the place thereby making access impractical. Around the middle of February Akhtar Pasha’s force arrived at Berber, and prepared to assault the town…
Continue reading “Fire & Sword Battle 05: Because We’re ‘ere Yuzbashi! Nobody Else. Just Us.”Fire & Sword Turn 04: February 1884
With January 1884 drawing to a close, the revolt appeared to have been stabilising – however the Eastern Sudan, despite the relative quiet in the region now finally also erupted (or rather simmered) into full blown rebellion – the results were limited however; although Trinkitat & Kassala fell into the hands of dissident Beja Hadendowa Fuzzy-Wuzzies aligned with the Mahdist Rebels, and led by one Osman Diqna, Suakin appears secure – so they aren’t seen as a major threat at this time. Elsewhere no major changes occurred and Akhtar Pasha’s column at Hadiga, and the lone 4th Company of the 1st Egyptian Rifle Battalion on the Atbara River, barely noticed, continuing their journeys initially unaware of what had transpired to the East & South of them…
Continue reading “Fire & Sword Turn 04: February 1884”Fire & Sword Battle 04: Sally at Abu Hamed
As referred to in Revolt in the Sudan Turn 03: January 1884, at Abu Hamed Sayed Bey decides to sally forth from the town and endeavour to temporarily break the siege. While Abu Hamed is now plentifully supplied with resources (it has over 6 months of supplies on hand) Sayed Bey determines to take the opportunity to procure more, and while he has a relatively fresh & strong force available to hopefully inflict a defeat on the local Mahdist forces. Unbeknown to Sayed Bey, he sallies forth only two days after Sir Henry’s victory over the Dervish force at Baqah al-Garbiyyah Oasis, intent on breaking the siege of Abu Hamed…
Continue reading “Fire & Sword Battle 04: Sally at Abu Hamed”Still More TSATF At BattleCry 2011
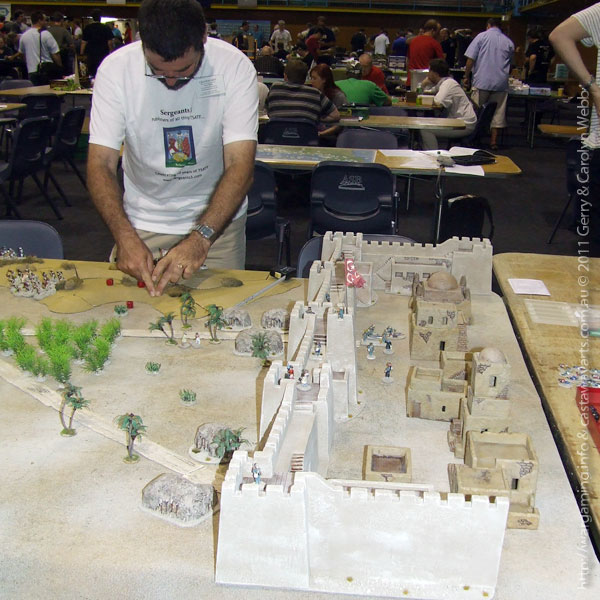
I previously posted accounts of the 3 TSATF Colonial Games with images that we played at Auckland’s BattleCry 2011 Convention – As mentioned Gerry & Carolyn Webb of Castaway Arts were there and they also took photos of the games – so here’s an additional gallery of a selection of their photos of the games… Continue reading “Still More TSATF At BattleCry 2011”
TSATF at BattleCry 2011 [3]
![TSATF at BattleCry 2011 [3]](https://wargaming.info/wp-content/uploads/2011/02/bc11-30071.jpg)
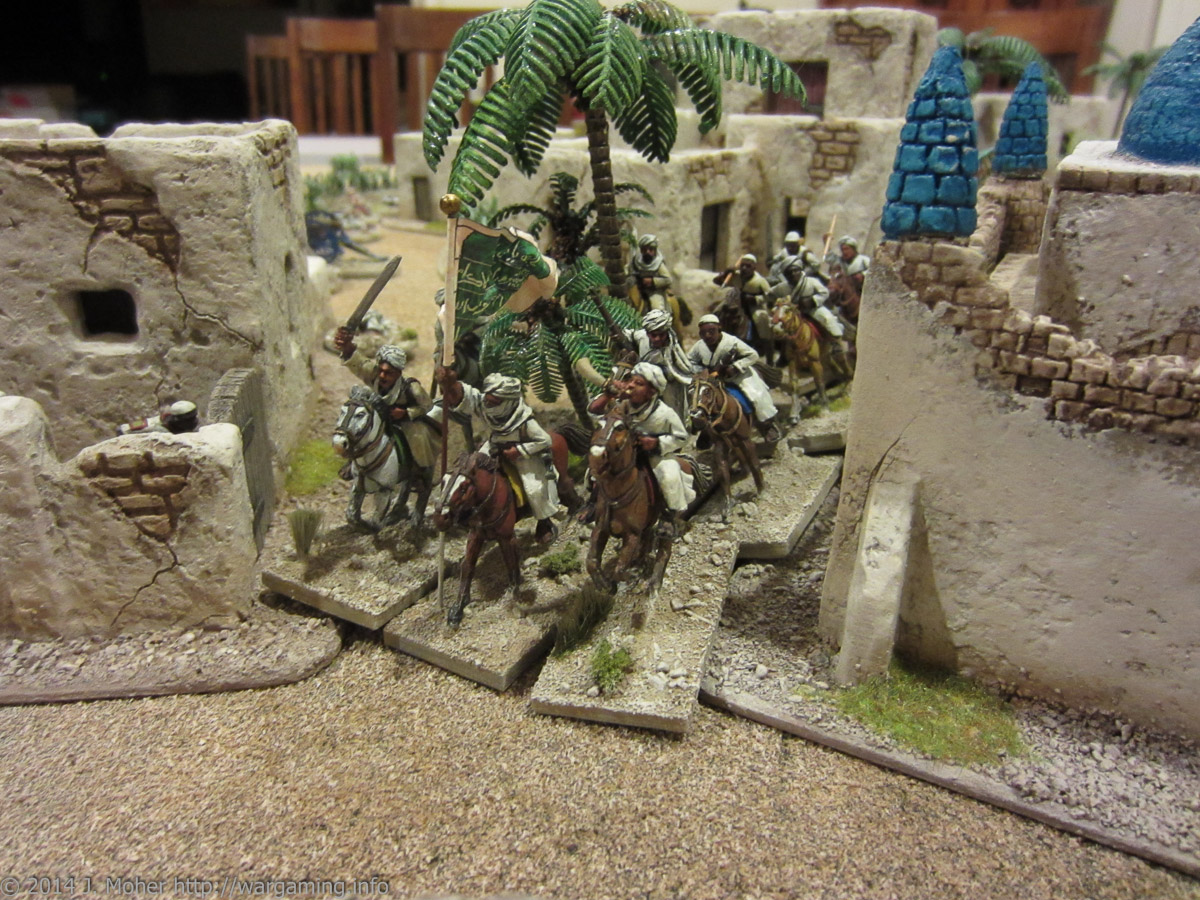
Having successfully returned to their base (game 2) Valentine Baker Pasha’s forces weren’t able to rest – a delayed communiqué arrived advising a steamer was coming down the Nile to rendezvous with them at the village of al-Ġardaqaḧ as-Sūdān and it included more civilians! Baker Pasha would have to assemble another, reasonably strong column, and rapidly march the 2 days across the desert to the Nile, through the territory teeming with Dervishes, to reach the village in anticipation of the steamer’s arrival. Continue reading “TSATF at BattleCry 2011 [3]”
TSATF at BattleCry 2011 [2]
![TSATF at BattleCry 2011 [2]](https://wargaming.info/wp-content/uploads/2011/02/bc11-2015.jpg)
Following the disastrous battle of the expedition to locate the missing European Civilians (TSATF at BattleCry 2011 [1]), Baker Pasha and a handful of survivors had managed to evade the victorious Dervishes and rejoin the balance of the local Anglo-Egyptian forces. With the entire countryside now up in arms and no hope of a second attempt to locate the civilians Baker pulled his remaining force from its isolated position and immediately began a rapid withdrawal to their regional capital and barracks town, hotly pursued by the Dervish forces. Continue reading “TSATF at BattleCry 2011 [2]”
TSATF at BattleCry 2011 [1]
![TSATF at BattleCry 2011 [1]](https://wargaming.info/wp-content/uploads/2011/02/bc11-1003.jpg)
February regularly sees the BattleCry Convention in Auckland, one of the larger NZ Wargaming events that is usually well run and encompasses more than just miniatures gaming (i.e. board gaming, card gaming, LARPing, etc). This year Gerry & Carolyn Webb of Castaway Arts (from Cairns, Queensland, Australia) decided to attend with a trade stand and some TSATF (The Sword And The Flame) demo games – as I’m a big TSATF fan I organised with Gerry to help him with the games, and provide all the troops and terrain – thereby saving Gerry & Carolyn having to cart their own from across the Tasman! The games were run as Public Participation & Demonstration games; although the former is a fairly rare concept in New Zealand so not overly familiar to many local gamers. Continue reading “TSATF at BattleCry 2011 [1]”
TSATF Colonial Games at BattleCry 2011

Gerry Webb of Castaway Arts (in Australia) will be at the BattleCry 2011 Convention, here in Auckland on the 19-20 February, with his ranges of Figures and running some The Sword And The Flame participation demonstration games. And I’ll there with Gerry giving him a hand with the games. If you are in Auckland that weekend and interested in Colonials, or just Wargaming in general, pop along for a look at Auckland’s largest regular annual convention (expected to have over 300 gamers participating) at the ASB Stadium in Kohimarama – full details are at the BattleCry website. Continue reading “TSATF Colonial Games at BattleCry 2011”
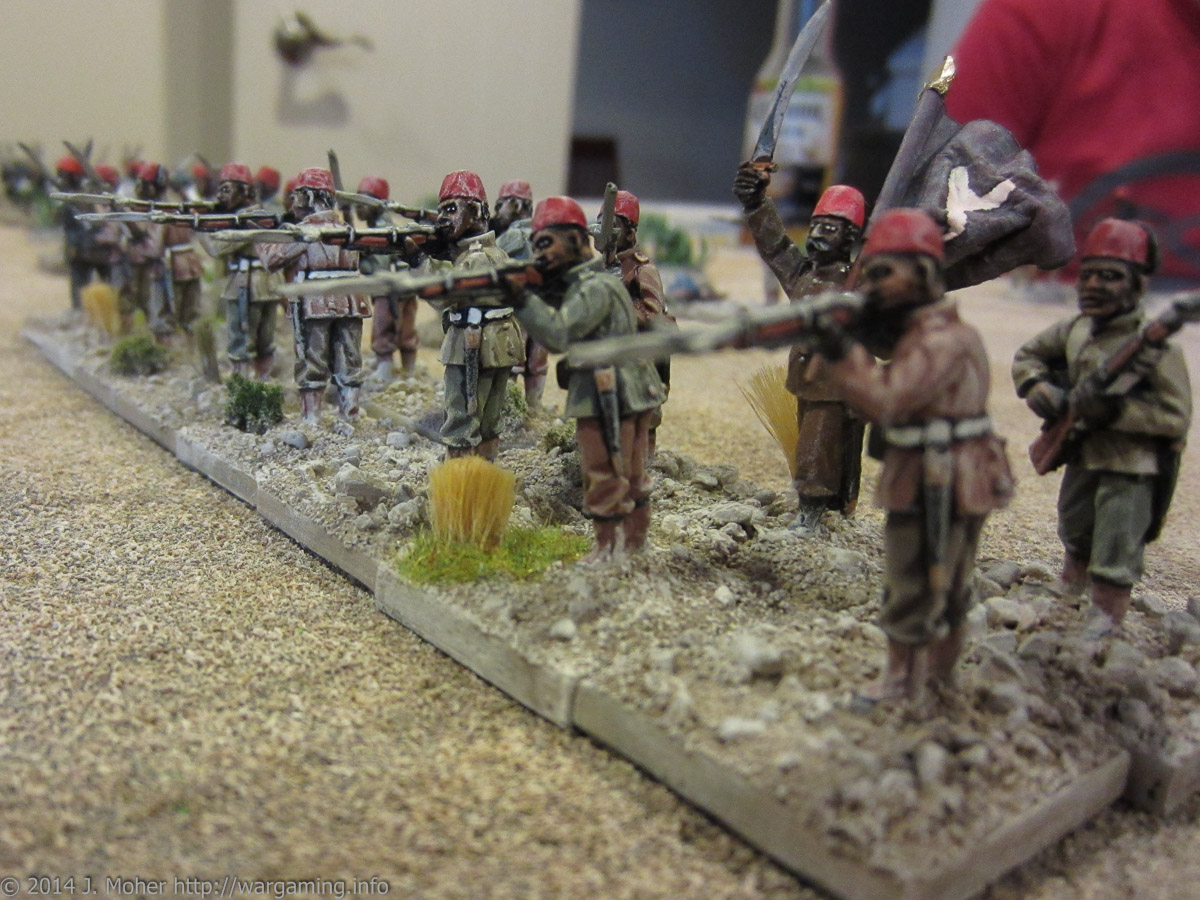
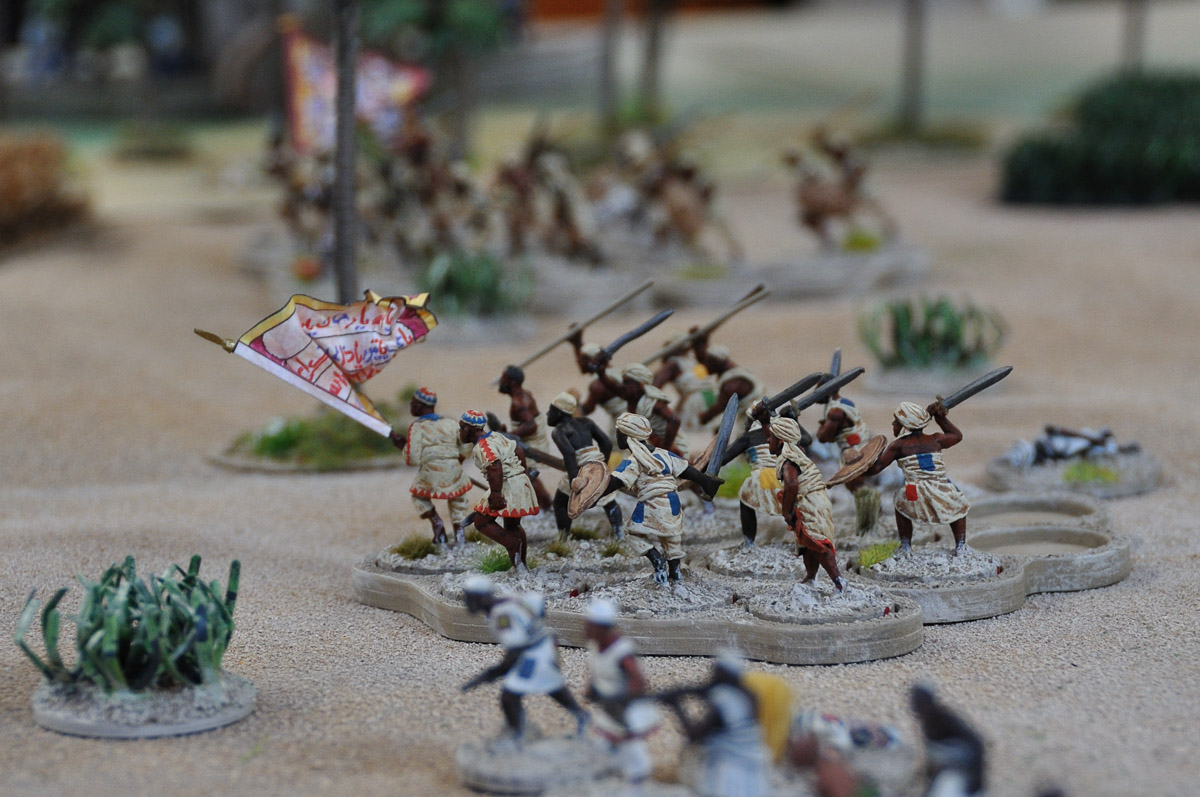
Some Exceptional Sudan Inspiration

If anyone ever needed inspiration to game the Sudan, most especially with the Perry’s range of figures then this is it – Frank & Björn have absolutely set an amazing benchmark for figure painting & terrain – the image here is but a low resolution version of just one of the many images. Make sure you check out their stunning (and ongoing) thread at the Lead Adventure Forum – there are images on every page of the thread and new images periodically added… Continue reading “Some Exceptional Sudan Inspiration”