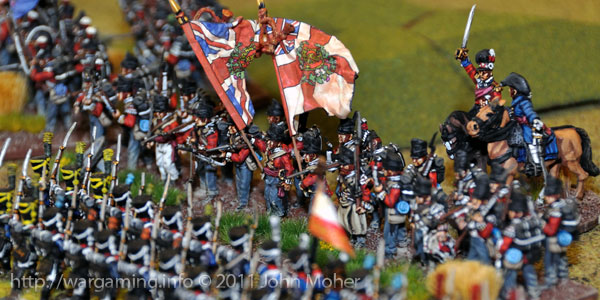
It had been a tough 2 days – having taken a heavy knock from the advanced elements of Napoleon’s invasion force (Lasalle in the Hundred Days), the elements of Picton’s Division involved had withdrawn, thankful for their temporary superiority in light cavalry, and gradually collected the stragglers and remnants of their regiments to be reconstituted as fair fighting forces again, albeit in reduced numbers… The 42nd Royal Highlanders had been detached to rejoin 9th Brigade on flank guard duty, but the latter had sent the 3/1st Royal Scots in their place – Picton was glad for the fresh, as yet uncommitted battalion. The Duke had sent word of his intent to now try and rally the Anglo-Dutch forces at a position to Picton’s rear, but that Picton must hold his position for a day to allow them time to assemble – so Picton found himself staring at what must be the most desolate part of the Southern Netherlands (i.e. Belgium), scanning the horizon for sign of the French…
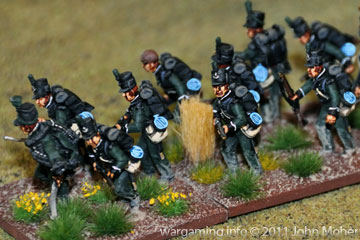
Picton was standing in a small, barren valley, there was nothing here but windswept ridges and patches of broken rocky valley floor, he and Kempt and Pack had all somehow survived and recovered (to some extent or other) from their wounds and injuries, despite some being near mortal, a very lucky thing indeed. His troops (the reinforced 8th Infantry Brigade under Major-General Kempt) were assembling and elements of the 5th Light Cavalry Brigade (and attached troops) were still in support, currently deployed off to the flanks and rear guarding from envelopment and maintaining the Lines of Communication under Major-General Pack. Cavalry patrols were also beyond the valley observing for the approach of the French.
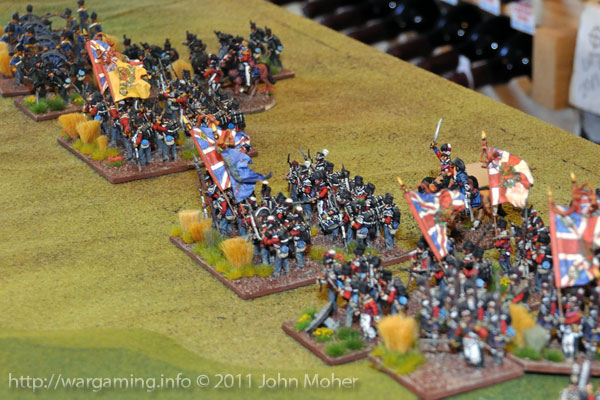
Picton hoped to move his position forward from the middle of the valley onto the Southern Ridgelines before him, as soon as his tired troops had rested and fed, but the sudden sign of galloping dispatch riders from the cavalry told him it was too late for that, even before he received their reports… The call to arms was sounded, and even before the men had assembled, the first dark bodies of French troops appeared on the skyline, faint snatches of their usual noisy marching style being carried to Picton on the wind. It was Prince Jérôme’s 6th Division from Reille’s II Corps, for it was they who Picton had encountered and received a bloody nose from just two days prior, the Allied Light Cavalry having ascertained the full identity of the enemy from captured foragers and the like.
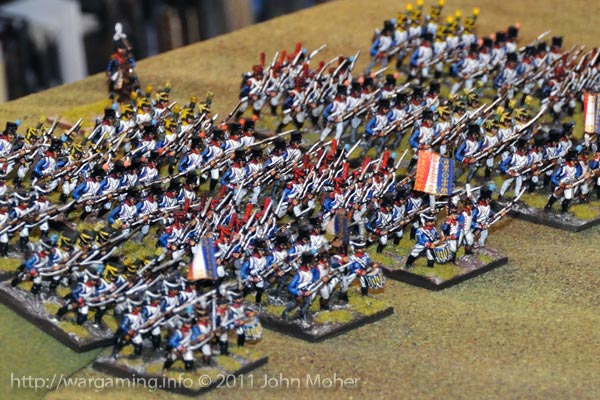
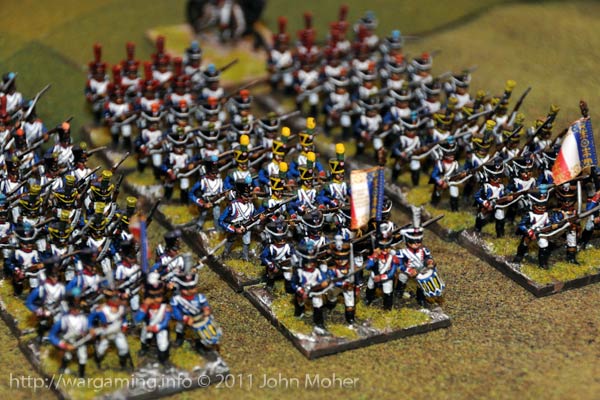
As Picton hustled his men into position the French forces began their descent into the valley, once again numbers appeared to be on their side, however Picton had one small advantage, he could see their approach before they fully appreciated his position, he had had time to deploy appropriately and come up with a plan, of sorts, to try and wrestle the initiative from Jérôme. Picton deployed his strongest force on his left (the 3/1st, 1/28th, 1/32nd, and 1/79th Foot) under Kempt, opposing them was Baudin’s 1st Brigade of just 3 battalions (the 2nd Ligne Regiment) supported by Barbaux’s Foot Battery – Picton hoped to aggressively engage these troops and hopefully break them while he had a small local superiority in numbers (and he banked on the much renown British fighting quality to assist). On Picton’s right (the centre of the valley) he had just the 2/44th, the 1/95th Rifles, and Rogers’ hard working Foot Battery, RA. Here he would dispatch the 95th Rifles into the broken ground to delay and disrupt the French advance, while Rogers’ endeavoured to maintain a steady bombardment on the approaching columns, and the 2/44th East Essex would provide the central reserve and ‘hinge’ with Kempt’s force on the left…
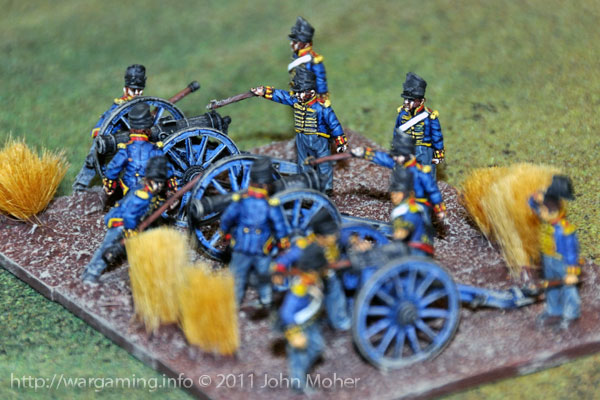
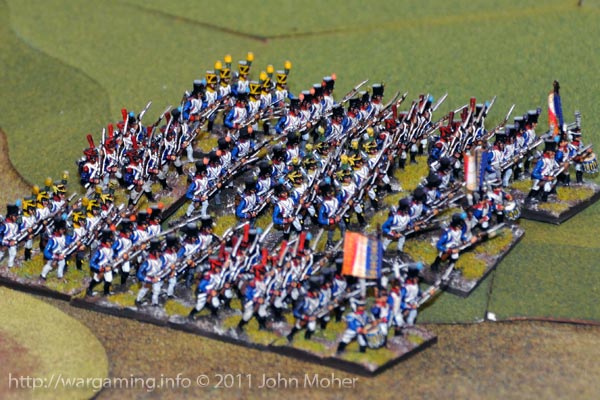
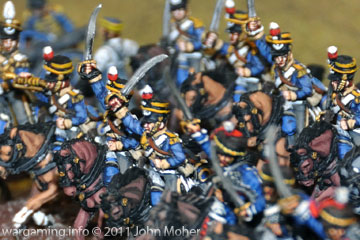
Opposing the British right was the bulk of the French force – Soye’s 2nd Brigade with the 1st Ligne Regiment (3 Battalions) and the 3rd Ligne Regiment (2 Battalions) – and they were in a position to easily outflank Rogers’ position, should they move rapidly across the large western ridge! Indeed Jérôme advanced rapidly and aggressively, as Picton feared and as expected Soye moved west around the rough valley floor and onto the western ridge, this suited Picton short-term, as Baudin had meanwhile advanced directly for Kempt, and hence would allow Picton to force the early conclusion on his left that he desired. Rogers’ 9pdrs soon barked out, sending round shot ploughing into the columns of the French 3e Régiment de Ligne directly opposite, as the 95th Rifles hurried forward towards the broken ground. On the left Kempt advanced rapidly, heading directly for Baudin.
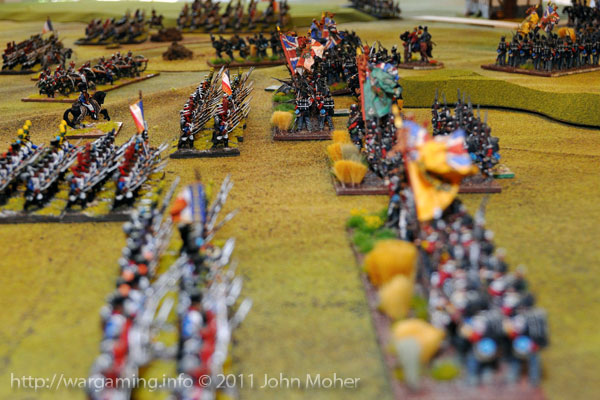
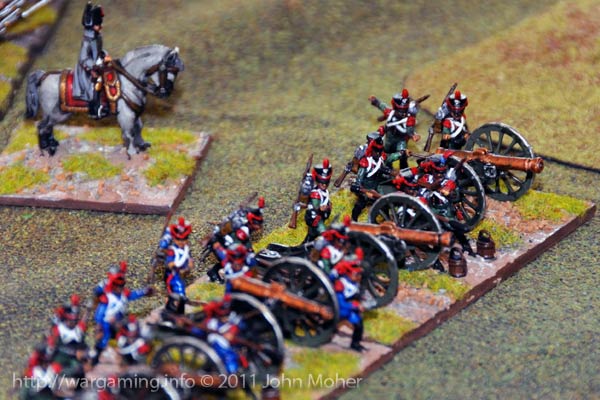
The French rapidly deployed, into line no less in many places, and Barbaux’s artillery hastened to enfilade Kempt’s advance. On the British right Soye’s 1ére Régiment de Ligne was rapidly moving towards Picton’s open right flank. In response Kempt’s troops on the left rapidly deployed into line themselves, preparing for a musketry duel with the 2e Régiment de Ligne, and the 3/1st Royal Scots rapidly advanced on Barbaux’s position to hopefully chase his guns away before they could become established. In the centre the 95th Rifles moved into the broken ground, operating in open order, and to really make Picton’s day the Light Cavalry appeared, sooner than expected and immediately giving him an advantage, he could now delay Soye’s advance on his right he believed, and really could press home aggressively on the left! As Barbaux’s artillery pounded the Royal Scots, the French 2nd Ligne under Baudin advanced, closing the gap to point-blank range with Kempt’s battalions, and on Picton’s right Soye did not seem perturbed by the appearance of the Cavalry, and the 1st Ligne continued its advance, while the II/3rd Ligne Battalion began to move into the broken rocky ground presumably to try conclusions with the 95th Rifles…
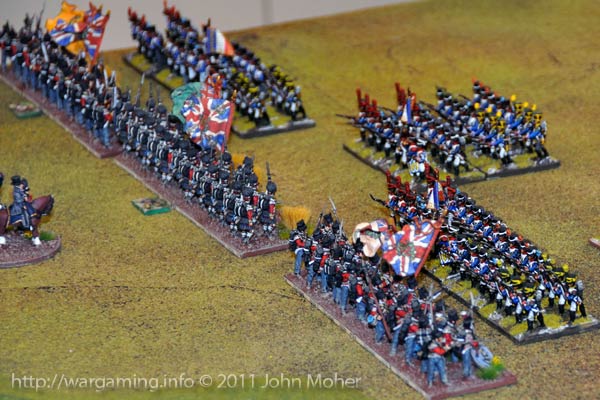

At this point Picton’s confidence was rather dashed, suddenly on the skyline appeared a large mass of French mounted troops, Général de Brigade Baron Blanchard had arrived with his damned Carabiniers & Cuirassiers – Picton’s advantage was nullified. Responding as best as possible (there might still be time to force a decisive result on his left), Picton rapidly sent the 7th (Queen’s Own) Hussars to support Kempt, and personally rode over to take charge of the situation to ensure the attack was pushed home to the maximum effort. The Royal Scots charged Barbaux’s guns to try and drive them off, as the balance of Kempt’s troops established their line, and the musketry duel increased in ferocity. While the 1/95th Rifles were deploying into the rocky ground (which lacked any meaningful cover) Cavalié Mercer’s RHA Troop deployed to the left of Roger’s (supported by the 13th Light Dragoons), forming a solid gun-line to keep Soye’s troops under steady bombardment. On the right the two German Light Cavalry Regiments (the Brunswick 2nd Hussars Regiment, and the 3rd Regiment of Hussars, the King’s German Legion) demonstrated in front of Soye, endeavouring to force the 1st Ligne into square and halt its advance.
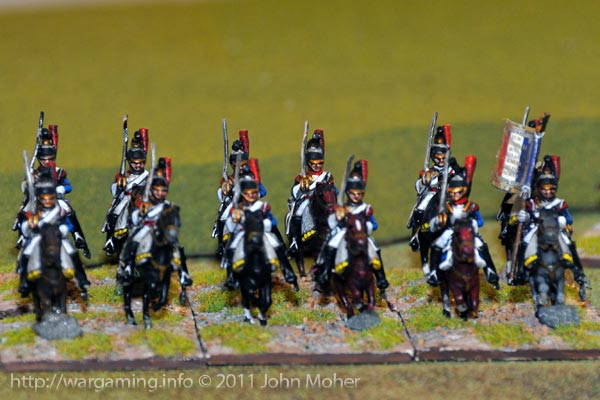
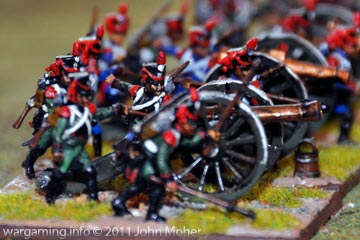
In the centre Barbaux’s Artillery duly pulled out and fell back before the Royal Scots, while on the British left Baudin determined to force a conclusion himself, and launched a full assault along the entire line of battle of the 2nd Ligne Regiment. The French heavy cavalry were meanwhile rapidly moving up in support of these, while on the right Soye continued to discount the Anglo-German Cavalry, and the 1st Ligne advanced aggressively against them with Capitaine Lebau’s Horse Battery being rapidly led up in support by Jérôme himself, at least until the latter became distracted by leading the II/3rd Ligne against the 95th Rifles in the rocky ground! And then disaster, on the left the 1/28th North Gloucestershire’s were thrown back by the I/2nd Ligne, and the 1/79th Cameron Highlanders were completely overrun and dispersed by the II/2nd Ligne. Only the 1/32nd Cornwall had a small success, repulsing the III/2nd Ligne. It was a major setback for Picton. The 1/28th North Gloucestershire’s were in considerable disorder and struggling to reform, their resolve wavering, luckily the 7th Hussars were to hand and boldly charged the successful II/2nd Ligne, to try and restore the British line and support the North Gloucestershire’s.
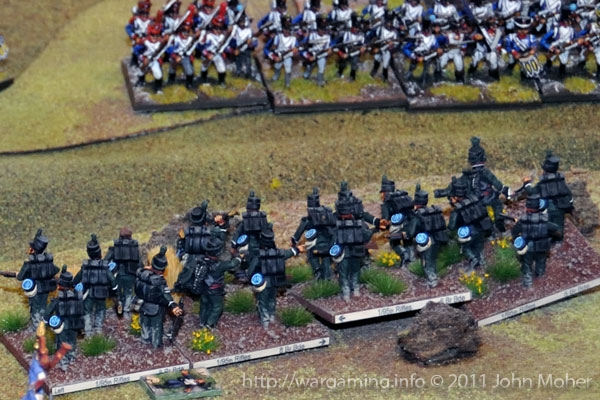
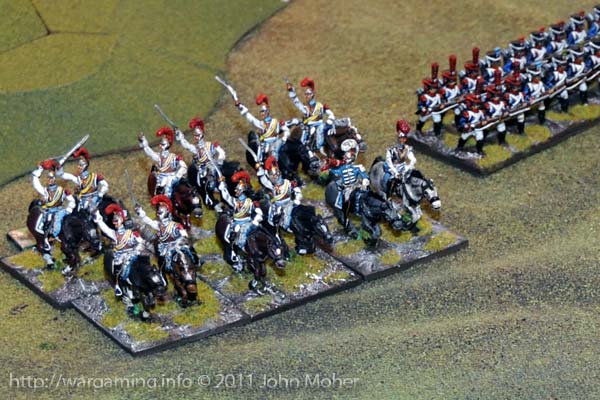
In the British centre the 3/1st Royal Scots now retired, having driven off Barbaux’s guns, the deployment of the 95th Rifles into the rocky ground now complete and covering the Royal Scots right flank (the 95th becoming involved in a musketry duel with the 2 battalions of the 3rd Ligne). This deployment also now allowed the 2/44th East Essex to become more active, and given Soye’s aggressive advance with the 1st Ligne, would allow the flank of that Regiment to be threatened. However things continued to deteriorate for the British – the 7th Hussars were thrown back by the II/2nd Ligne, and the I/2nd Ligne completed the disintegration of the 1/28th North Gloucestershire’s with a furious Musketry volley, advancing now unopposed but for Picton himself on the British left. The British were now in danger of being encircled into a narrow bulge, and their Lines of Communication threatened, and as the 1st Carabiniers crashed into the 3/1st Royal Scots and the French forces began to close in, they could sense they had the upper hand! But the Royal Scots held however, and the Carabiniers retired, at least for the moment.
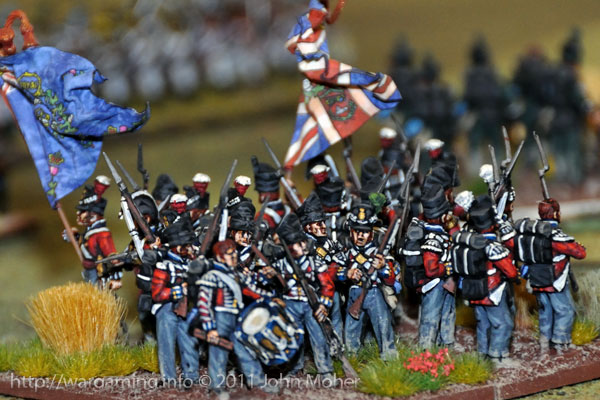
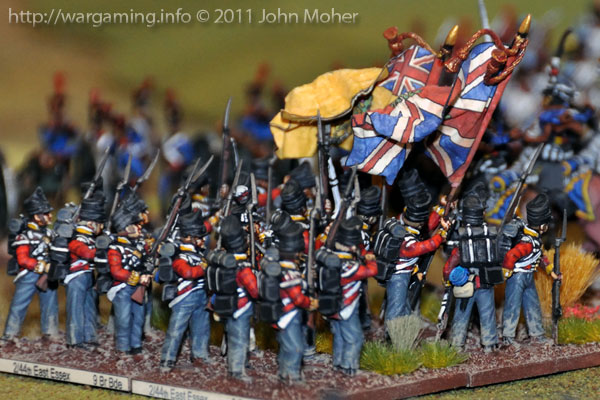
The Anglo-German Light Cavalry were needed to try and resolve the situation, on the left the 7th Hussars charged the I/2nd Ligne, on the right the 3rd Hussars, KGL, charged the 1/1st Ligne supported by the 2/44th East Essex, and on the far right the 2nd Brunswick Hussars charged the III/1st Ligne. Elsewhere the British endeavoured to just hold their ground, while the remaining cavalry (the 13th Light Dragoons) moved up to support the 7th Hussars and protect the British left (by threatening the II/2nd Ligne, who subsequently formed square as the prudent action in such situations). While the 1/2nd Ligne on the British left and the II/1st Ligne on the British right easily formed square to oppose these attacks, the 1/1st Ligne was not so lucky, being engaged on 2 sides by the KGL Hussars and East Essex – they rapidly disintegrated to the cheers of the British troops! While on the right the Brunswickers could not shake the nerves of the III/1st Ligne, incredibly the II/2nd Ligne’s square on the left collapsed and the 7th Hussars having broken them rapidly rode down and dispersed the battalion! Encouraging victories but perhaps too little too late… Now it was the 1/32nd Cornwall’s turn, being hit by the III/2nd Ligne and the 2nd Cuirassiers, and with the II/2nd Ligne’s square behind them they had nothing to do but form their own square and hold on to the end! Alas it was too big an ask, and the Cornwall men’s square was broken and the battalion dispersed… Meanwhile the 13th Light Dragoons charged in against the II/2nd Ligne to try and recover the situation on the left, while on the British right caution was observed and the 2/44th Essex, 3rd Hussars KGL, and 2nd Brunswick Hussars all retired to reform before further action.
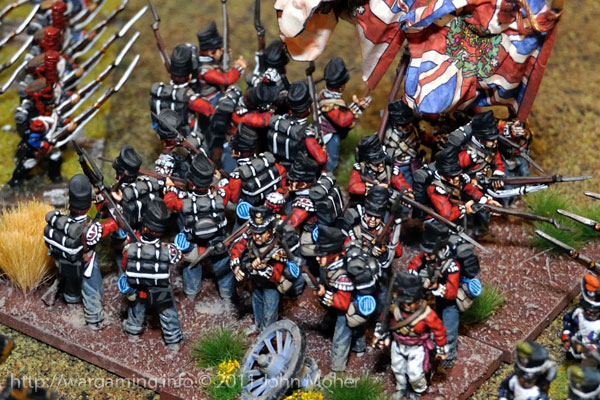
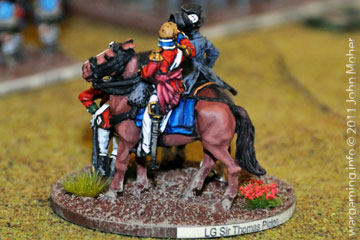
Now the French became extremely aggressive, endeavouring to complete the destruction of the left half of the British force and turn Picton’s flank. The 13th Light Dragoons had been rudely repulsed by the II/2nd Ligne, leaving the III/2nd Line & 1st Carabiniers free to continue the assault in the centre, targeting the hapless 3/1st Royal Scots. They were quickly broken and overrun – Picton forced to launch all his cavalry in one more do or die effort to salvage the situation, from left to right the 7th Hussars charged the 2nd Cuirassiers, the 13th Light Dragoons the II/2nd Ligne, the 3rd Hussars, KGL (accompanied by the 2/44th East Essex), the II/1st Ligne, and on the extreme right the 2nd Brunswick Hussars again charged the III/1st Ligne. Picton’s force was now very shaky and on the verge of imminent collapse, only the efforts of the Generals keeping it in the field…
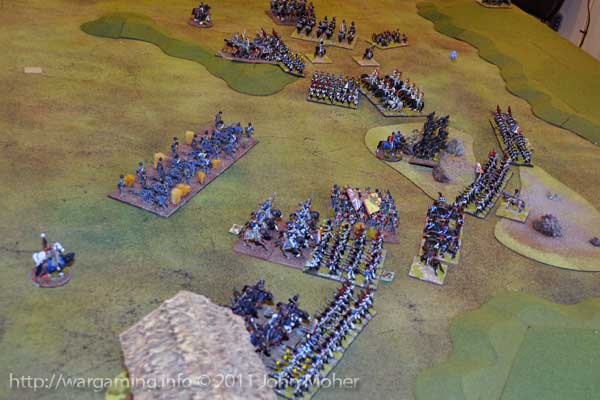
However first blood went to the French in the centre, the 1/95th Rifles finally succumbing to the musketry of the 3rd Ligne, and the battalion dispersing, while on the left the 7th Hussars and the 13th Light Dragoons were both repulsed. However the KGL Hussars & East Essex succeeded and the II/1st Ligne were overrun and broken, the surviving Frenchmen streaming to the rear, while on the far right the Brunswickers were again repulsed, and fell back to the British gun-line. However all was not over yet, the rather disordered 13th Light Dragoons, with no chance to recover after falling back from their charge, were now hit by the ever more embolden 1st Carabiniers, who were sweeping everything before them! As expected they were no match for the French Heavies and disintegrated on contact like a Guy Fawkes fireworks display!
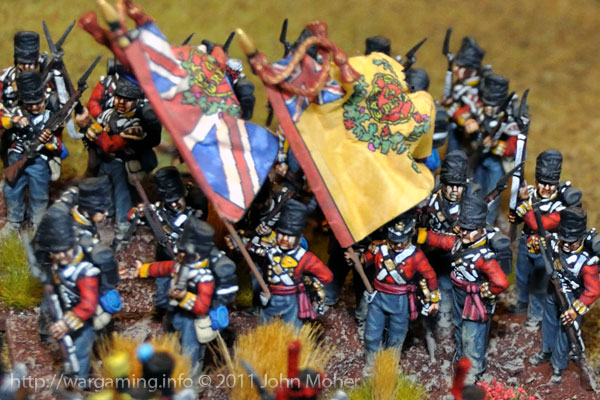
While the 7th Hussars were now badly disordered, and responsible for protecting Picton himself (as they were both isolated on the far left of the British position), they now endeavoured to keep the 2nd Cuirassiers covered and prevent their further involvement, only falling back as each Cuirassier charge threatened to hit home. On the right Kempt & Pack endeavoured to fight on, the only surviving Infantry (the 2/44th East Essex) moving right to engage the isolated III/1st Ligne battalion, while the Brunswickers again charged the latter, and the 3rd Hussars, KGL, charged Lebau’s Horse Battery. Inexplicably the latter chose to stand, and despite a successful volley of canister, were promptly ridden down by the Hanoverian KGL Hussars, the latter ending up amongst the rocky ground as they reformed! And the British force continued to hold together, despite its heavy casualties. On the right the Brunswickers were again repulsed by the III/1st Ligne. The French however kept coming forward, in the centre the Carabiniers soon riding into the British rear and the I/3rd Ligne endeavouring to charge Mercer’s RHA Troop, while on the British right the III/1st Ligne, disdainful of the presence of the Brunswicker Hussars, advanced in line to face the 2/44th Essex, and on the far left the 2nd Cuirassiers pursued the 7th Hussars.
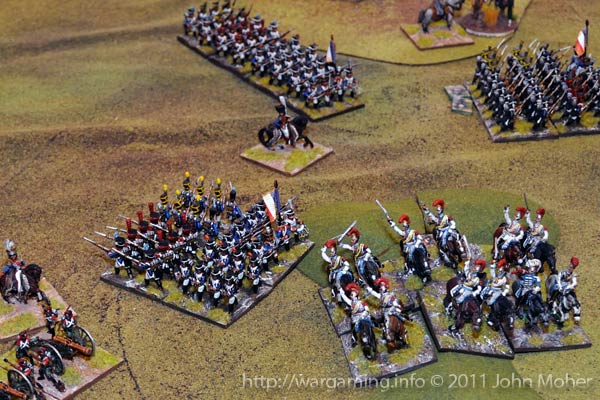
Then Cavalié Mercer’s RHA Troop fired off a solid volley of Canister, doing major casualties but not enough to stop the I/3rd Ligne from contacting his gun line, it looked like curtains for Mercer when the inexplicable happened, his gunners fought off the Frenchmen with ramrod and spike, and the French battalion seemed to just melt away, the men streaming rearward – the French morale now clearly startign to collapse like the British, although they continued to fight for now, again like the British desperate for victory. And still the French came on. Then as the Brunswick Hussars once again charged the III/1st Ligne, and Rogers’ Foot Battery had redeployed to try and prevent the French Carabiniers running amok in the rear, the will to fight collapsed, and the British broke, the surviving units starting to rapidly withdraw from the field, the French too exhausted to pursue decisively… Jérôme had bested Picton again, and more heavily than last time, although Picton had almost snatched victory from defeat at the eleventh hour and still hoped to rapidly rally his fleeing force thanks to his still largely intact Light Cavalry…
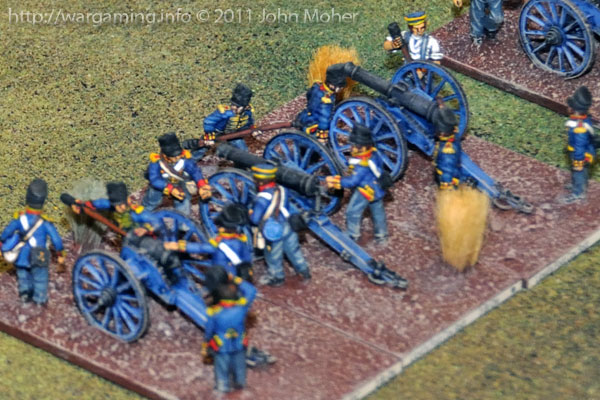
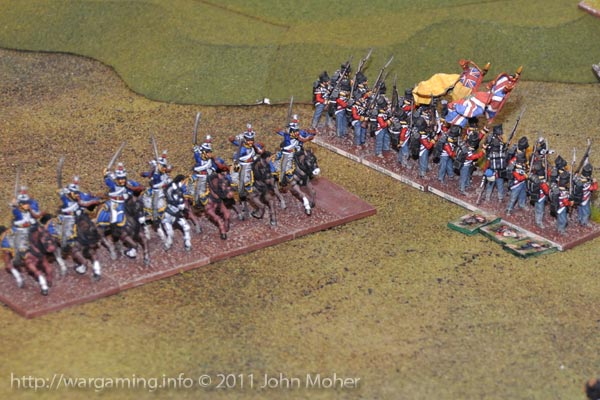
The Forces
The 6th French Division
- Prince Jérôme (L’Empereur Napoleon – Cam)
- 1st Infantry Brigade
- Maréchal de Camp Baudouin (Eugéne +1/0)
- 3 Bataillons 2nd Regiment d’infanterie de ligne (all small)
- Capitaine Barbaux’s 3rd (6pdr) Battery, 6th Foot Artillery Regiment (4/Medium)
- 2nd Infantry Brigade
- Général de Brigade Baron Soye (Ney +1/-1)
- 3 Bataillons 1st Regiment d’infanterie de ligne (all small)
- 2 Bataillons 3rd Regiment d’infanterie de ligne (all small)
- 1st Heavy Cavalry Brigade (Reserve from 12th Division/III Cavalry Corps)
- Général de Brigade Baron Blanchard (Murat 0/0)
- 1st Carabinier Regiment (large)
- 2nd Cuirassier Regiment (large)
- Capitaine Lebau’s 6pdr Horse Battery (3/Medium)
Names of French Marshals in brackets are the ‘Personality Figures’ in the game that were representing the above Generals.
The 5th British Division
- Lieutenant-General Sir Thomas Picton (John)
- 8th British Infantry Brigade
- Major-General Sir James Kempt (+1/0)
- 3/1st (The Royal Scots) Regiment of Foot (Small)*
- 1/28th (North Gloucestershire) Regiment of Foot (Small)*
- 1/32nd (Cornwall) Regiment of Foot (Small)*
- 2/44th (East Essex) Regiment of Foot (Small)*
- 1/79th (Cameron Highlanders) Regiment of Foot (Small)*
- 1/95th (Rifles) Regiment of Foot (Small)*
- Rogers’ (9pdr) Foot Battery, RA (3/Medium)
- 5th British Light Cavalry Brigade (Reserve)
- Major General Sir Denis Pack (+1/0)*
- 2nd (Brunswick) Hussars Regiment (small)*
- 3rd Hussars, King’s German Legion (small)*
- 7th (Queen’s Own) Hussars (small)*
- 13th Light Dragoons (small)*
- Captain Cavalié Mercer’s “G” Troop, RHA (3/Medium)
* All British Battalions were treated as standard Reliable/Experienced/SK2 units, even though one was nominally the 95th Rifles and another (Elite) Highlanders; All Light Cavalry as Reliable/Experienced/Pursuit units (The Brunswickers would normally be Valiant). Sir Denis Pack was standing in for Sir Colquhoun Grant commanding the 5th Light Cavalry Brigade – Grant’s absence unexplained. For the record the 3/1st & 2/44th Foot were attached to the 8th from 9th Brigade for the battle.
The Figures & Terrain
The British & Brunswick force is from my collection – a mix of Perry’s Metal & Plastic – except General Picton himself and Major-General Pack’s ‘aide’ who are more venerable Foundry Figures. The French are all from the collection of Campbell Millar; principally old-style 25mm metal Hinchliffe and Minifigs figures, except the Medium Foot Battery which was 1/72nd plastic Zvezda figures. Terrain was all from my collection, albeit we were a little lazy and didn’t put out any extra decorative pieces (such as scrub & individual trees on the hills for scenic effect).
About The Game
Played using Lasalle, this was a standard Attack-Defence game with the British defending. The objective was near the left of the British line (marked in a couple of the images). The game ended on the 20th turn when the British Division finally broke (having survived 3 previous tests starting Turn 14); the French were also broken on paper at that time, reaching the necessary casualties in Turn 18, but having survived their one test (Turn 19)! Cam was ultimately denied a decisive victory by his lack of pursuit cavalry only scoring a Marginal Victory, the balance of the British force being deemed to successfully withdraw covered by their light cavalry (the Pursuit Scores at the conclusion of the last turn were British 12 & French 2), but it sure felt like a good drubbing! At the end of play British casualty points were 12/22 and French casualties 9/24 – the British having suffered the bulk of their’s (8) by Turn 14 when they started testing Army Morale.


Very impressive, John. I was reading the comments on the Honour website, and trying to figure out what they were talking about wine, I laughed when I looked at your photos, that is quite a collection. Nice idea the 100 days campaign, I have been doing my own Waterloo series, did Hougoumont around Xmas and now almost finished La Haie Sainte. I used Lasalle for Hougomount with some modification, but am using Black Powder for La Haie Sainte, it is working quite well for this asymmetric small engagement.
Very nice report
Thanks Mate – appreciate the positive comments – yes it is a bit – and it’s down to about half what it was at its peak 2-3 years ago! at some stage I’d like to do some sort of semi-abstract campaign series of games, perhaps using a simple nodal type make (a la DBA Campaign style, or Fire & Sword Campaign style – see: http://wargaming.info/2008/our-first-fire-a-sword-campaign/), with each node being a village, town, road intersection, bridge or such, and games being played with Lasalle where possible, but perhaps smaller one’s with Sharp Practice, or even Song of Drums & Shakos for pickets & patrols, and like you I have Black Powder as an alternative for more unusual scenarios, plus Shako II as well – although not sure how I would handle a Waterloo sized game in such a campaign (although maybe drag out the Volley & Bayonet, as the Lasalle/Shako basing would work loosely with that okay).
For the current games I am just loosely stringing them together into a narrative – they are primarily learning games as I’m still pretty new to Lasalle, but its a ruleset that is fairly easy to learn and simple to play and it’s mastering the tactics that matters (and on the whole it’s real world tactics not wargaming rules tactics) – which is all good…
Excelent battle report and soldiers. I love how you labeled your bases.
Thanks James – appreciate your kind comments. I tried to be fairly smart and cunning about labelling while also getting the maximum info on and clearly showing the right arrangement of the bases when in line… 🙂