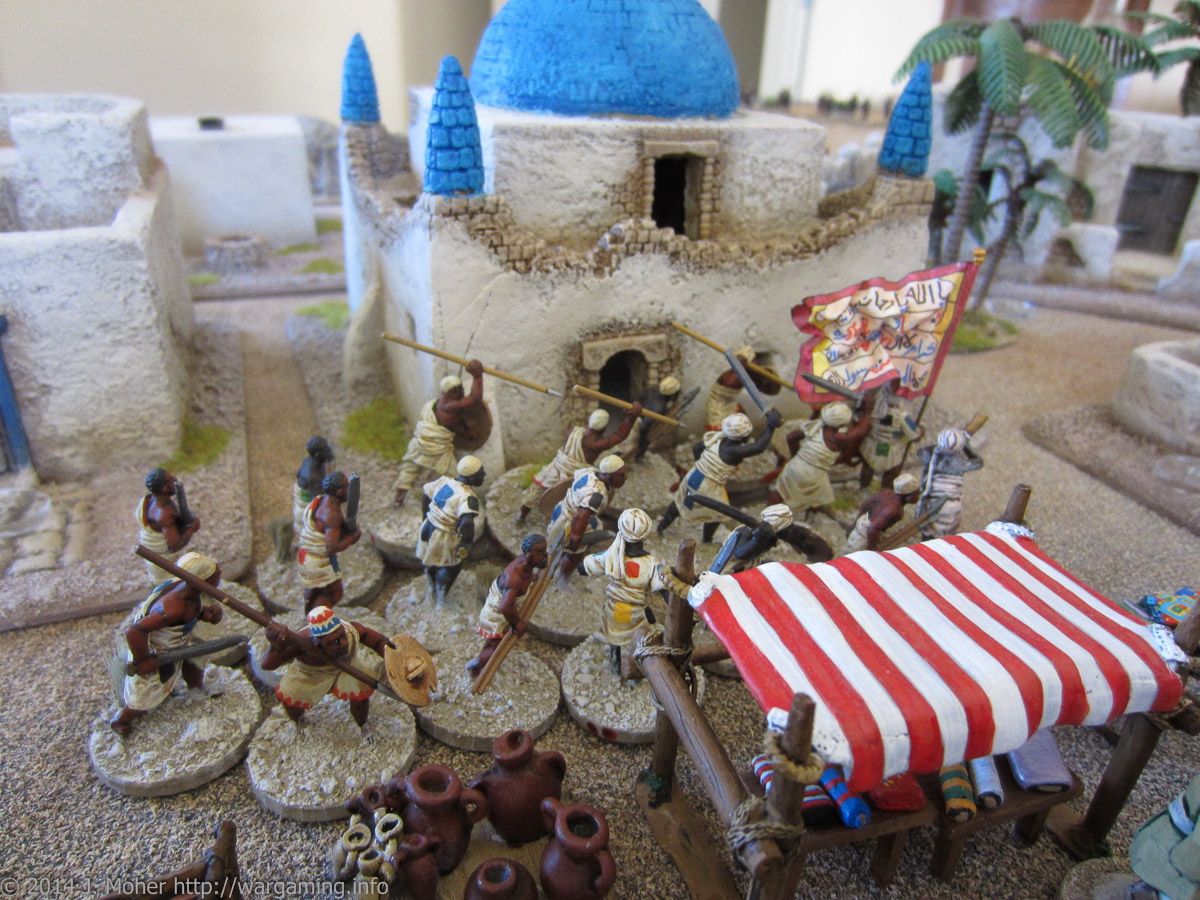
The campaign begins with a violent revolt in the North and South, spreading fast like a bush fire. The North had been a powder keg for some time but it had been hoped any insurrection might be contained there. The insurrection actually began at Dongola, and spread North to Wadi Halfa which immediately succumbed and the Xth Sudanese Battalion garrisons in both locations were engulfed by the suddenness of the uprising. Even worse the revolt spread South through Berber and then Atbara fell to the rapidly growing Mahdist cause – it being suggested that most of the troops at Berber (from the 2nd Egyptian Cavalry Squadron) may have changed sides and joined the Ansar rather than fight them! All along the Lower Nile the lesser towns also fell to the Mahdists, and just the strongly held garrison town of Abu Hamed held out, surrounded by a countryside of seething revolt.
Continue reading “Fire & Sword Turn 01: November 1883”Tag: Sudan
Unit Organisations in TSATF
One thing I have done [as of 2008] is slightly tweak the organisations of units to try and more closely replicate the real life historical organisations – while still keeping to the general intent Larry Brom put in the rules and approximately the same number of figures per larger formation (Battalion or Regiment). As we are using the same organisations for our Fire & Sword Campaign I ended up putting together Visio Organisation Charts of them as visual organisation reference for Roundie & Kieran (who weren’t familiar with, my perhaps pedantic, idiosyncrasies over organisation tables) and as a result of an unrelated discussion on the Sword & Flame Yahoo! Group it occurred to me they might be of some little interest to one or two people out there (although I’m sure I’m not the first to do so and many will have their own views different to mine)…
Continue reading “Unit Organisations in TSATF”Fire & Sword Campaign Set Up
Following on from my introductory Our First Fire & Sword Campaign: Revolt in the Sudan post the initial deployment was done randomly – using a random table I generated to use in conjunction with Steve Winter’s original rules. This resulted in a reasonably conventional, although not necessarily ideal deployment of the Egyptian forces. The actual size and number of forces was similar to Steve’s originals, see his starting OOB (or our map below) for an idea of the forces… The map shows the situation once the random deployment has been completed and the initial revolt indexes generated – but before Turn 1 has begun and checks for revolts carried out.
Continue reading “Fire & Sword Campaign Set Up”Our First Fire & Sword Campaign: Revolt in the Sudan
Some of us at the Auckland Wargaming Club were inspired by Steve Winter’s campaign at the Colonial Angle website – so we grabbed Steve’s great idea, I tweaked it a little to suit me, and off we went! First thing I did was grabbed Steve’s Map and colourised it – the map below is the result. I am on the lookout for a new map long-term however and this one is now getting a bit congested due to my tweaking!
Continue reading “Our First Fire & Sword Campaign: Revolt in the Sudan”Fire & Sword in the Sudan Campaign
Our Colonial Campaign gets ready to kick off! Turn one has already begun and the Sudan has erupted into revolt. See how the campaign is going here… Our First Fire & Sword Campaign.
Continue reading “Fire & Sword in the Sudan Campaign”The Sword and the Flame [TSATF]
Larry Brom wrote TSATF in 1979, and 30 years later it’s still going strong with very little changes! Having played TTG’s Soldiers of the Queen* [SotQ] fairly extensively since it was published in 1987 (in my earlier wargaming years) until a long hiatus from all colonial gaming in the early 1990s, I was only introduced to TSATF in recent years for the first time…
* Not to be confused with the Victorian Military Society’s Journal “Soldiers of the Queen“!
Continue reading “The Sword and the Flame [TSATF]”Fire & Sword in the Sudan: Epilogue
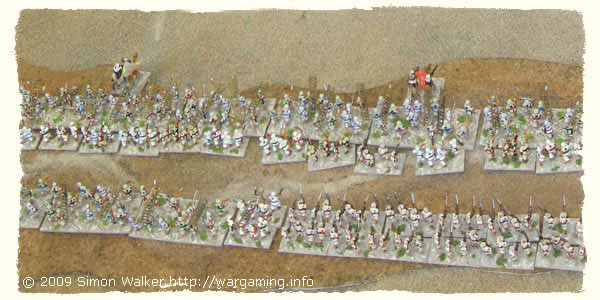
The campaign was concluded at this point. Although the Mahdists still hold a few towns in the west and south, their spirit and manpower is broken. On the other hand, the serious casualties suffered by Graham will limit his offensive capabilities until Herbert Stewart and John McNeill are able to bring their forces to bear on Kassala and the Western Sudan. By then, a General Election and growing Russian pressure on Afghanistan will justify the withdrawal of British forces from the region.
Fire & Sword in the Sudan: April 1884

April 1884: A Damn Close Run Thing!
The capture of Abu Hamed by the Berber Field Force (commanded by Baker and Hicks) was something on an anti-climax. Most of the rebels fled the town as the expeditionary force approached. Less than 1000 desperate fanatics, lacking rifles or artillery support, sallied out to engage the Egyptians and were routed without delay. Imperial casualties were less than 30 men killed and wounded. The Northern District can now be considered at peace, and the threat of an attack on Egypt lifted.
Fire & Sword in the Sudan: February-March 1884

February 1884: “Graham Saves the Day”
The combined Anglo-Egyptian relief expedition, numbering approximately 7700 regulars and supported by another 800 native levies, and now under the command of General Wolseley advanced south from Wad Hamed following the banks of the Nile upstream towards Khartoum. On the 21st February, with their objective in sight on the far horizon, the army decamped from its defensive zeriba at dawn, intending to be at the city in time for tiffin.
Continue reading “Fire & Sword in the Sudan: February-March 1884”
Fire & Sword in the Sudan: January-February 1884

January 1884: “There will be an awful fuss about this at home”
Baker’s relief column advanced up-river in an open square to break the siege of Khartoum, with its open flank guarded by Egyptian cavalry. For several hours Gordon, anxiously watching for the relief column from the roof of the Residency, was unconvinced that the troops advancing towards him through the dust clouds were friendly – the presence of local scouts alongside the European police persuading him that this might be an enemy ruse. As a result, Hicks was ordered not to advance beyond the fortifications, which they held with some success throughout the battle, despite repeated assaults by fierce Hadendowa tribesmen.
Continue reading “Fire & Sword in the Sudan: January-February 1884”
Fire & Sword in the Sudan: December 1883-January 1884

December 1883: “Chinese Gordon” Pulls it Off!
General Baker advanced upriver from Atbara, encountering little resistance from the local tribes until a determined effort was made by about 1500 insurgents to contest his traversing of the 6th cataract north of Wad Hamed. The enemy position was carried with only minor casualties and the town occupied shortly thereafter. Baker’s Abyssinian scouts pushed forward to reconnoitre the situation at Khartoum, returning to report a fierce battle, taking place around the northeast gate of the city.
Continue reading “Fire & Sword in the Sudan: December 1883-January 1884”
Fire & Sword in the Sudan: September-November 1883

September 1883: Baker Advances
As predicted, General Baker has advanced from Trinkitat to subdue the rebellious Hadendowa tribes of the Eastern Sudan. His expedition, some 4000 strong and well provided with artillery, met with no opposition as it advanced across the salt marshes that surround the town, the enemy melting away into the hills as they came on. Scouts sent out to reconnoitre the ‘road’ to Sinkat by Lieutenant Commander Moncrief, British Consul at Suakin, report that the enemy also appears to have withdrawn from here as well.
Continue reading “Fire & Sword in the Sudan: September-November 1883”
![The Sword and the Flame [TSATF]](https://wargaming.info/wp-content/uploads/The-Sword-And-The-Flame-Revision-1-1986-front-cover-1.jpg)